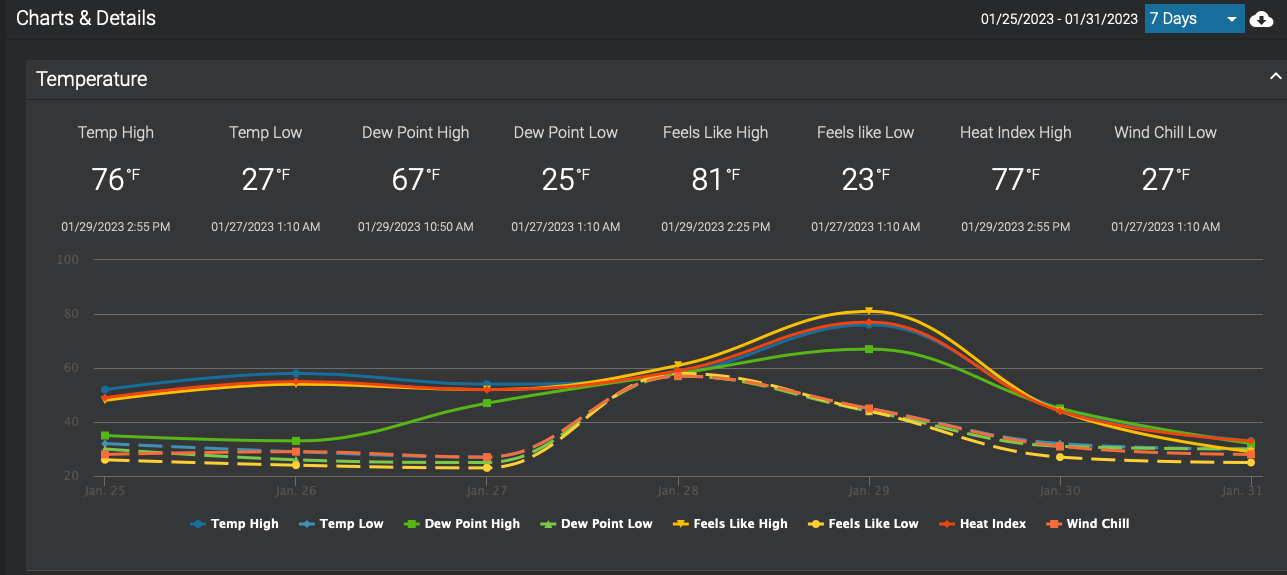
Just wait 5 minutes. so the saying goes. It is a phrase used all over the world and the US. It also happens to be true round here in TX. Last night before sundown it was 78 degrees and this afternoon it was 34 degrees. This is my excuse for not getting to the shop today.
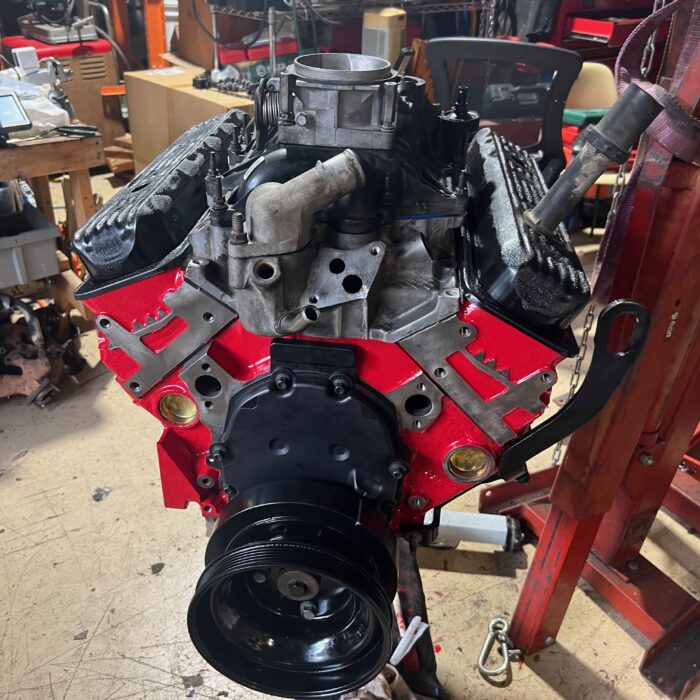
Instead I went down an associated project rabbit hole. Maggie is still sitting in the garage waiting for me to reinstall the rebuilt fuel pump and install all the parts for the pedal box. Right after I repaint the engine bay. The full brake job will be followed capped of with new tires on the wire wheels.
One of my step sons works at a tire store. For Christmas he bought his mom 4 sweet tires which are sitting in the garage waiting to be mounted.
It turns out that I had purchased a very manual cheap tire changer from harbor freight. I have never used it, but much like every other tool from HF, there are dozens of reviews and hacks of how to make it more useable.
It turns out the tire changer has a specific hack that makes it waaay better. But of course it is too expensive for my blood. So I ended up looking for the parts.
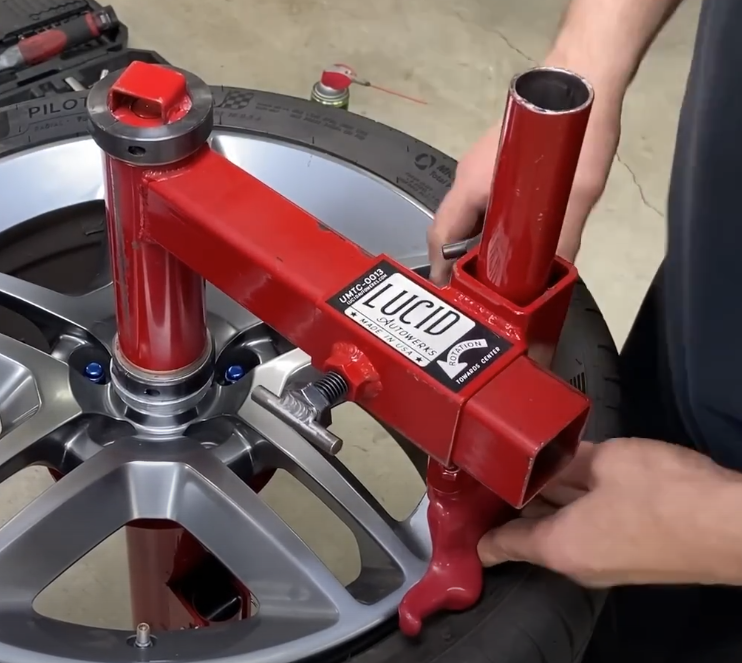
It is a great idea and if you are interested in one you should buy one from them. Here are the details.
The company is lucidautowerks and they have an updated version for of this item for sale here as of January 2023. Who knows what they have at the time you are looking. Here is the new version.
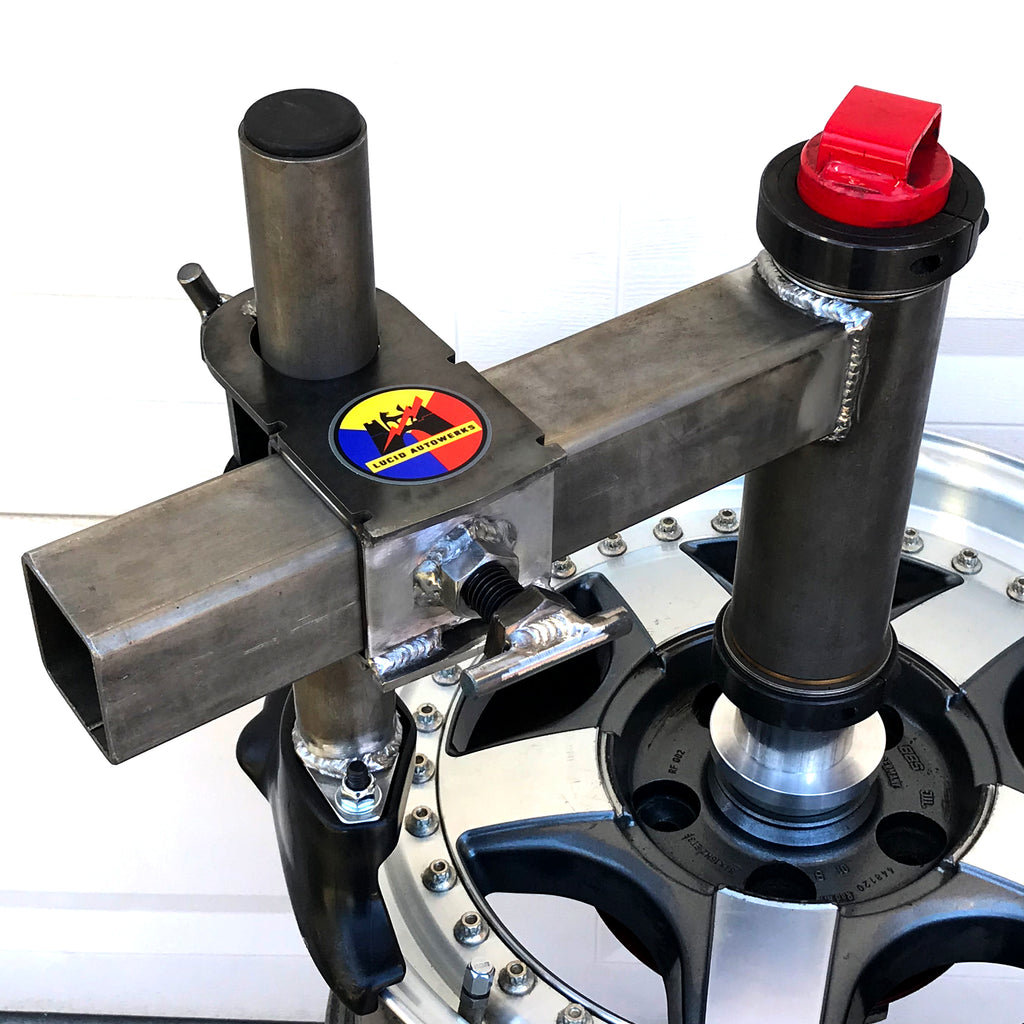
Shown in its raw form it currently comes in two options. A finished product $449.99 or as a kit of parts to build yourself for $349.99.
Kit Includes:
- Overarm Support Parts – 2″ square tube about 20″ long with a 2 1/4″ square sleeve about 2″ long with 2 2″x4″ plates with a oval hole in each for holding the Mount arm, a 2″x2″ plate for holding the lock nut for the mount arm
- Modified Lock Collars (2x) – attach to Tire changer lock tube capturing center guide.
- Thrust Bearings (2 sets) – sit between Lock Collars and bronze bushings
- Bronze Bushings (2x) – sit between thrust bearings and center guide – may need to be lathed to fit in both ends of Center Guide
- Center Guide Parts – 2 1/2″ diameter tube about 15″ long
- Mount Arm Parts – Mount arm is the down tube with the duck head attachment point. This will just be a tube in my version
- Duck Head – I have found one that has an attachment for a tube, no attachment plate necessary.
- Aluminum Centering Cone – This is a very nicely made billet aluminum part cut on a lathe to a cone shape.
- Spacer – This is a 1-2″ piece of aluminum tubing that goes between the locking mechanism and the centering cone.
- Hardware – nuts and bolts to lock the pieces in place while in use
I really need to find a good source for metal. I have a ton of projects backed up by the lack of quality materials. I probably also need to finish my Truck first, but it will need to be a little warmer first. So for now I have a plan and a few parts, but Project Tire Mounter will have to wait.
