I managed to slip away for another hour today. Even after getting a call from one of the team at a trade show letting me know that the boss just promised we could turn on a product that we never finished. After a bunch of phone calls between the vendor an I and Skypeing with the frontend developer; The vendor created and passed over some production credentials. I finished up, tested and slammed my API into prod, and the frontend dev pushed his code to prod and the product worked for the two dealers it was promised to. After that debacle I had already missed lunch so I slipped out to the shop to get some real work done.
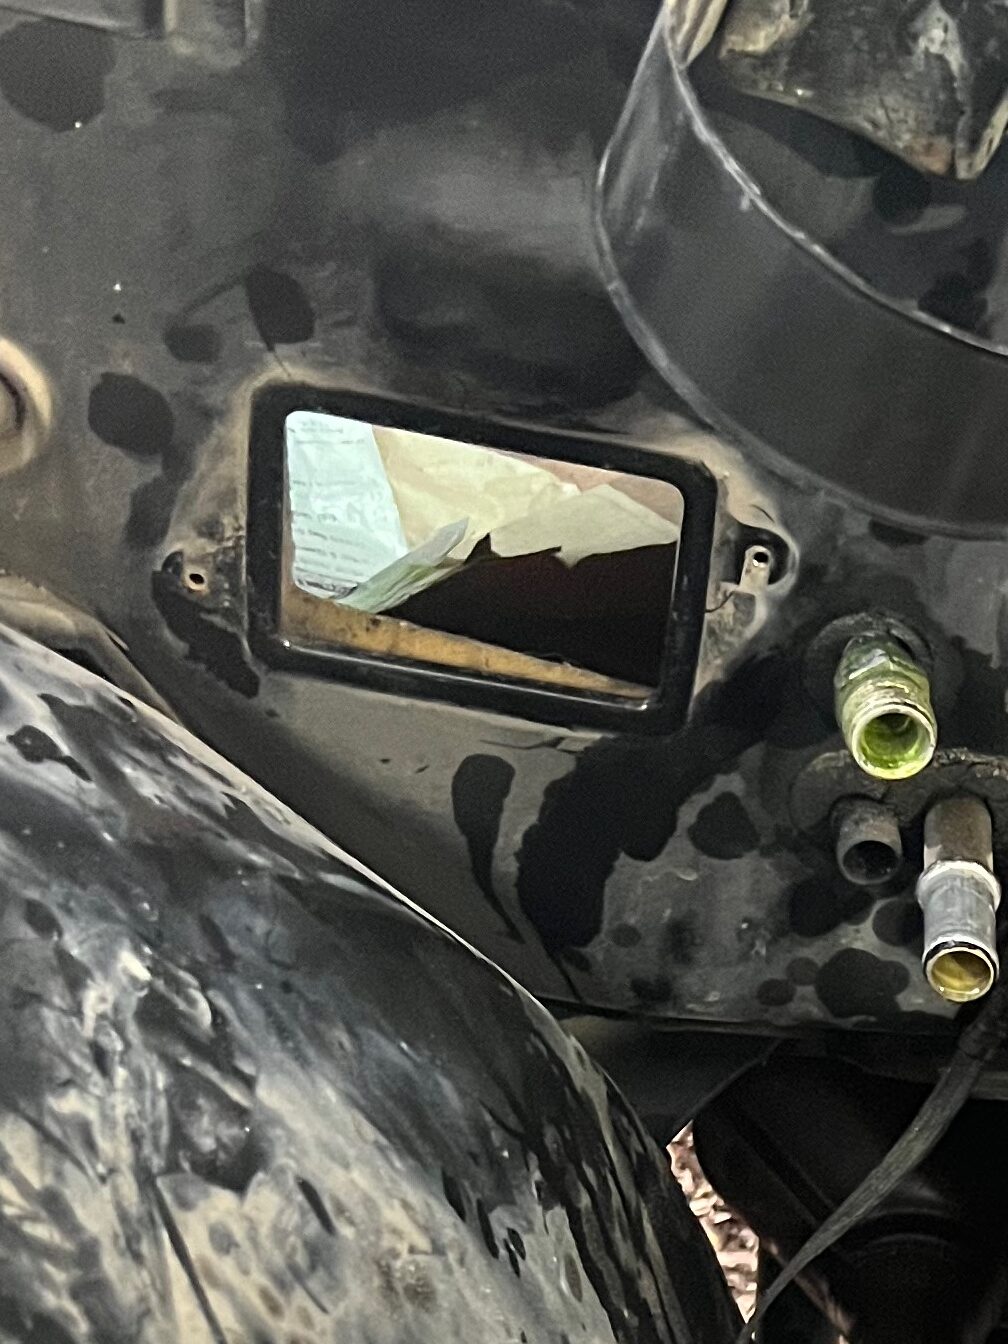
To remove the glove box just push the right side of the box to left till the stopper gets passed the stop and the draw falls past 90º open and then the bottom releases. And unless you are holding it, it falls on the floor. Now it is out of the way on the floor with the spare napkins, 20 years worth of tire and license plate receipts, a dead flashlight a flat head screwdriver and the socket for the wheel locks you removed ten years ago, you now should be able to see the plugs on the other end of the firewall plug. I unplugged the big white plug and the small black one on the red wire (like in bomb disposal). I’m glad that is all I needed to do inside since my daughter decided to keep the last 5 bags of Whataburger trash she had accumulated on the passenger side floorboard. Pickles have always reminded me of middle school lunch and something decaying.
I remembered to soak the manifold bolts with PB Blaster. I rarely run into something I consider to be kick arse and worth buying the brand name. This product is one of those things. It actually works. So does the Berryman’s carburetor cleaner. That stuff is OHmazing! Anyway, where was I, oh yeah, the manifold bolts on passenger side. I fully expected at least one of the 15mm beauties to snap off or be absolutely frozen. Nope all of them came out with only the slightest amount of “Damn I’m glad i’m strong as an ox” pressure. I did end up having to use my new universal impact socket for the one back by the firewall, again due to the absolute assholeness of an engineer somewhere. Would it really have hurt to keep the firewall one damn extra inch further back so all the back hardware could be accessed with normal tools and adult size hands? REALLY? I am seriously considering getting a body lift kit for this truck. This is the trick I used on the Expedition to be able to access the rearmost bolts on the engine block of that beast.
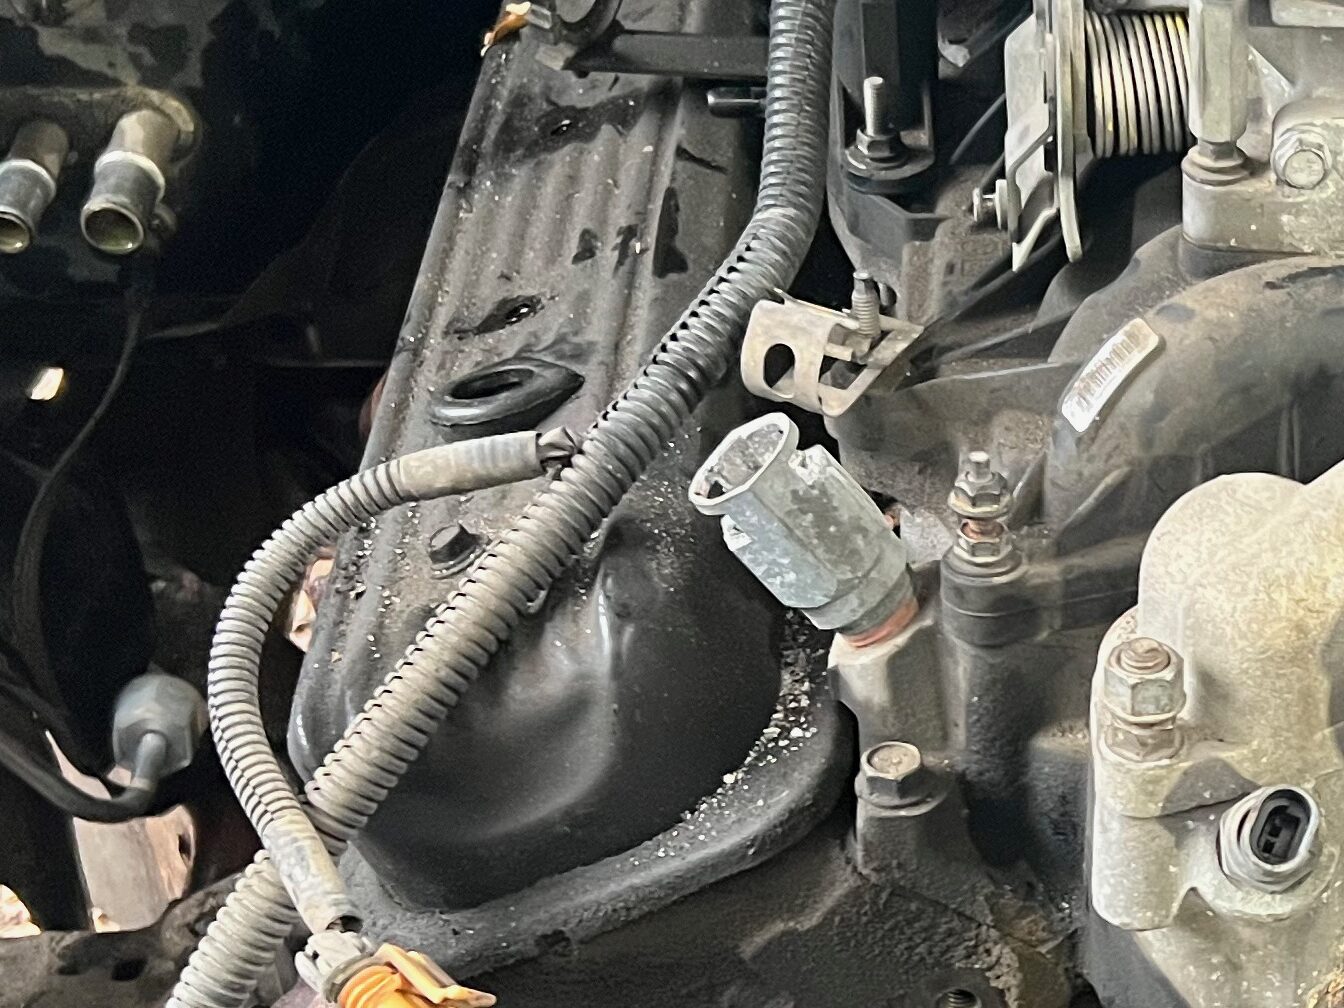
Moving on. During the removal of the manifold bolts i decided to remove the heater hoses to make more room for the tools. Why one of them has a downright ridiculous end fitting pressed on to connect to a “quick connect” on the engine block is again some brilliant idea of an engineer who really just wanted to sell custom hoses. Well, hose that jerk. I will be replacing that worthless fitting with a pipe fitting and a hose clamp.
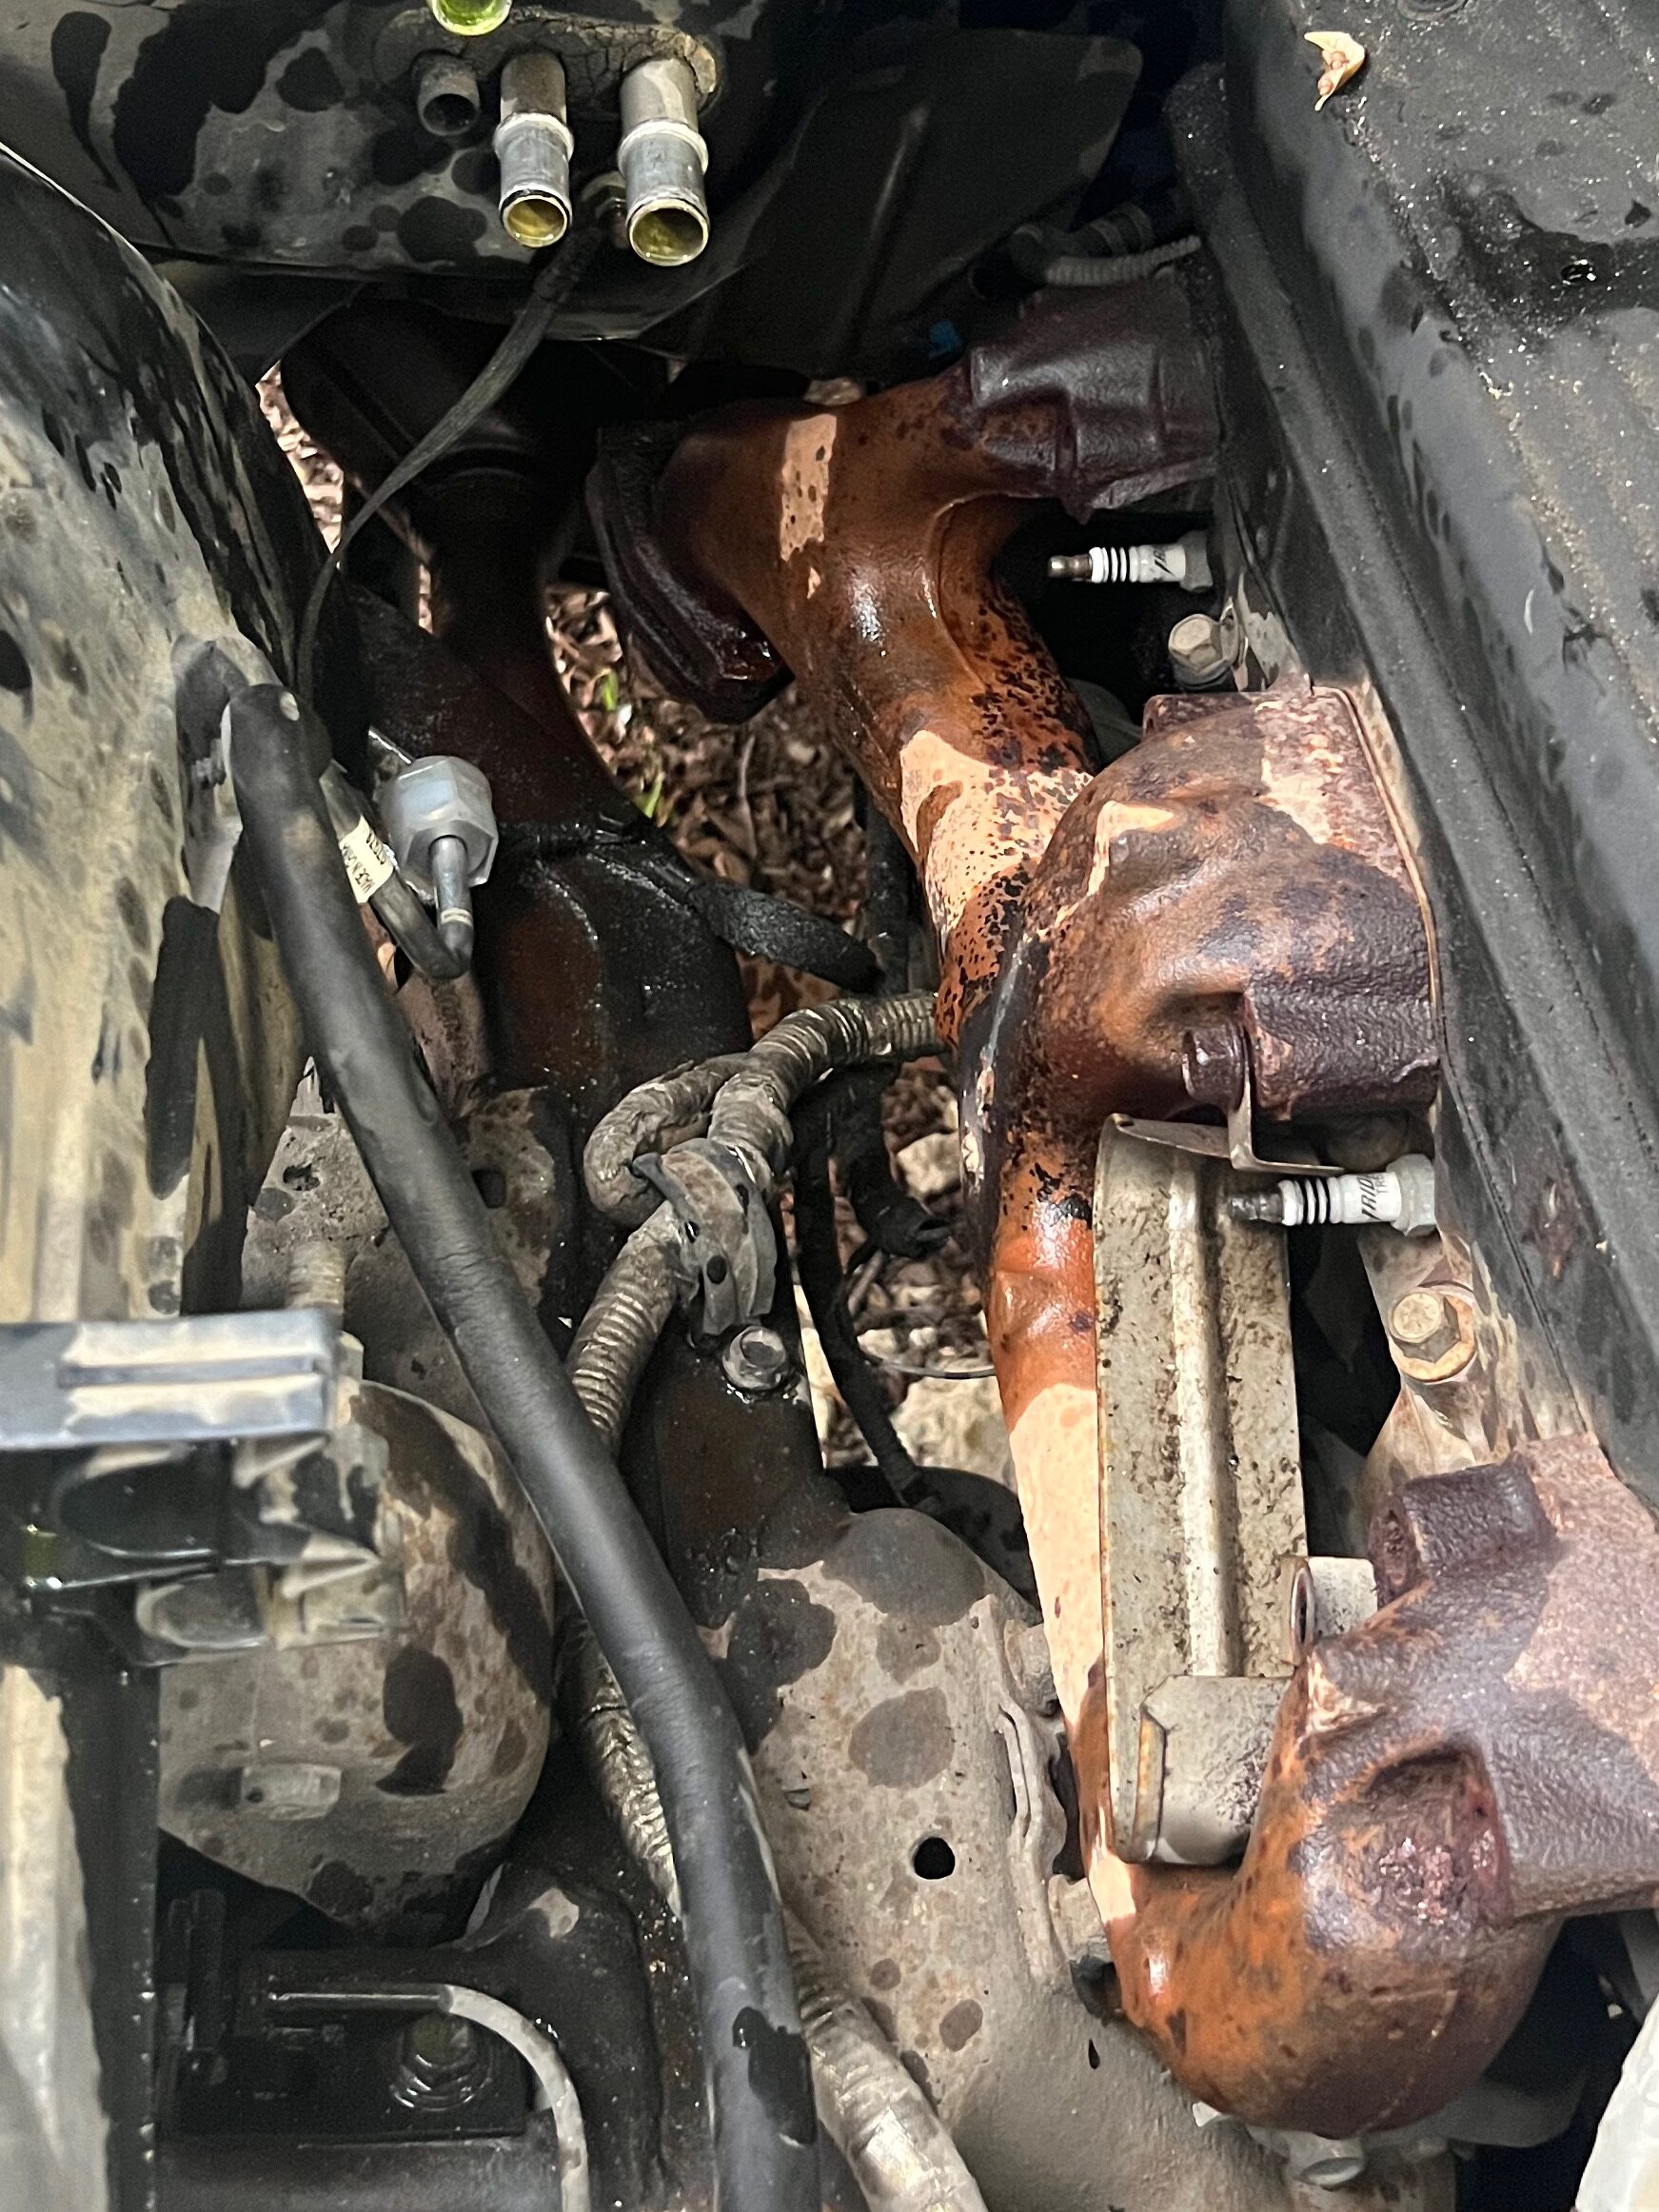
I left on middle bolt loose in the manifold to hold it up. It looked like if it dropped and was still attached to the exhaust pipe it would fall directly onto the spark plugs snapping them off. I will have to remember that when i get the pipe bolts off. Something tells me they won’t be as smooth. But for now it stays on the engine and really is the last thing to remove on this side, at least from the topside of the engine. From the bottom I will be removing the starter, cables and the exhaust pipe to manifold bolts. I want to drag the truck into the shop to get that done.
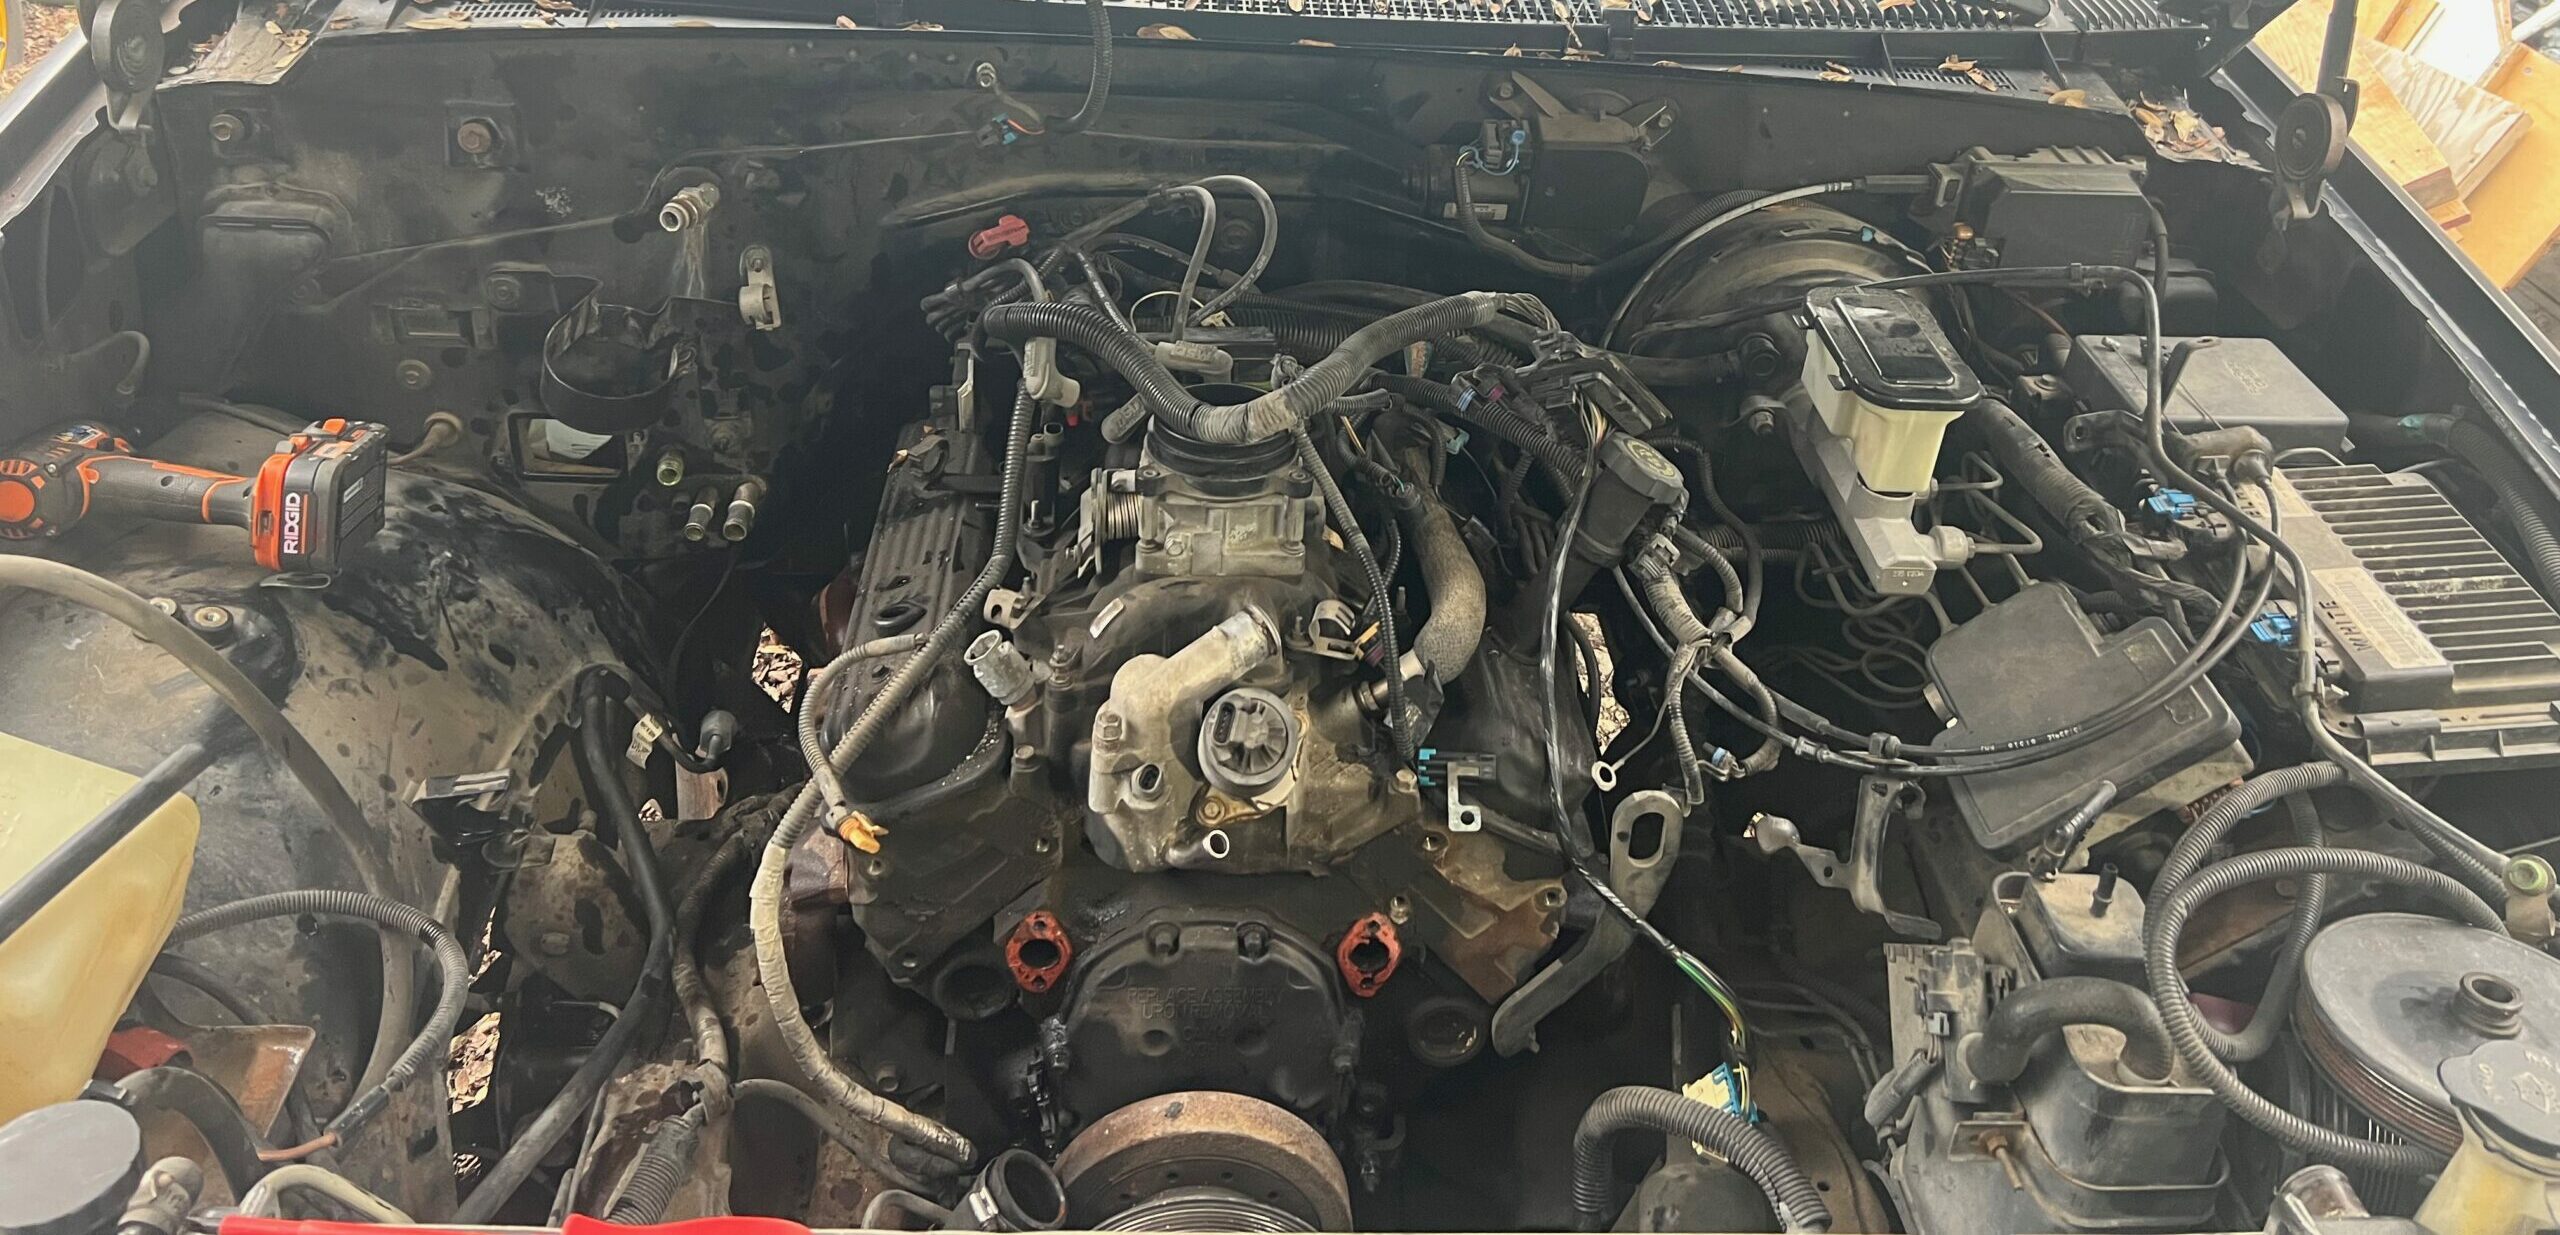
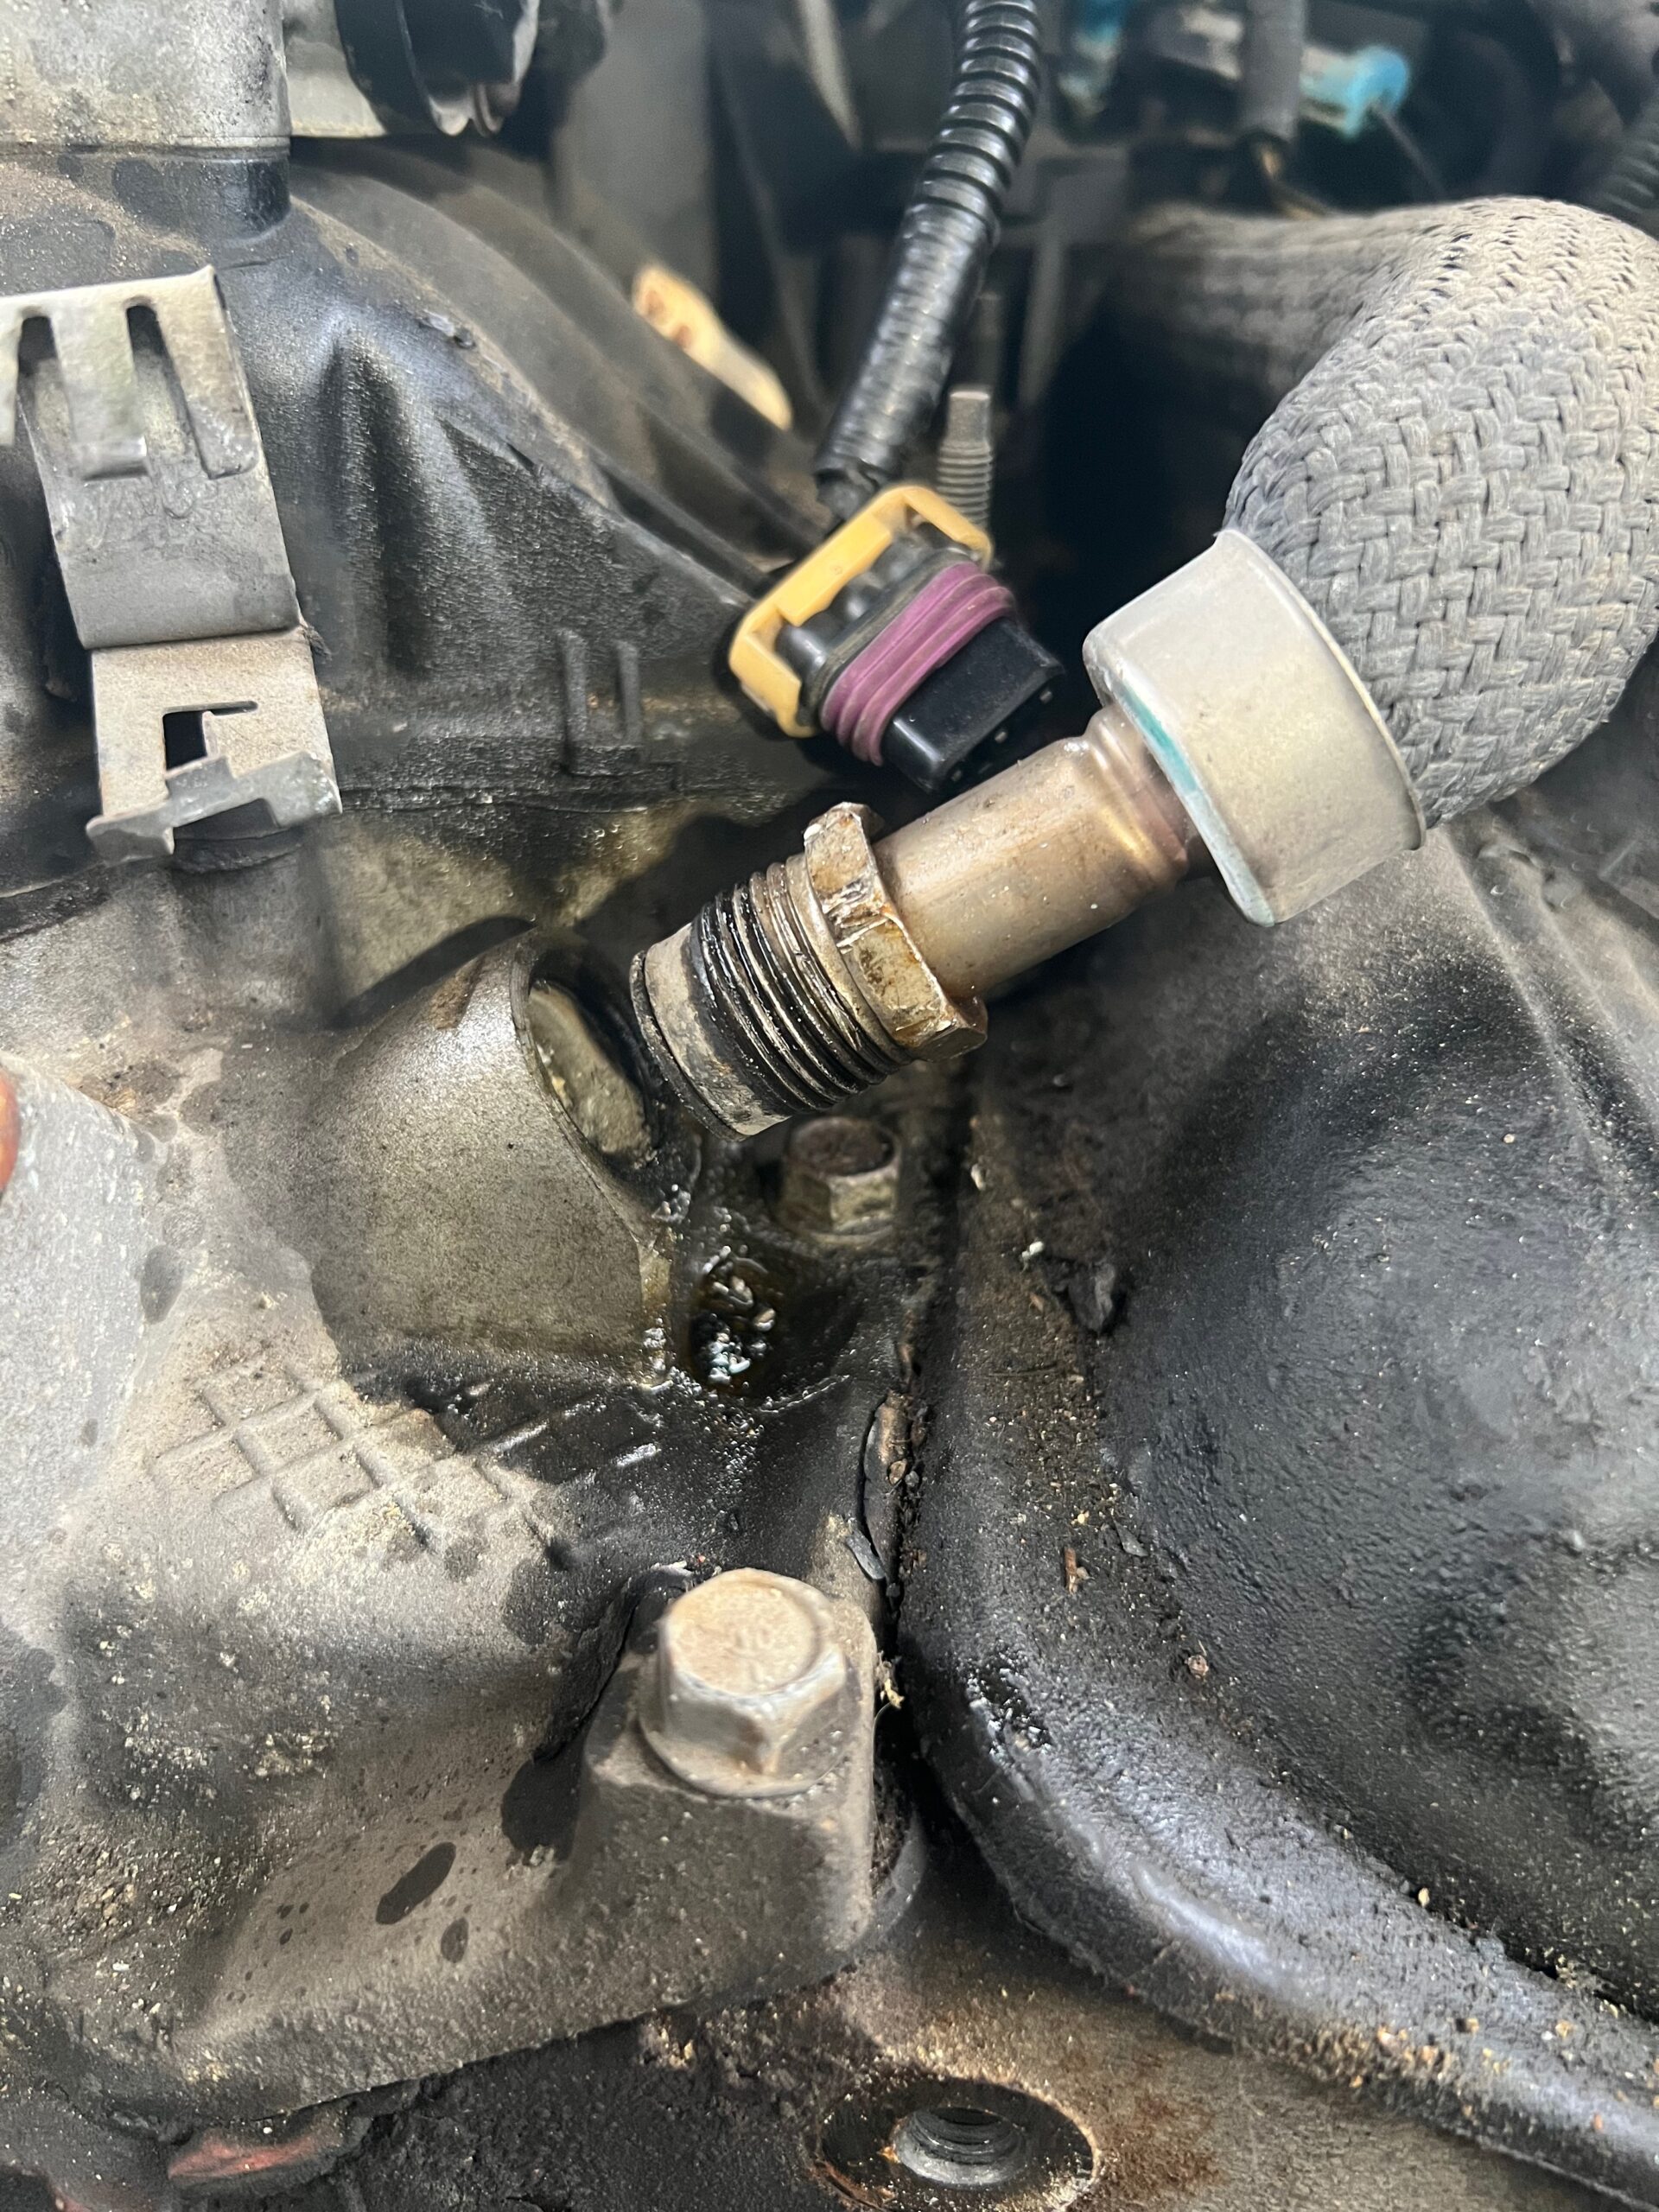
Now looking back across, the left is done, the front looks pretty empty except for one cable that needs to be removed from under the harmonic balancer, but I will have to do that from below. Now it’s time to move over to the drivers side. The drivers side manifold has a pipe that connects from the back of the exhaust manifold to the top front of the intake manifold. I can only guess this is some type of EGR setup. Being part of the exhaust I have already sprayed it down with PB Blaster. This will be the last thing I attempted to remove today, it’s already been an hour of tinkering. This pipe has a pipe fitting like a brake line but bigger, much bigger. Not sure the metric size but a 7/8″ flare wrench fits it pretty well. I have a good hold of it and pull forwards. I haven’t done curls in years but being a large man my biceps are at least 17″ around and the pull means I have to brace my body against something since it doesn’t want to budge.
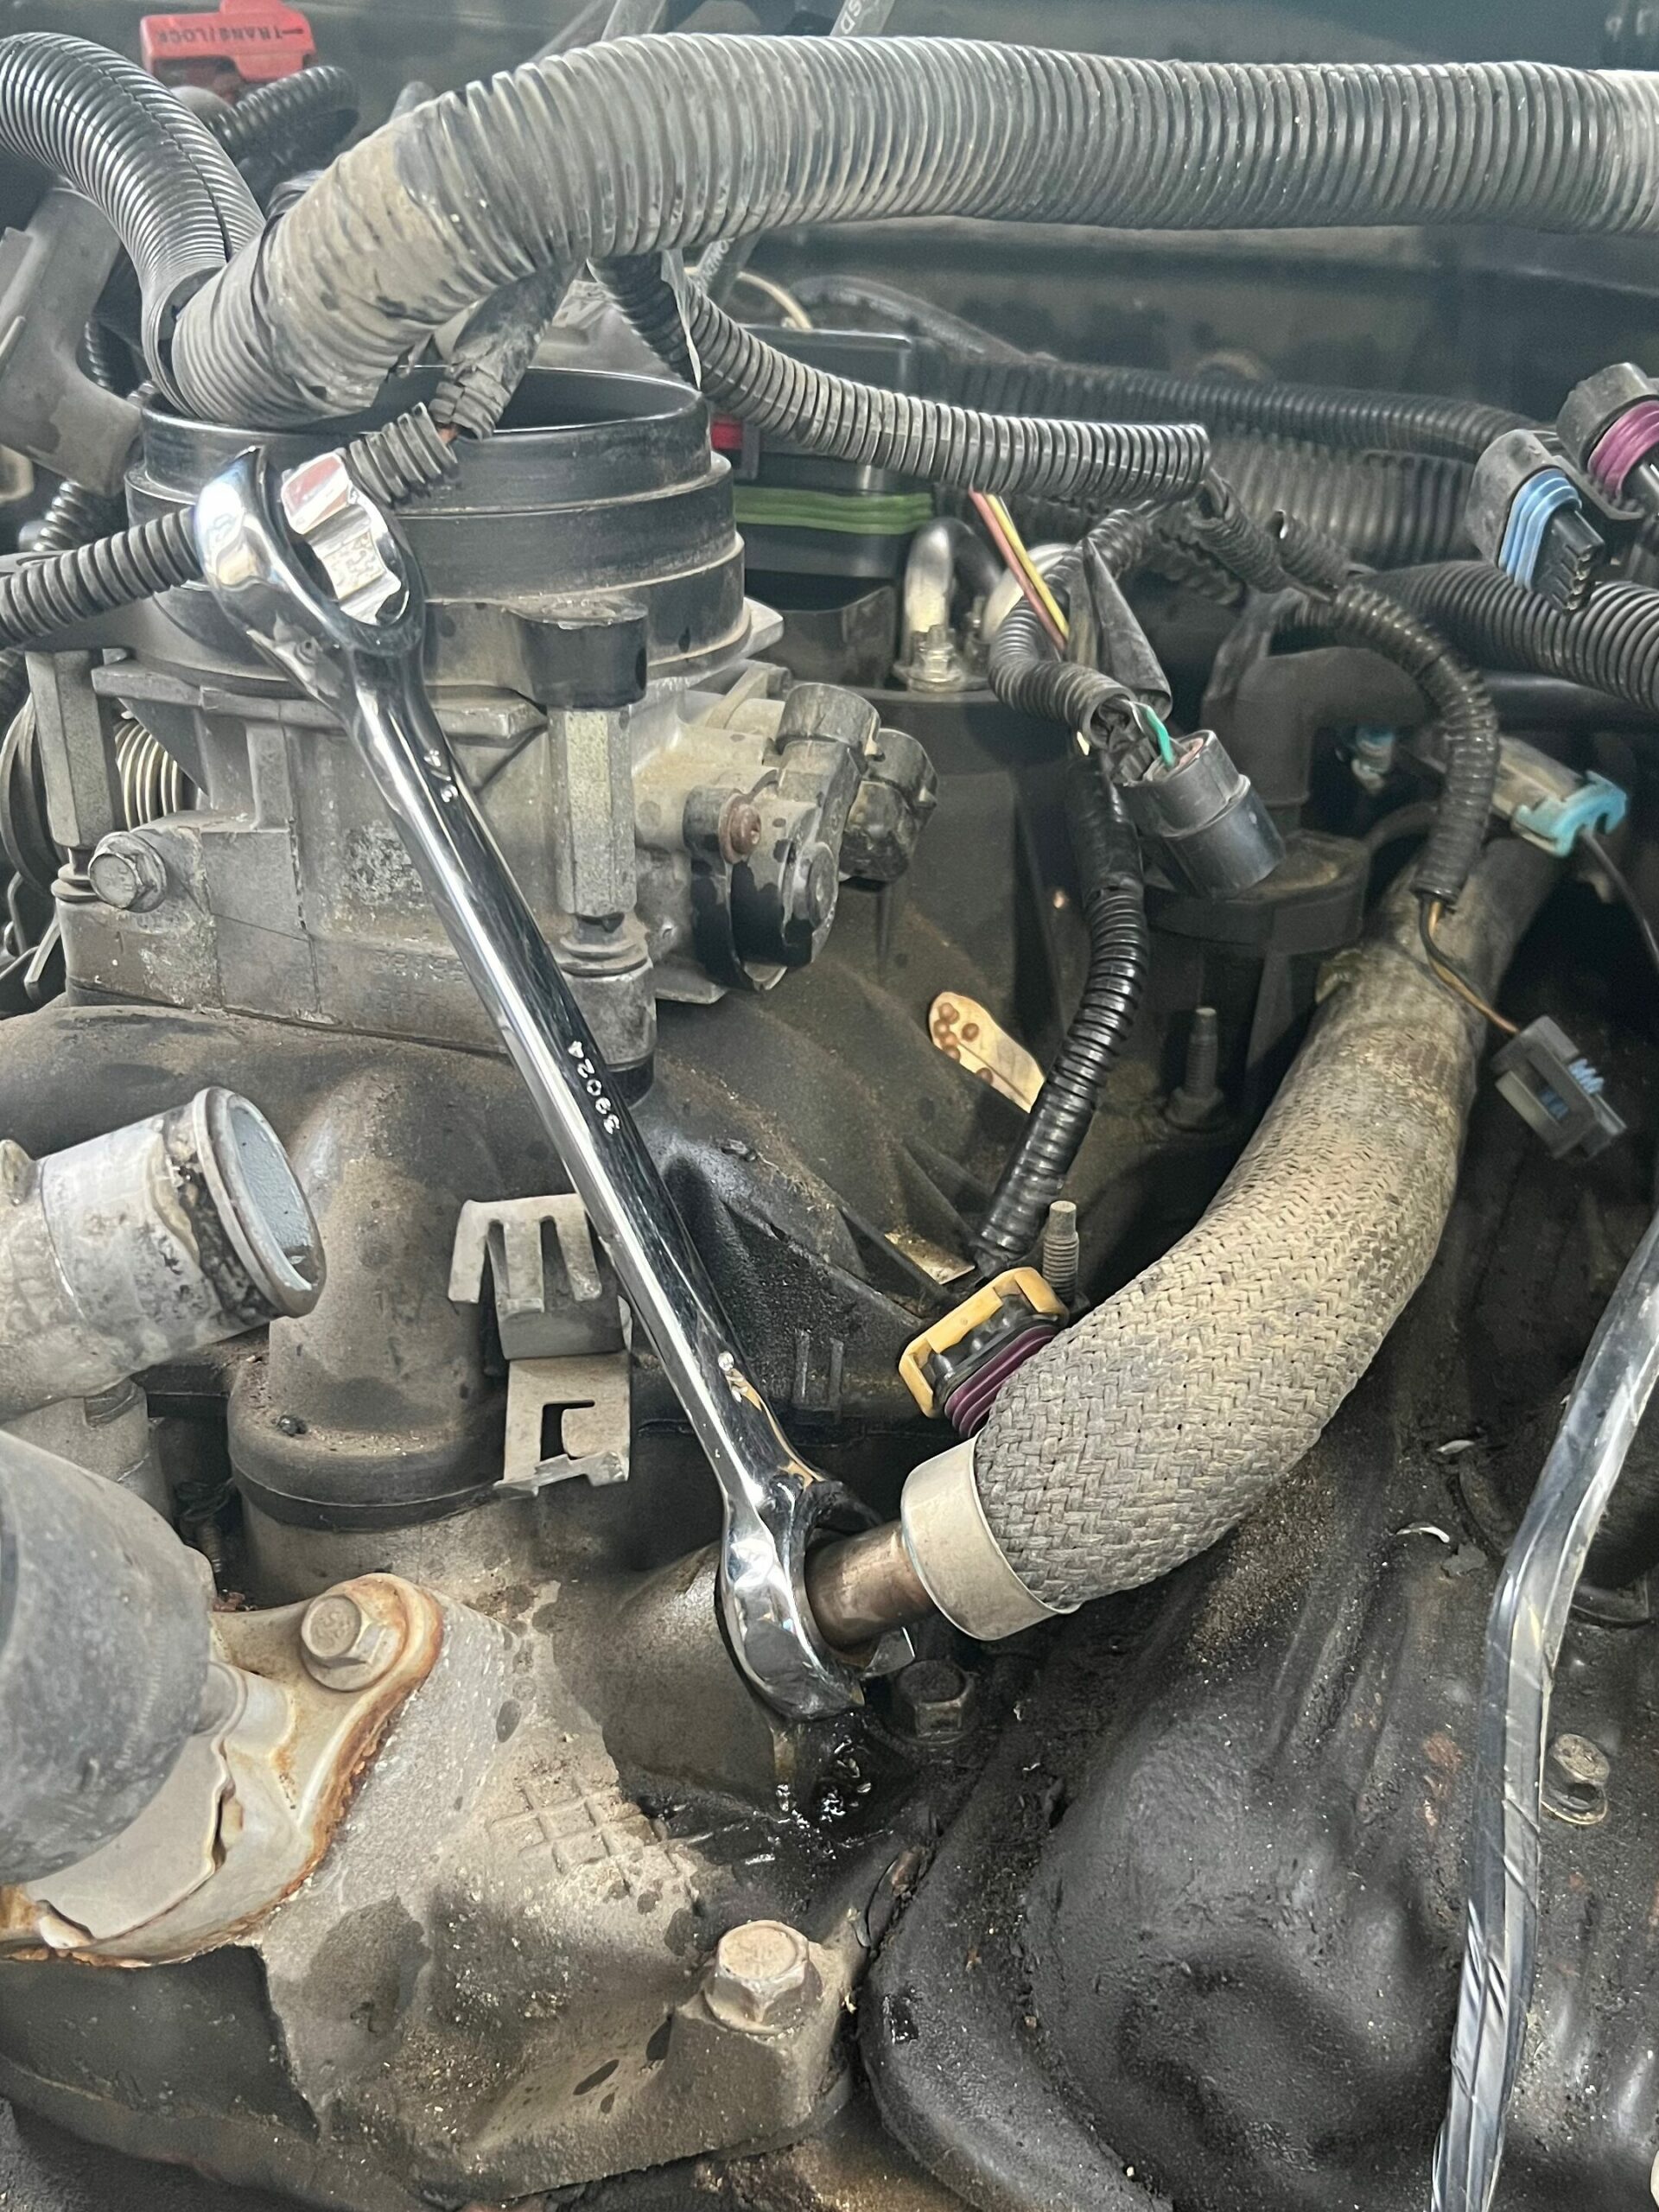
CRACK! normally this is a good sound, the sound of your enemy “the hose fitting” losing its death grip on the intake manifold and subjugating itself into moving with the wrench. Sadly I felt this crack as my tensed but still portly belly broke through the plastic grill on the front of the truck. DOH! Stupid cheaply made sh!t. In the meantime this fitting has now pissed me off. Where is that mapp gas?!? I grabbed the torch and cylinder and screw them together. Call me paranoid but I never store the torch connected to the tank. While the shop filled with my “junk” burning down due to a gas leak would probably do wonders for my marriage, I would not be amused.

This is an aluminum lower intake manifold that the stainless fitting is screwed into, I can’t complain about the metallurgy issues they did have some thread compound on it. The upper intake manifold is made of… wait, what the …? PLASTIC?? Whose f’n brilliant idea was that? You cheap bastards!! Granted it has lasted over 20 years and is still working but plastic parts on an engine? I have a personal rule that says
“If you try to explain something to a 12 year old and they think it is stupid, IT’S STUPID!”
Ruminations and Ponderances by Me.
So with these diverse materials and a small puddles of PB Blaster here and there, I was very careful with the torch. I heated it from 6″ away constantly moving the flame around on the aluminum and only for about 30 seconds. I quickly attached the wrench and gave it a pull this time 2 cracks, one from the fitting and one more from the cheap ass grill. I worked the fitting forwards and backwards a few times and managed to give it a quarter turn. I reapplied the PB Blaster, even I don’t expect it to work after being attacked with an open flame.
A couple more back and forth motions and I can feel it moving more freely. After the penetrating oil (PB Blaster) does its magic the fitting unscrews with relative ease and still looks relatively fitting like. Happy days! The part is removed, the plastic is not melted, and for once, I’m not even bleeding. As far as the grille goes, I never really like that cheap plastic thing anyway. I will have to weld up some nice aluminum replacement. Add that to project list.
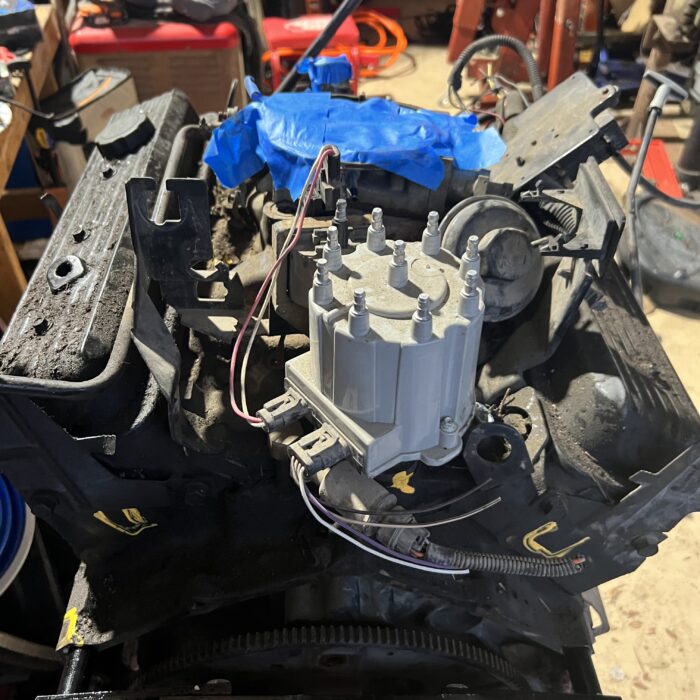
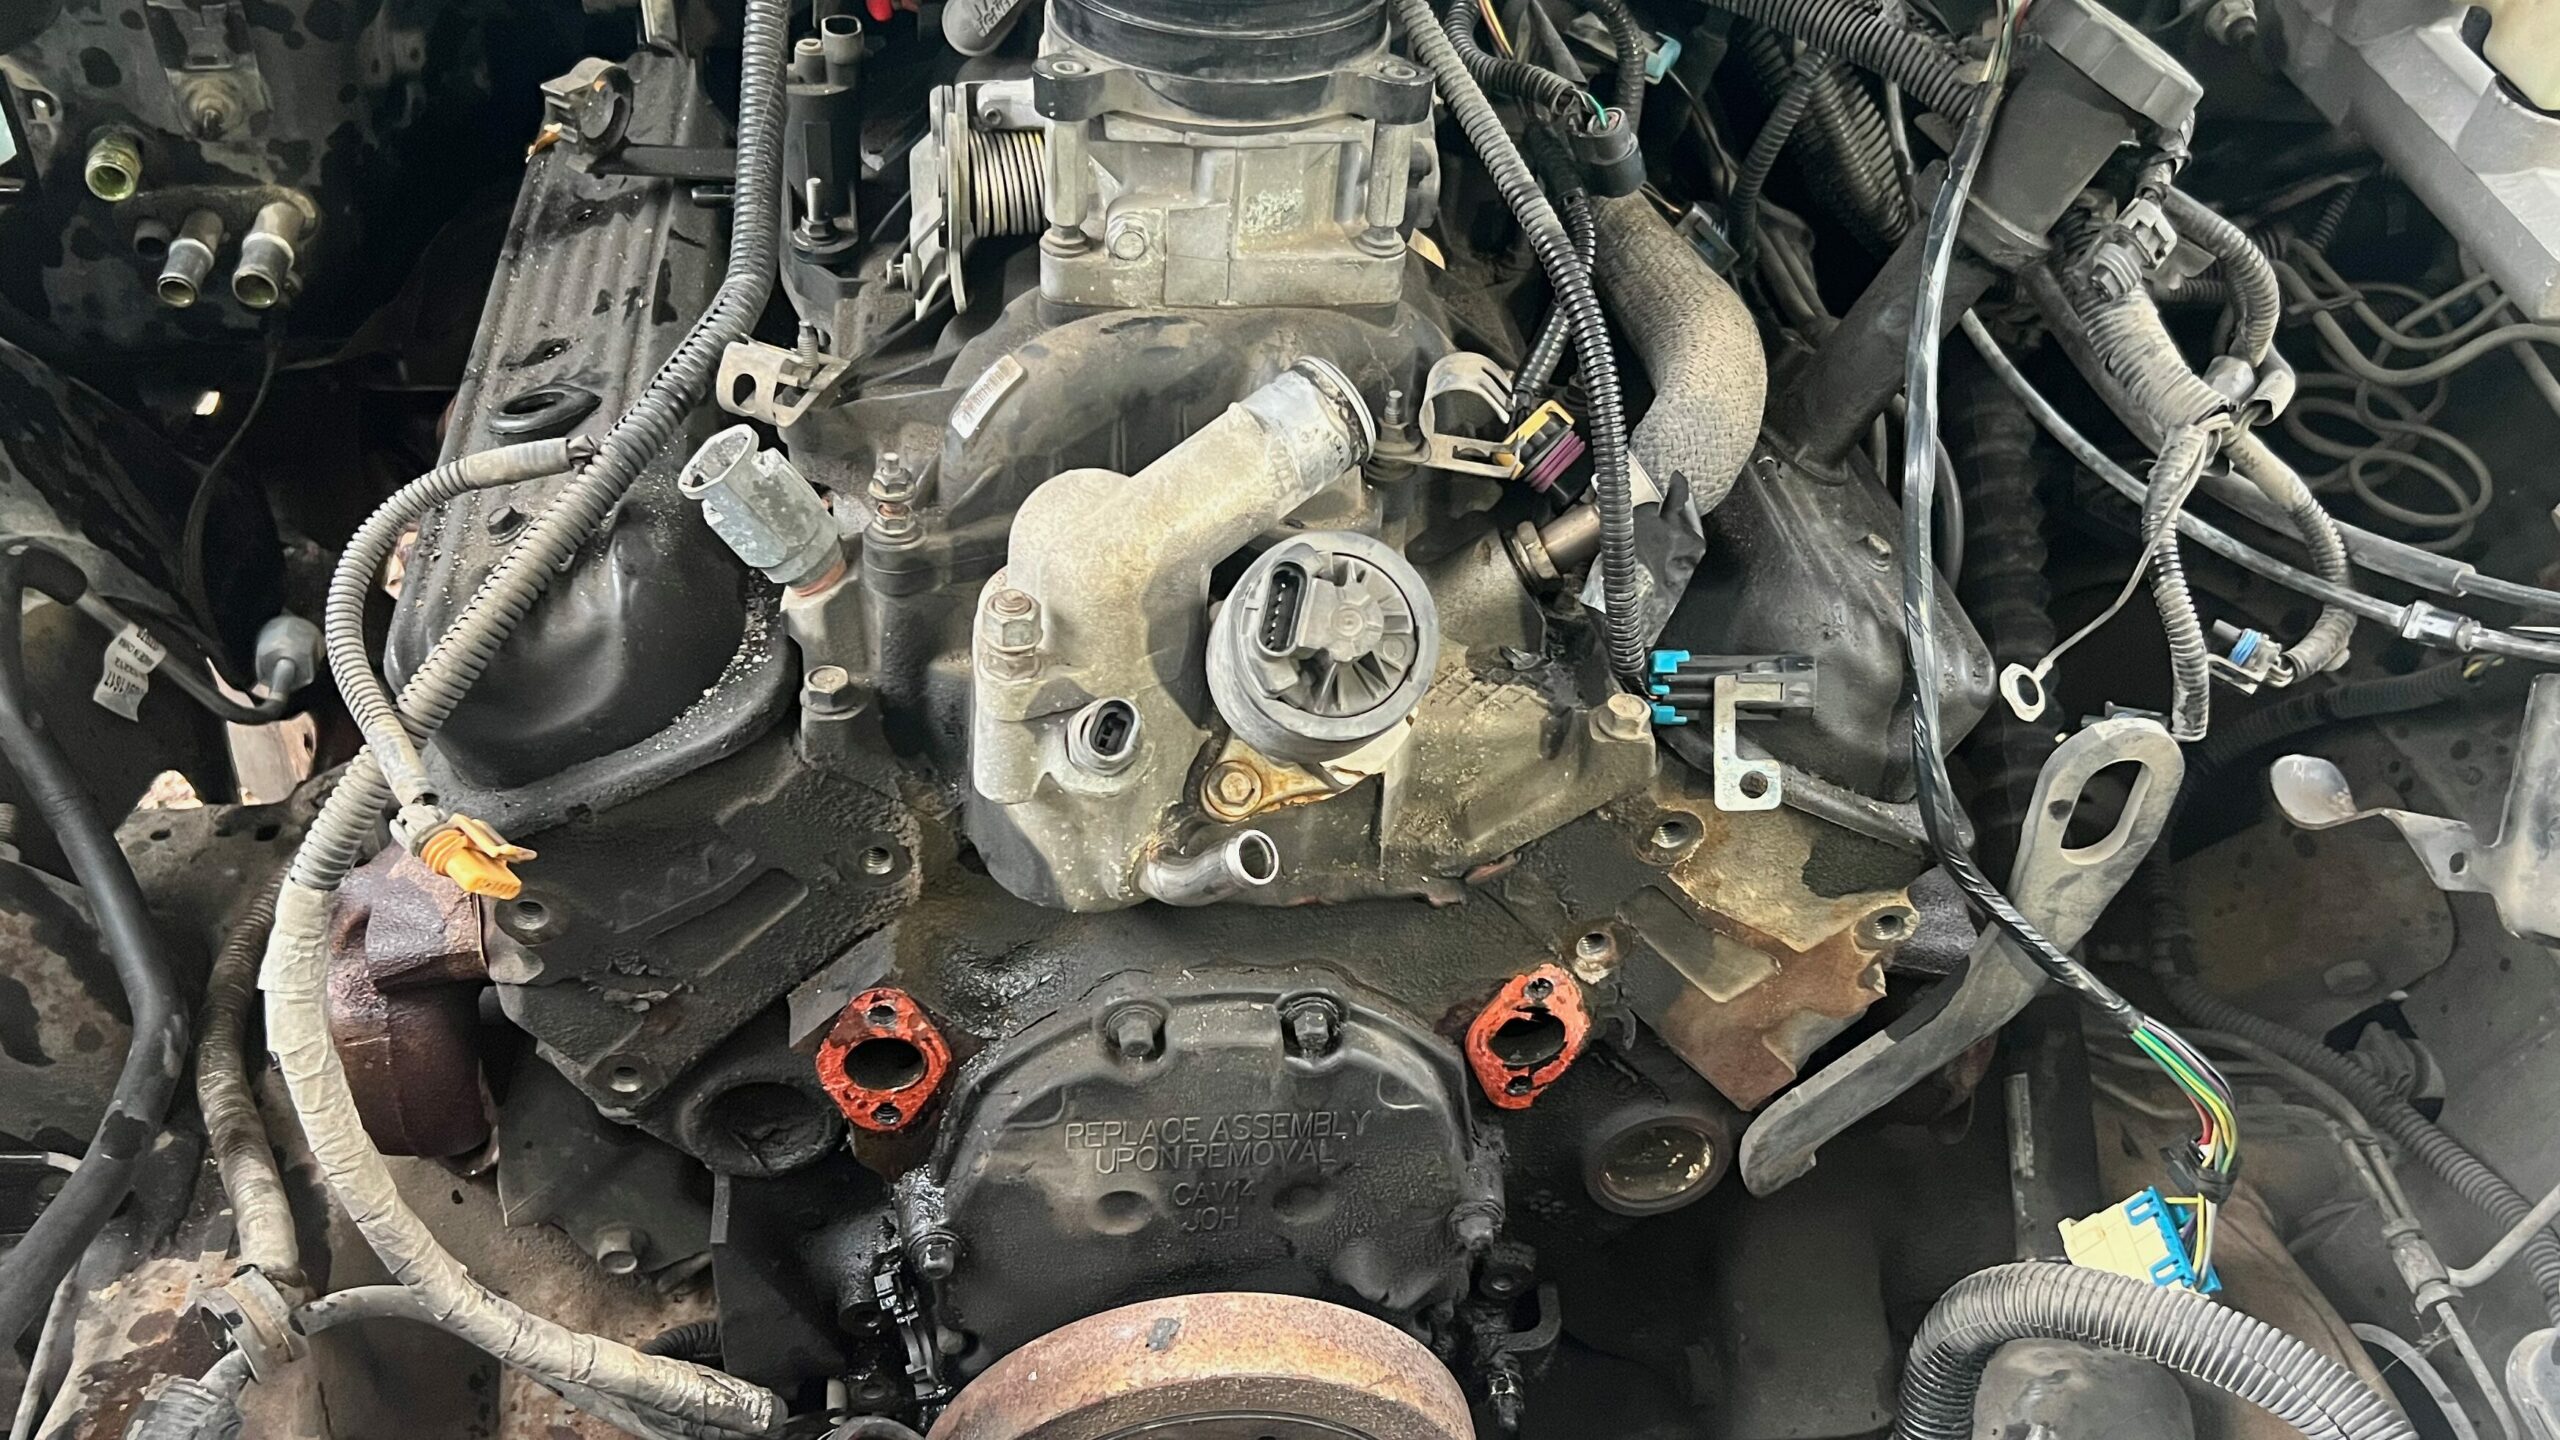
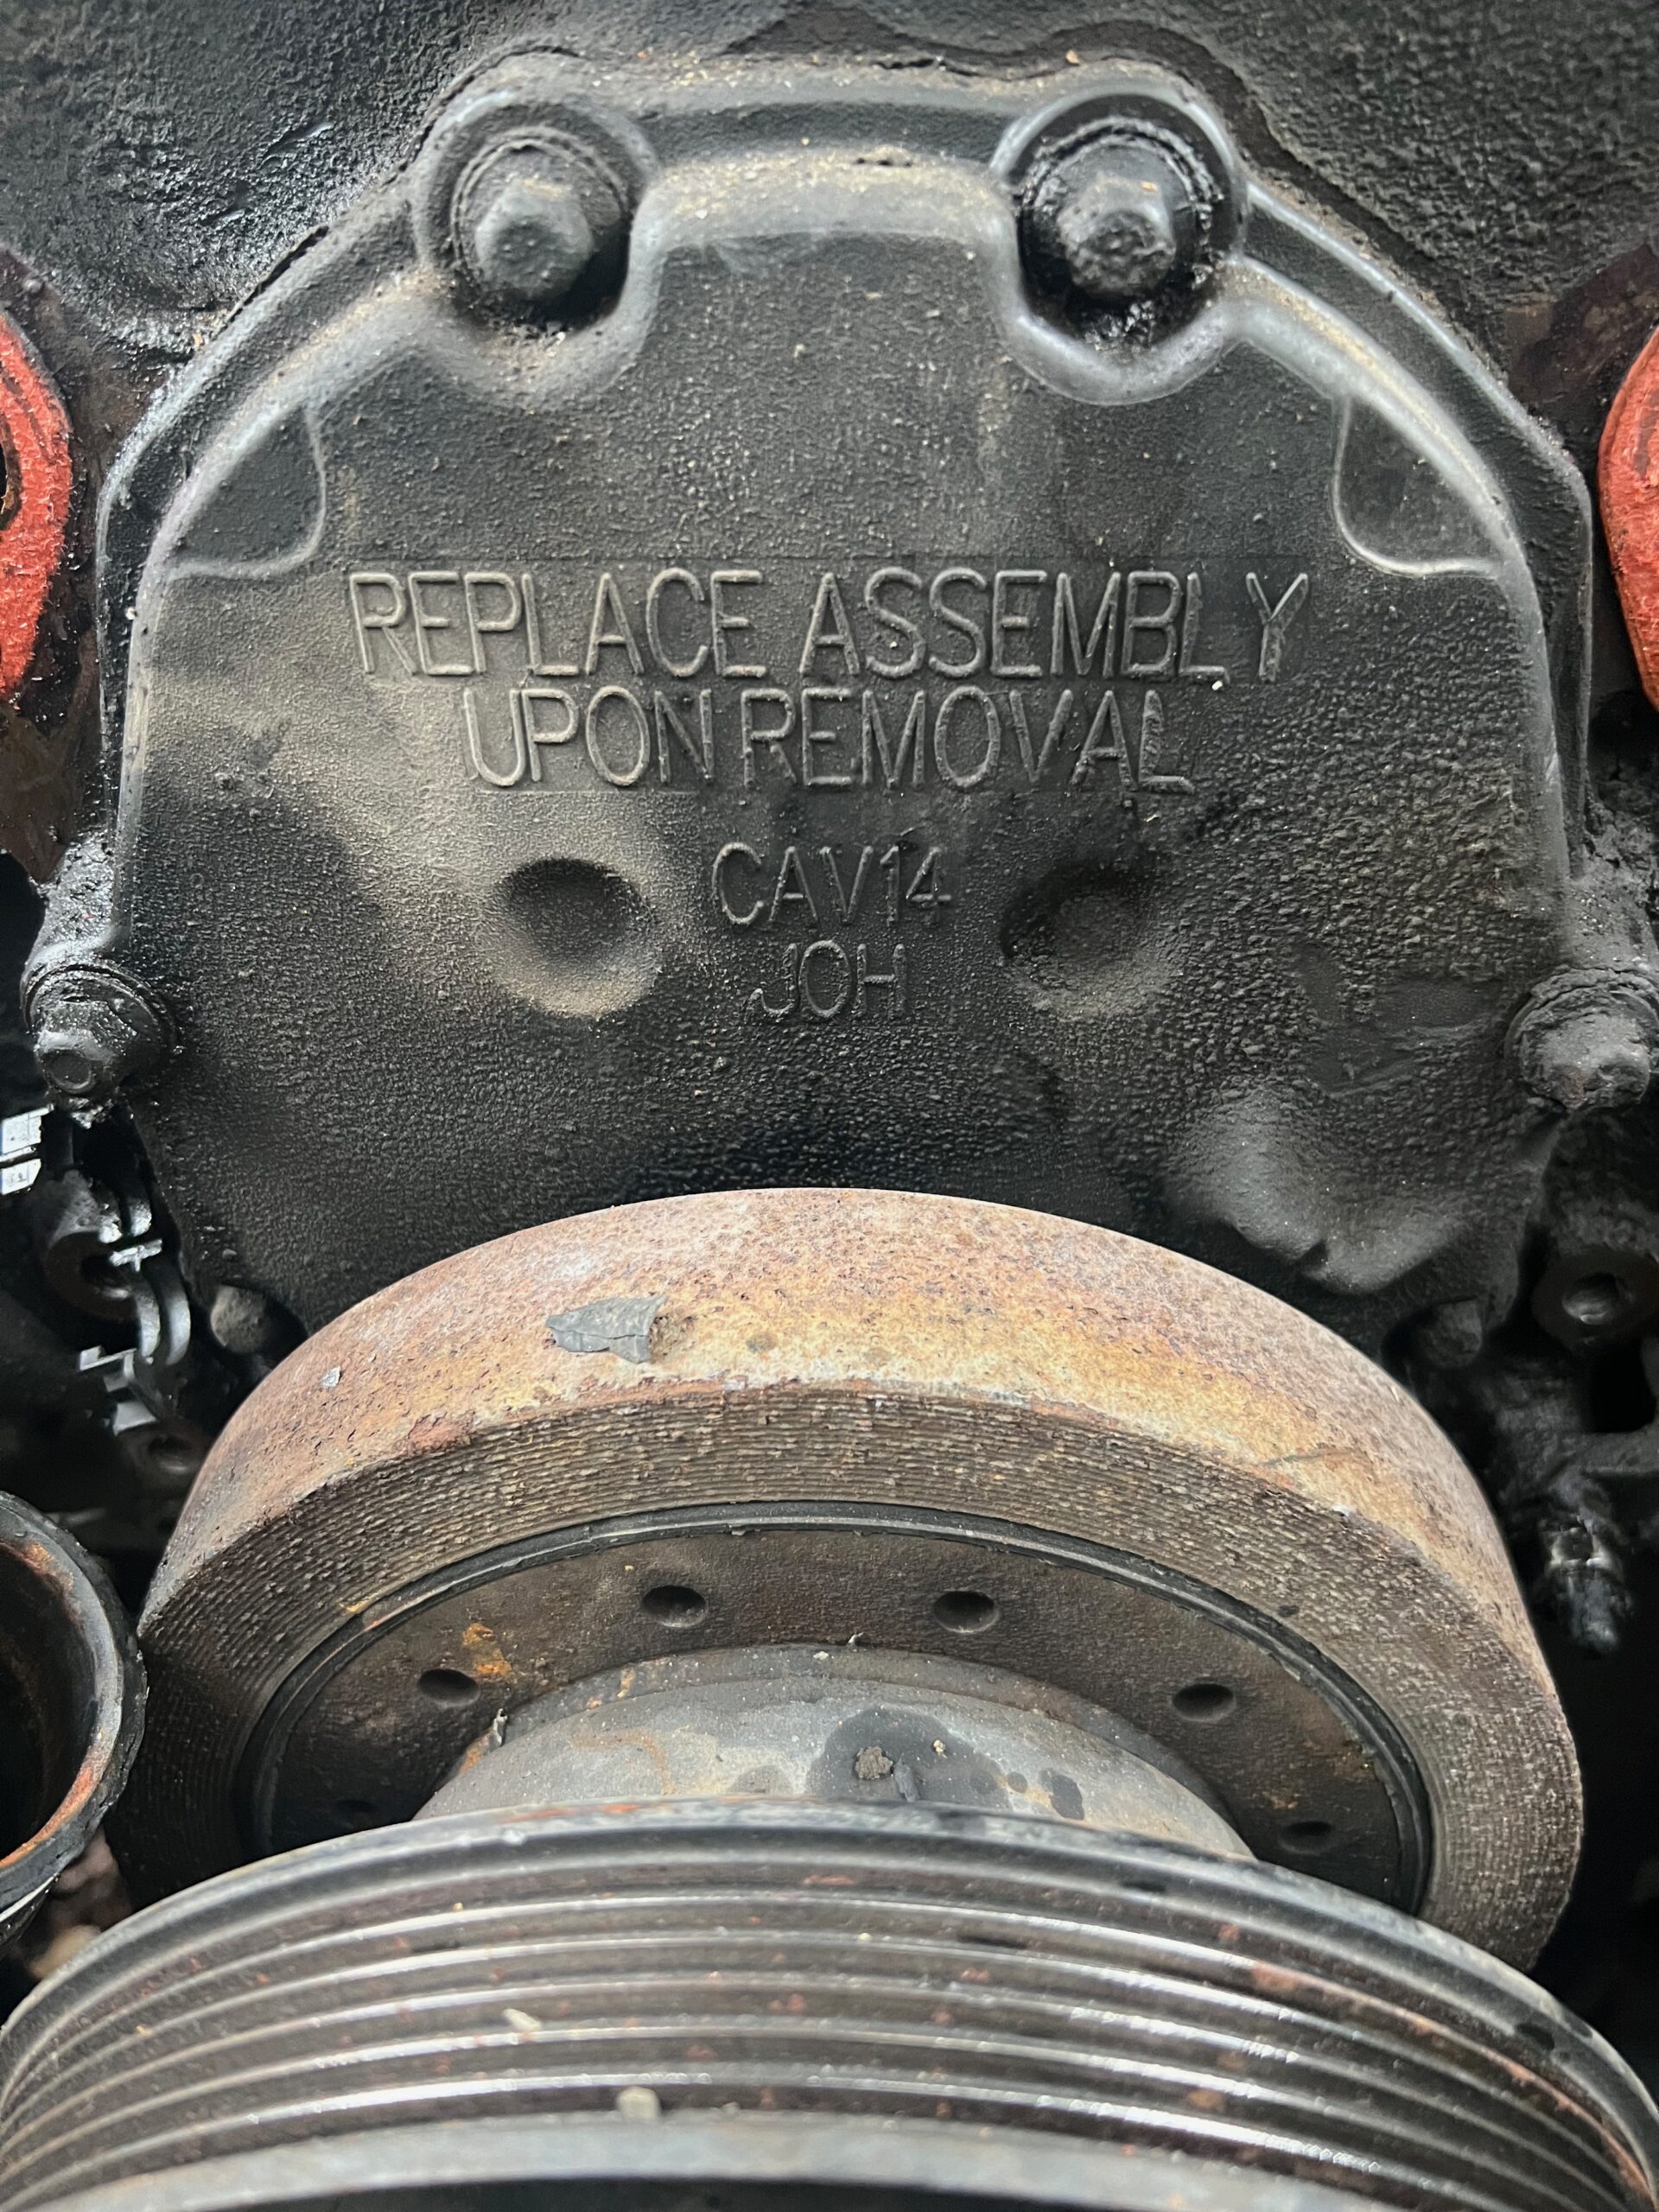
Something else to lookup online tonight. This strange notice on the timing cover. What “Engineering Marvel” warrants this type of warning. It’s probably so ridiculous it won whatever their version of an Emmy is.
List of parts for Betty so far.
- Timing Belt
- water pump hoses
- water pump gaskets / All engine gaskets
- possibly a radiator, if so maybe aluminum shroud and two electric fans.
- Power Steering Pump – or possible rebuild kit
- Heater Hose Quick Release Connector / replacement for Connector to hose fitting
Possible Extra Projects.
- Electric radiator fans
- Cold Air Intake Aluminum Replacement Box
- Electrical Bulkhead connector for AC/Heating circuit
- LED under hood strip lights
- 2-3″ body lift