Right of the bat here is the list of what was left this morning
- torque the vibration damper bolt to 70 ft lbs
- Attach the wiring harness to the firewall and inside the passenger side
Install the distributor- Install spark plug wires
- Install Spark Plug wire guides on valve cover bolts
- torque valve covers
- Install spark plugs
Re-install the exhaust to intake manifold pipe for the EGR vavleinstall the temperature sensors on the headsclean and protect heater hoses with tire shineInstall heater hosesClean and Paint the alternator (maybe)Just cleanInstall alternator bracketinstall alternatorinstall the water pump hoses to the heater- Install pcv hose assembly
- Install vacuum lines
Connect the harness to the injector block and other intake sensors- Clean, paint and install the front pulley mounts.
- Clean and paint radiator top mounts
- Rebuild the Power steering pump
- Paint Power steering pump
- install Power steering pump
- Install power steering Pressure line
- Install Power Steering return line
- Install the AC compressor without connecting it (another project)
- Install the serpentine belt
- Install the fan and fan clutch
Clean and protect fan shroud with black back- Install the fan shroud
- install the top radiator hose
- Install the cold air intake
- Install the throttle cables
- Install the new cruise control cable and box
- Install the Battery
- Install the Positive Battery cable to the Alternator
- Install the Positive Battery cable to the Computer
- Install the Positive Battery cable to the Battery
- Install the Negative Battery cable to the battery
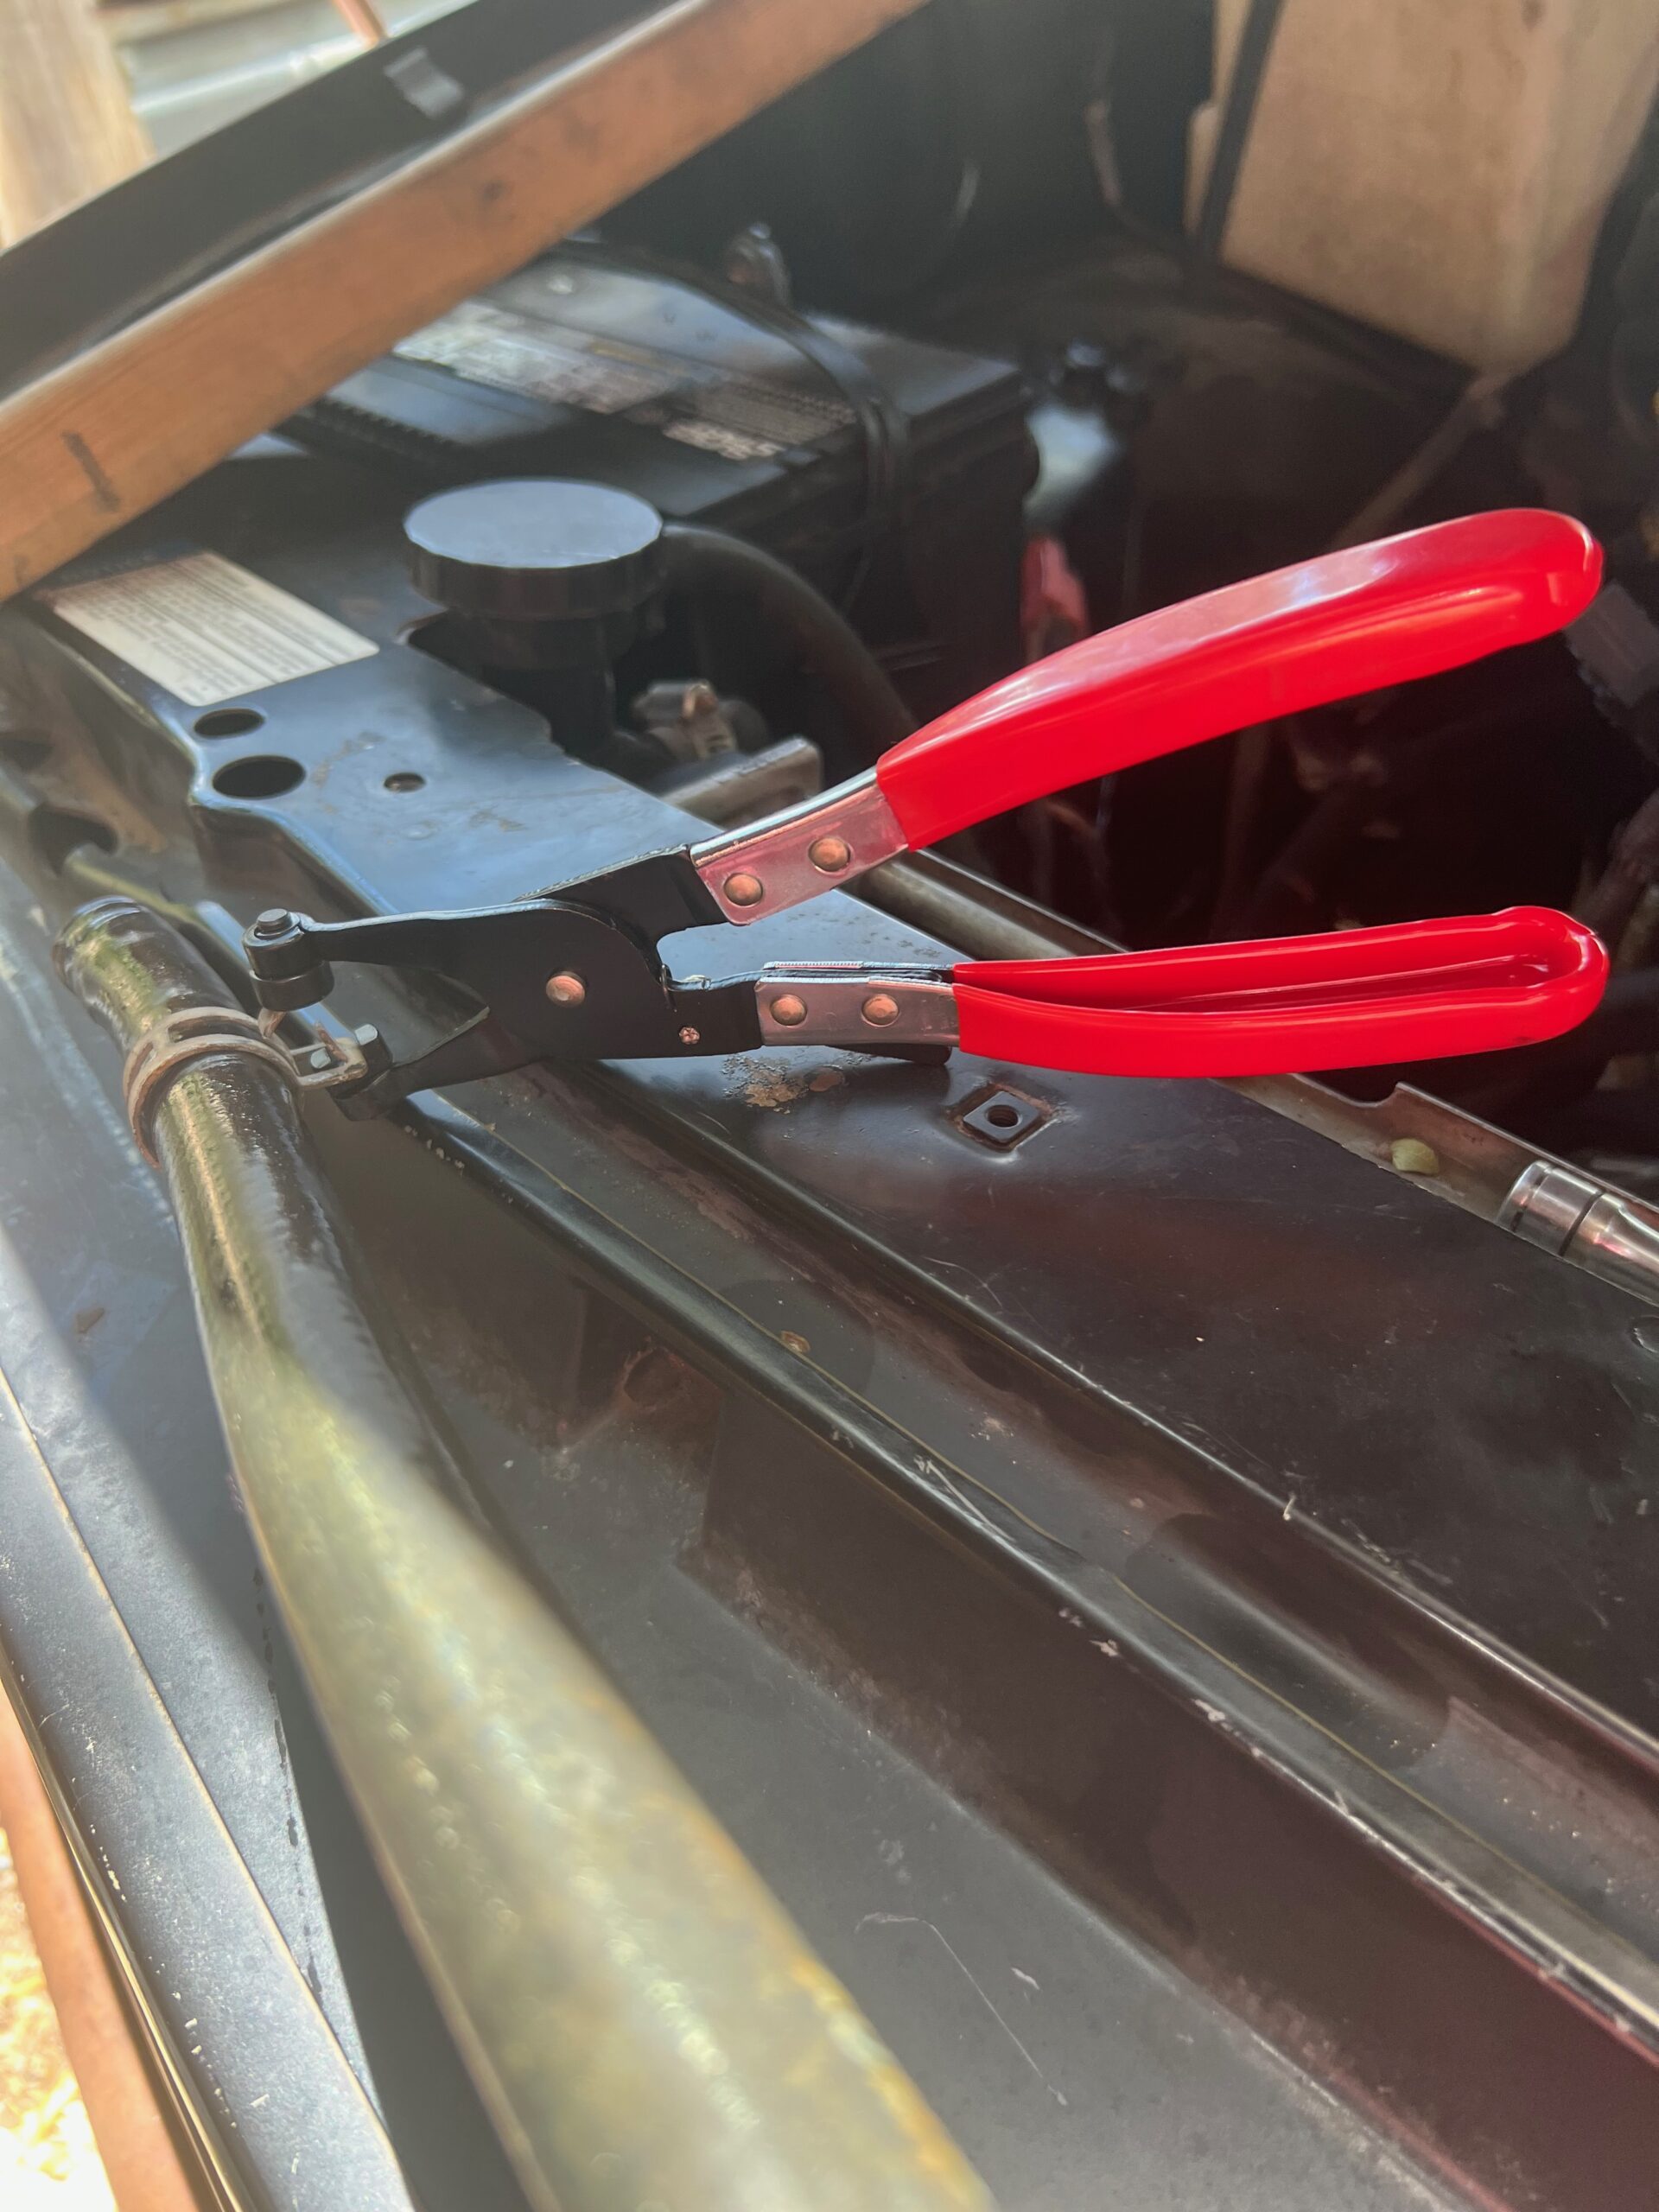
I got a LOT done today. I managed to sleep in til 9:30 a.m. which was pretty awesome and relaxing. I was down in the shop by 10 a.m. and enjoying the small but important tasks. I forgot the tire shine back at the house and it took 10 minutes but I finally talked sense into myself and just jumped in the golf cart and whet back up to the garage to picked it up. I used it to clean and protect both of the heater hoses. I actually managed to use my hose clamp pliers. I bought a kit full of them for this type of job. They actually hold the spring clamps open at almost any angle so you can get them arranged properly. So much better than pliers that slip off or channel locks that need to be held to keep them open.
I was very happy, I not only remembered to use them but also they were on the tool cart where I could find them. That is a pretty big victory around here. Speaking of such matters. I just ordered the PCV hose rubber parts and the oil pressure sending unit and this time with a socket to install it. I’m annoyed that I can’t find them but I will not let it slow me down. The are scheduled for delivery tomorrow.
After the hoses, I looked around for bags of bolts that need to be re-installed. There were two metal brackets marked drivers side intake manifold. I figured one was to hold the wiring harness of the valve cover and the other was to hold a plug off the exhaust egr hose while tightening the first bolt I noticed the initial blot was not tightened. So I took that as a sign I need to torque the upper intake manifold. I got it snug with a 3/8 ratchet and didn’t bother pressing my luck.
With those installed I moved on to the exhaust gas recirculating pipe. The cap on the exhaust came off immediately. Obviously not tight enough good job its not staying. I had cleaned up all the treads on the manifold and the pipe and it will be much easier than had I not which is good because it is very hard to reach at the bottom of the engine on the back. I sprayed the rusty threads with some PBBlaster and did as much as i could with my fingers. The rest required a 1 1/16″ wrench. That is a large wrench and there was no where to swing it. I had to make a very steep angel to get it to turn but it worked out. I’m not sure how tight it is but hopefully it will be OK. the other end was a slightly different matter. It is easier to get to and the 7/8″ flare nut wrench fit well but getting the pipe to line up so the threads would engage was a struggle. It took about 3 minutes and some weird facial grimacing it finally caught and threaded down to the seat. Another task checked off. while working on it I noticed the exhaust manifold bolts were loose. So I checked the Haynes manual, it says 11 ft pounds for the first tighten and 22 ft pounds for the second tighten. Plenty of space to get to them and clean threads means they went in easily. That seems like a light torque setting but maybe it is because of the fat gasket that doesn’t need to be crushed. Either way I am about to check another site to see if it is sane. Seems that it is, also I should have been calling my engine a an L31 all this time. This is he official block type not an LT1 or an LS1 but an L31 which was only made between 1996 and 2000.
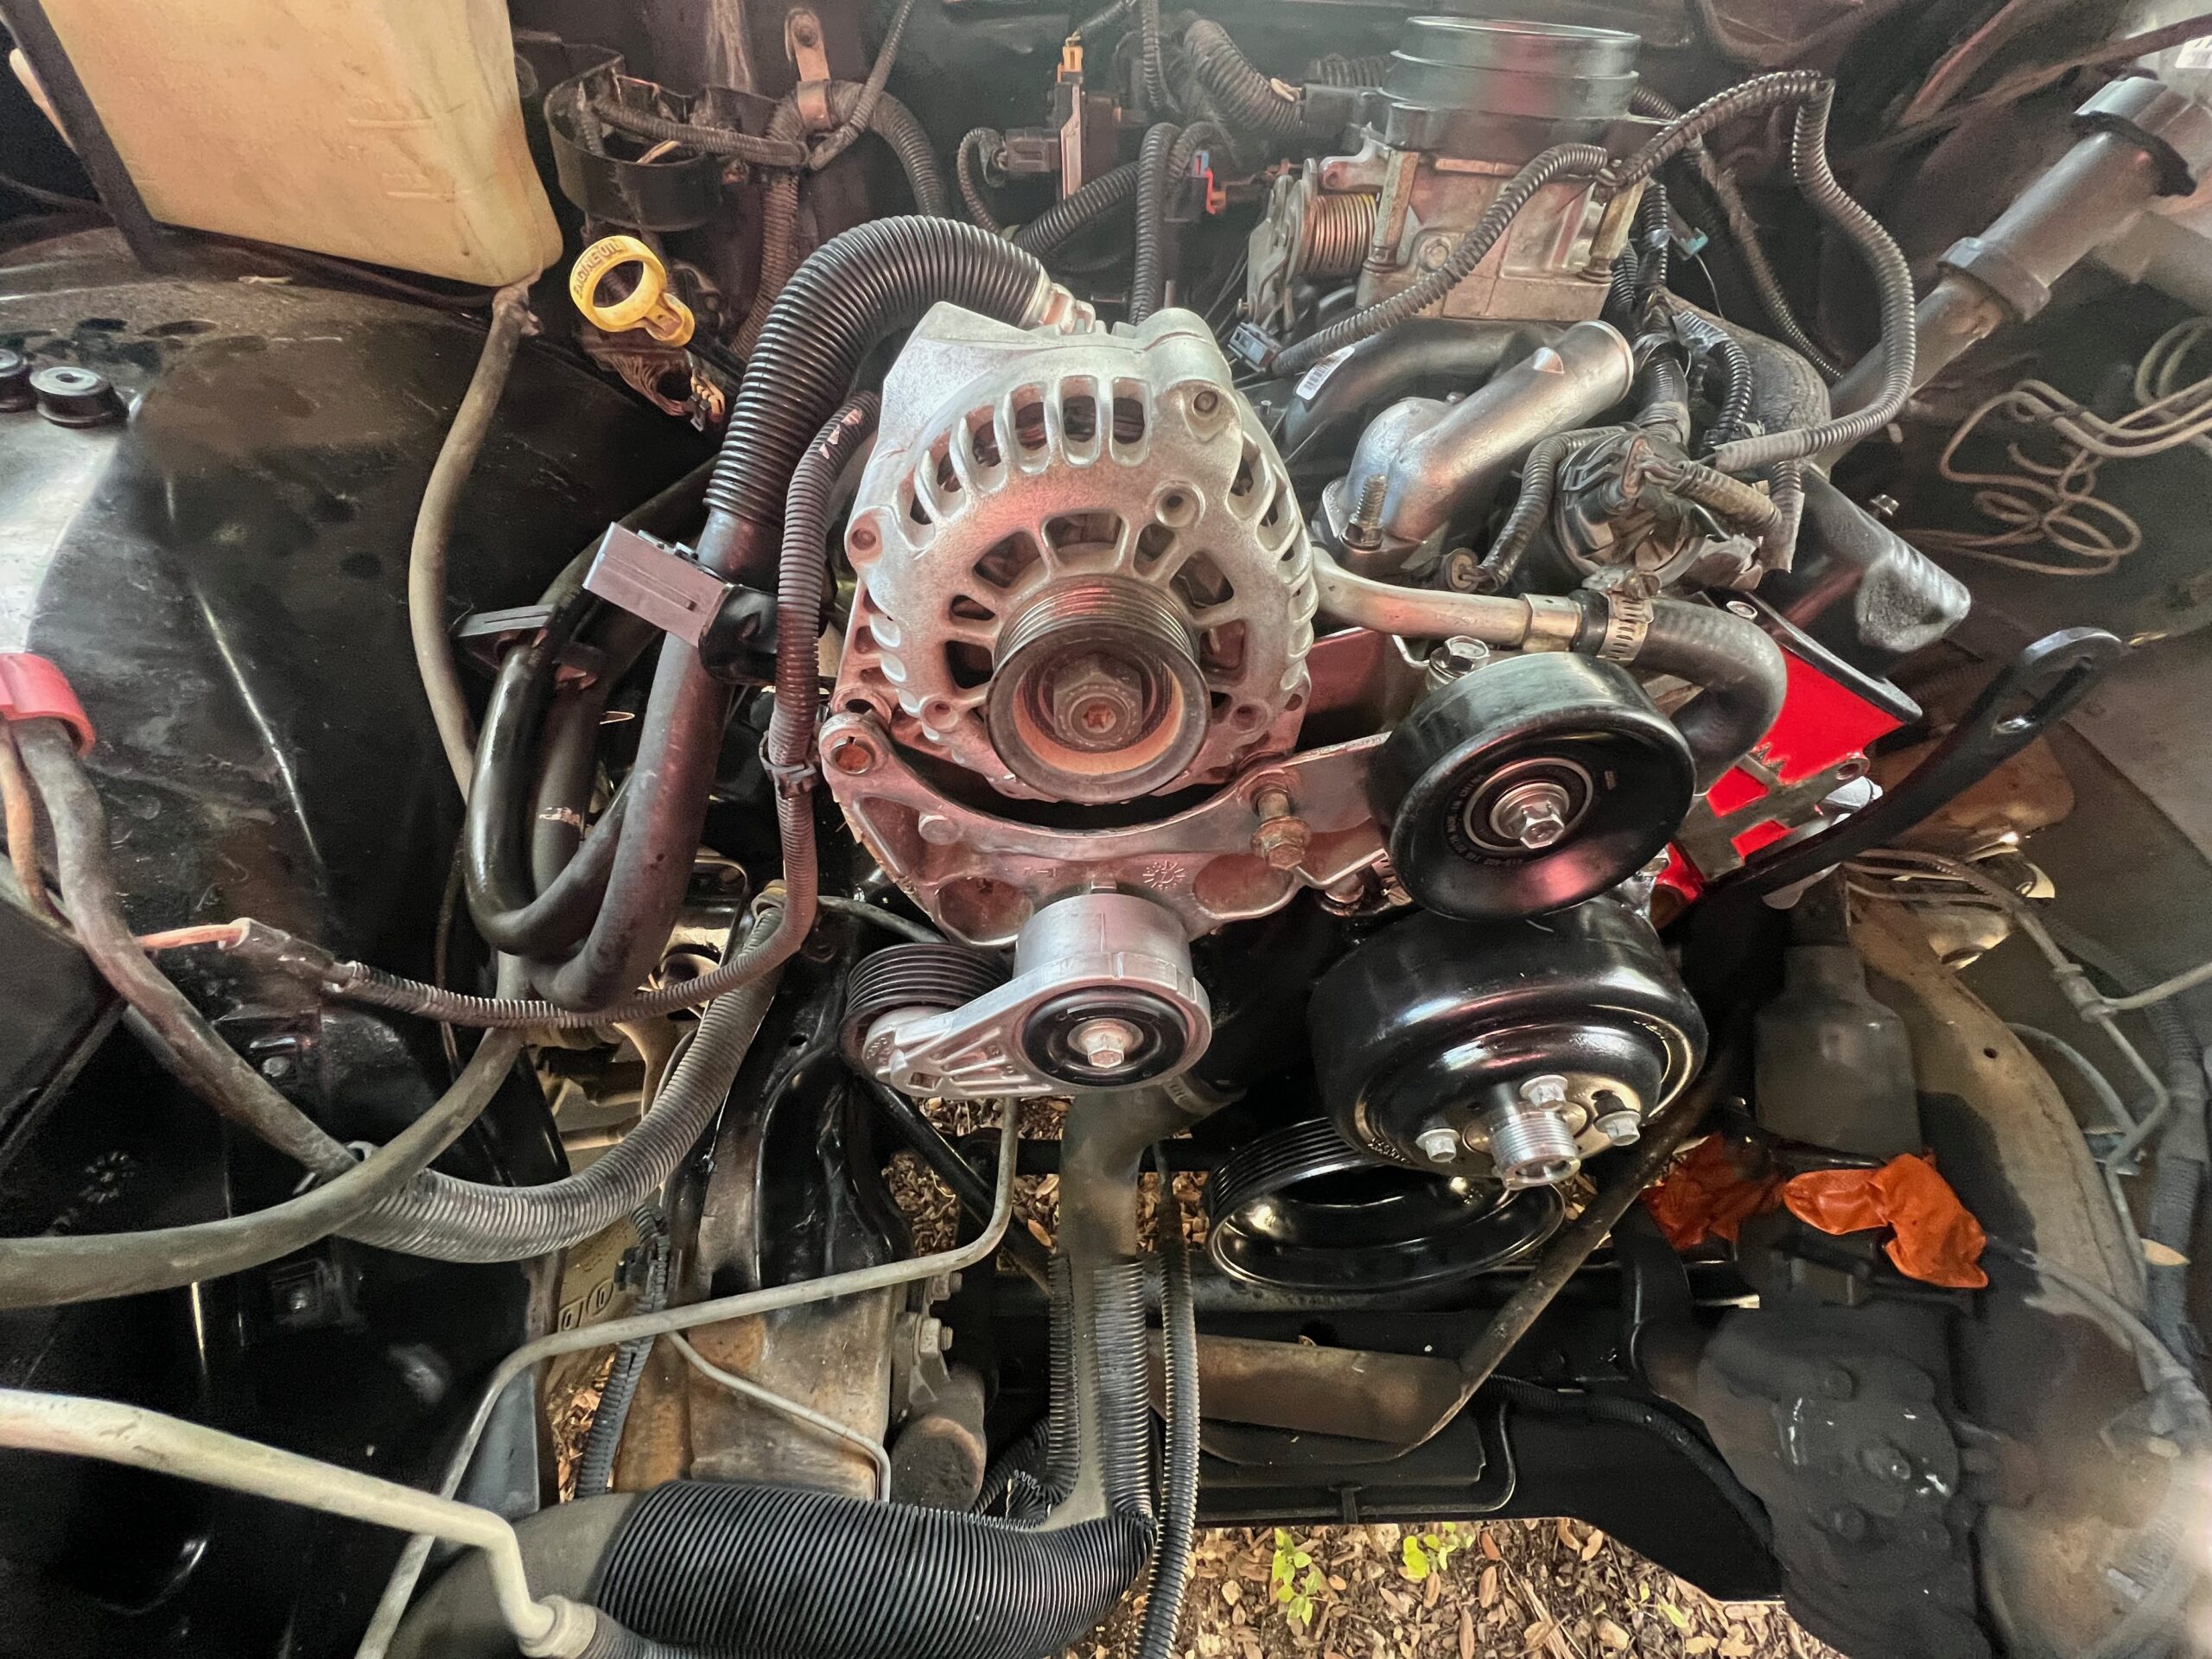
Now it was time to work on the front of the engine. The two large aluminum mounts for the alternator, the power steering pump and ac compressor are mostly just dirty, only slightly oily, but they have so many compartments and nooks and crannies. Clean them with the wire wheel was a pain and dangerous since it kept grabbing and trying to chuck them across the shop. The same goes for the alternator itself. I was considering taking it apart and painting the case, but this seems like overkill just to make it look nice. The clean case is good enough. Mounting the alternator bracket was affirming that everything was in the right place. The clamp on the heater hose on the top of the water pump needed to be moved due to clearance issues with the bracket, but the hoses and wires all lined up and clipped into the guides just as designed.
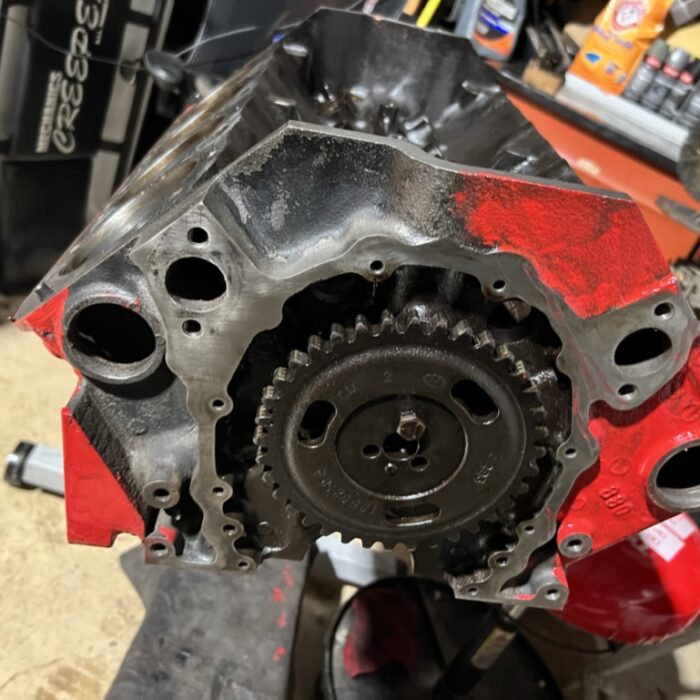
Not sure if working on the front of the engine was too easy or what, but at this point I decided I needed to put the distributor in. The actual reason was that i recognized it would be difficult to see the timing mark once the power steering pump and bracket were installed. Since I have been moving the flex plate to get the torque converter connected I need to get the crankshaft back to top dead center. Using the 16mm with a 6″ extension on the 1/2″ torque wrench I turn the engine. I had removed the valve cover on the drivers side to see the valves. I gave it almost two rotations till the intake valve had closed and the piston came to the top, signified by the timing mark aligning with the groove in the timing cover. Happy with my logic, I set up my trusty over engine platform….
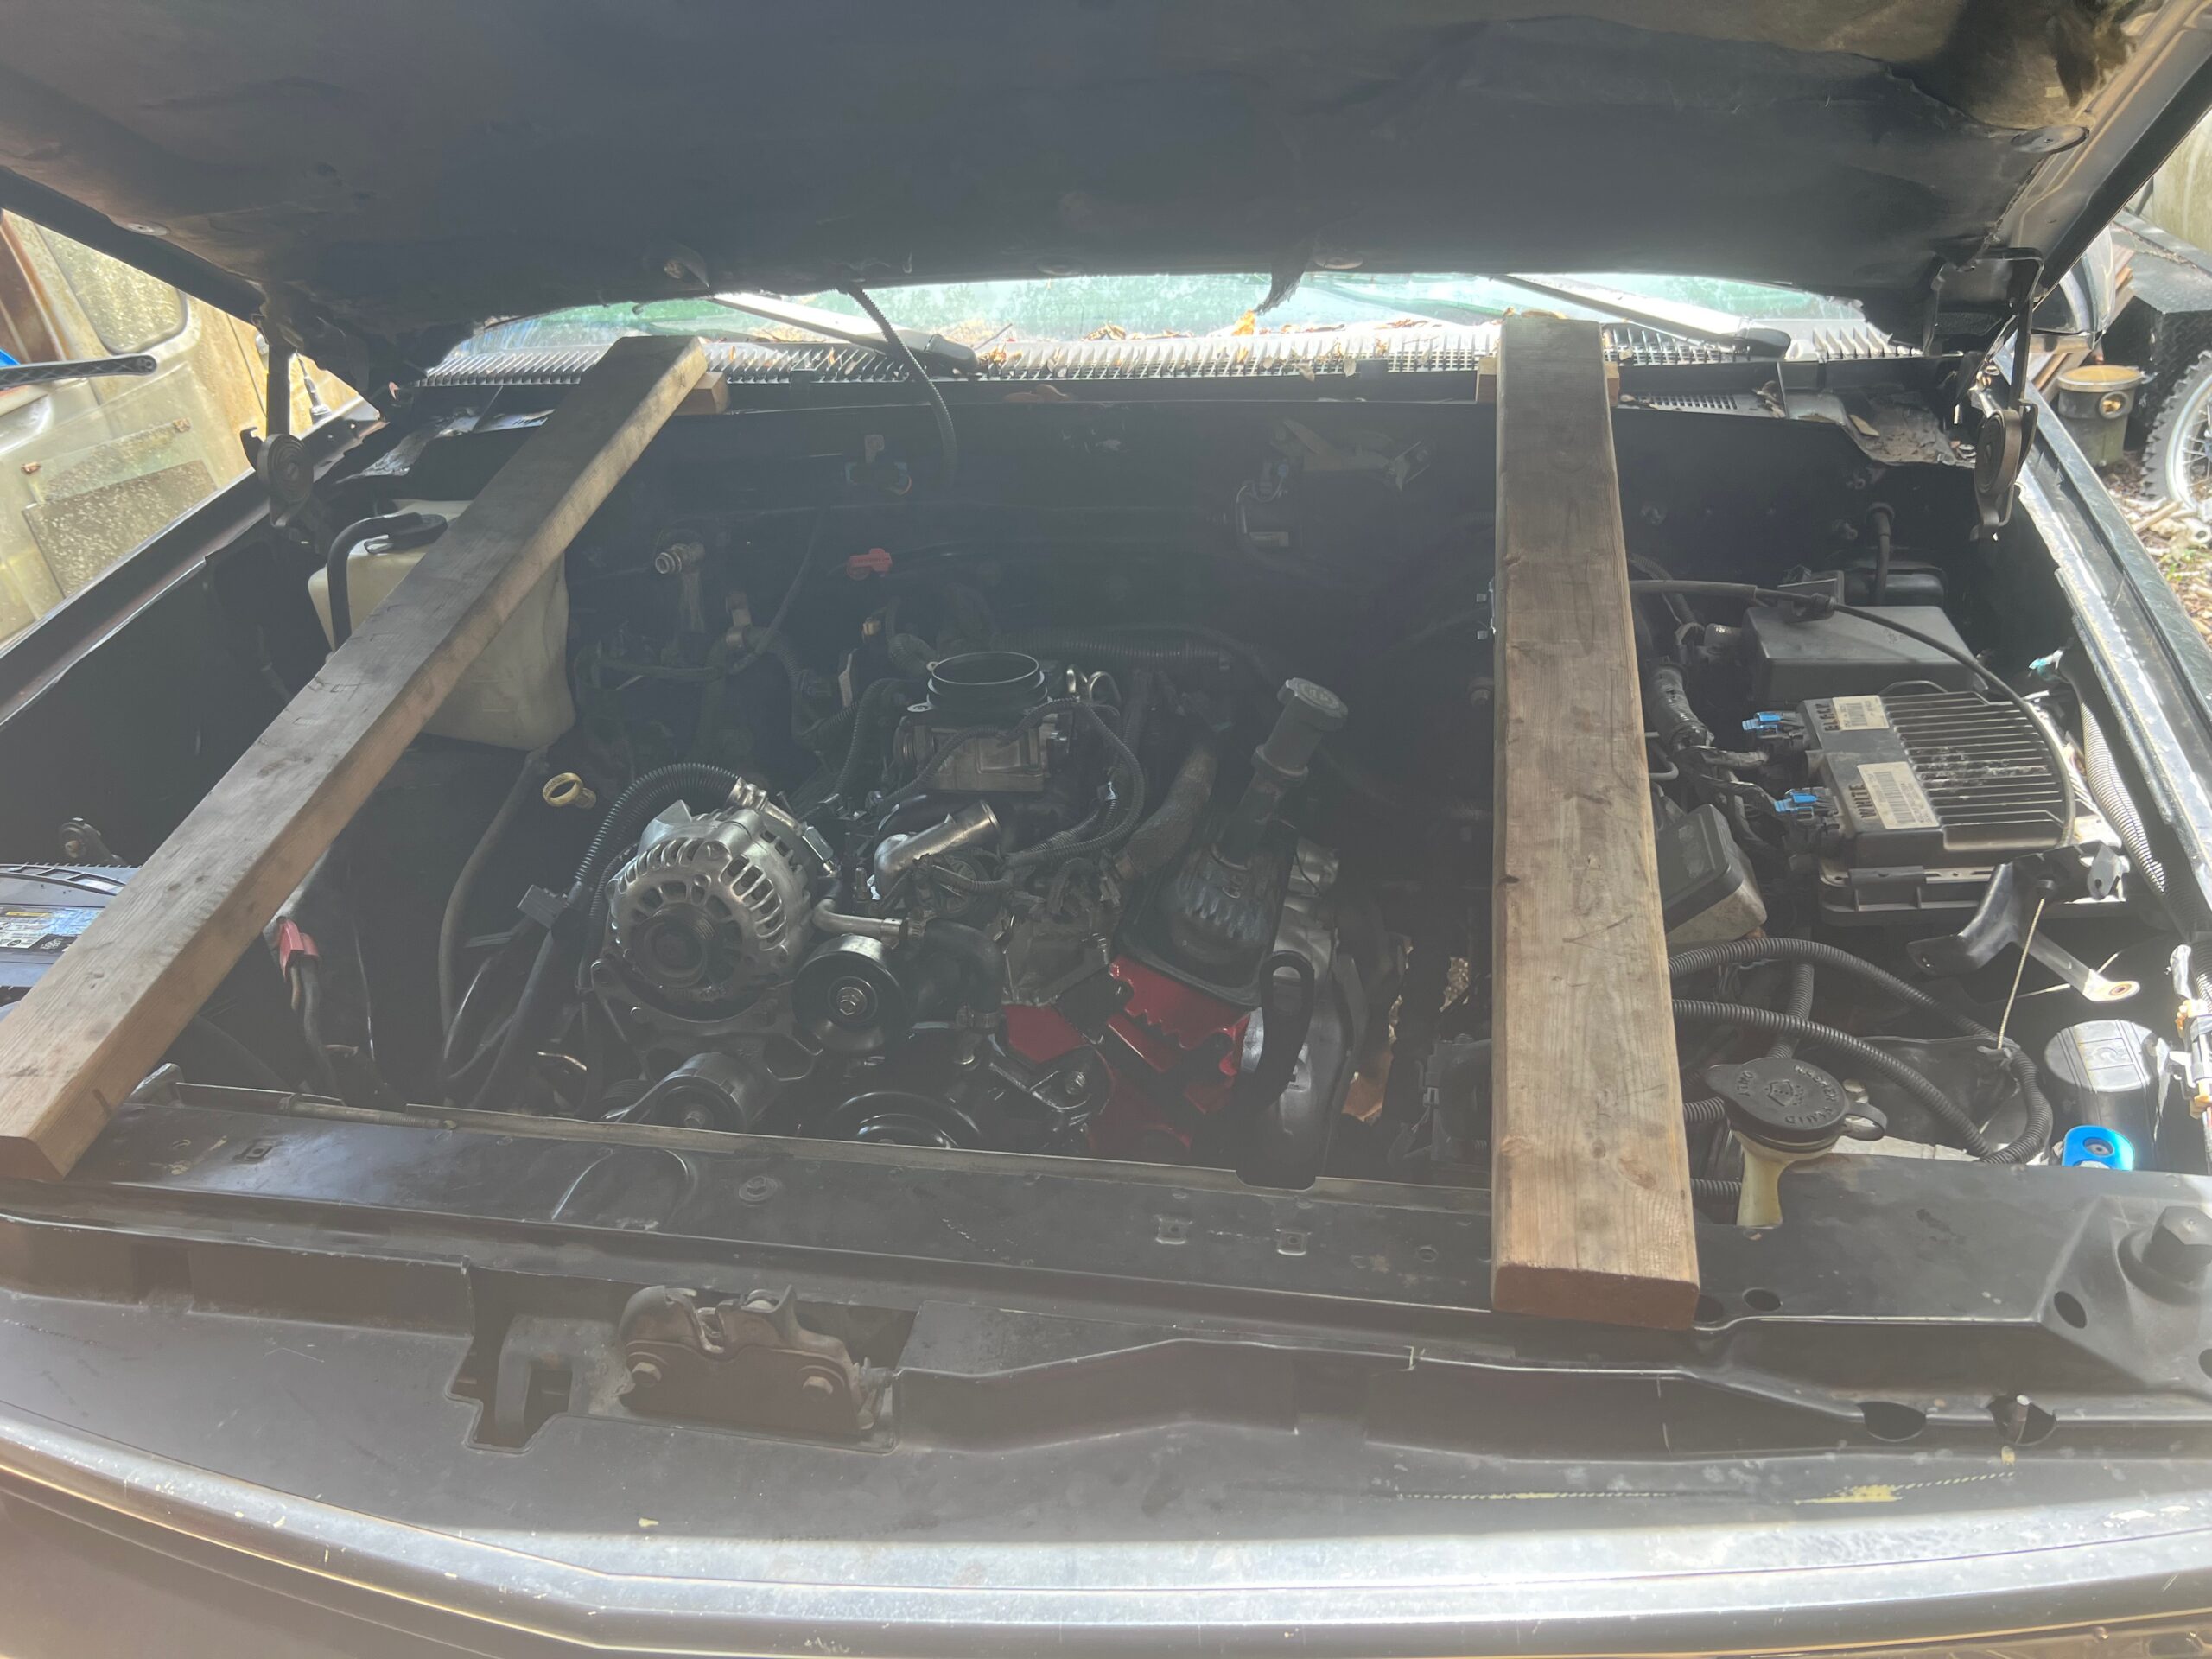
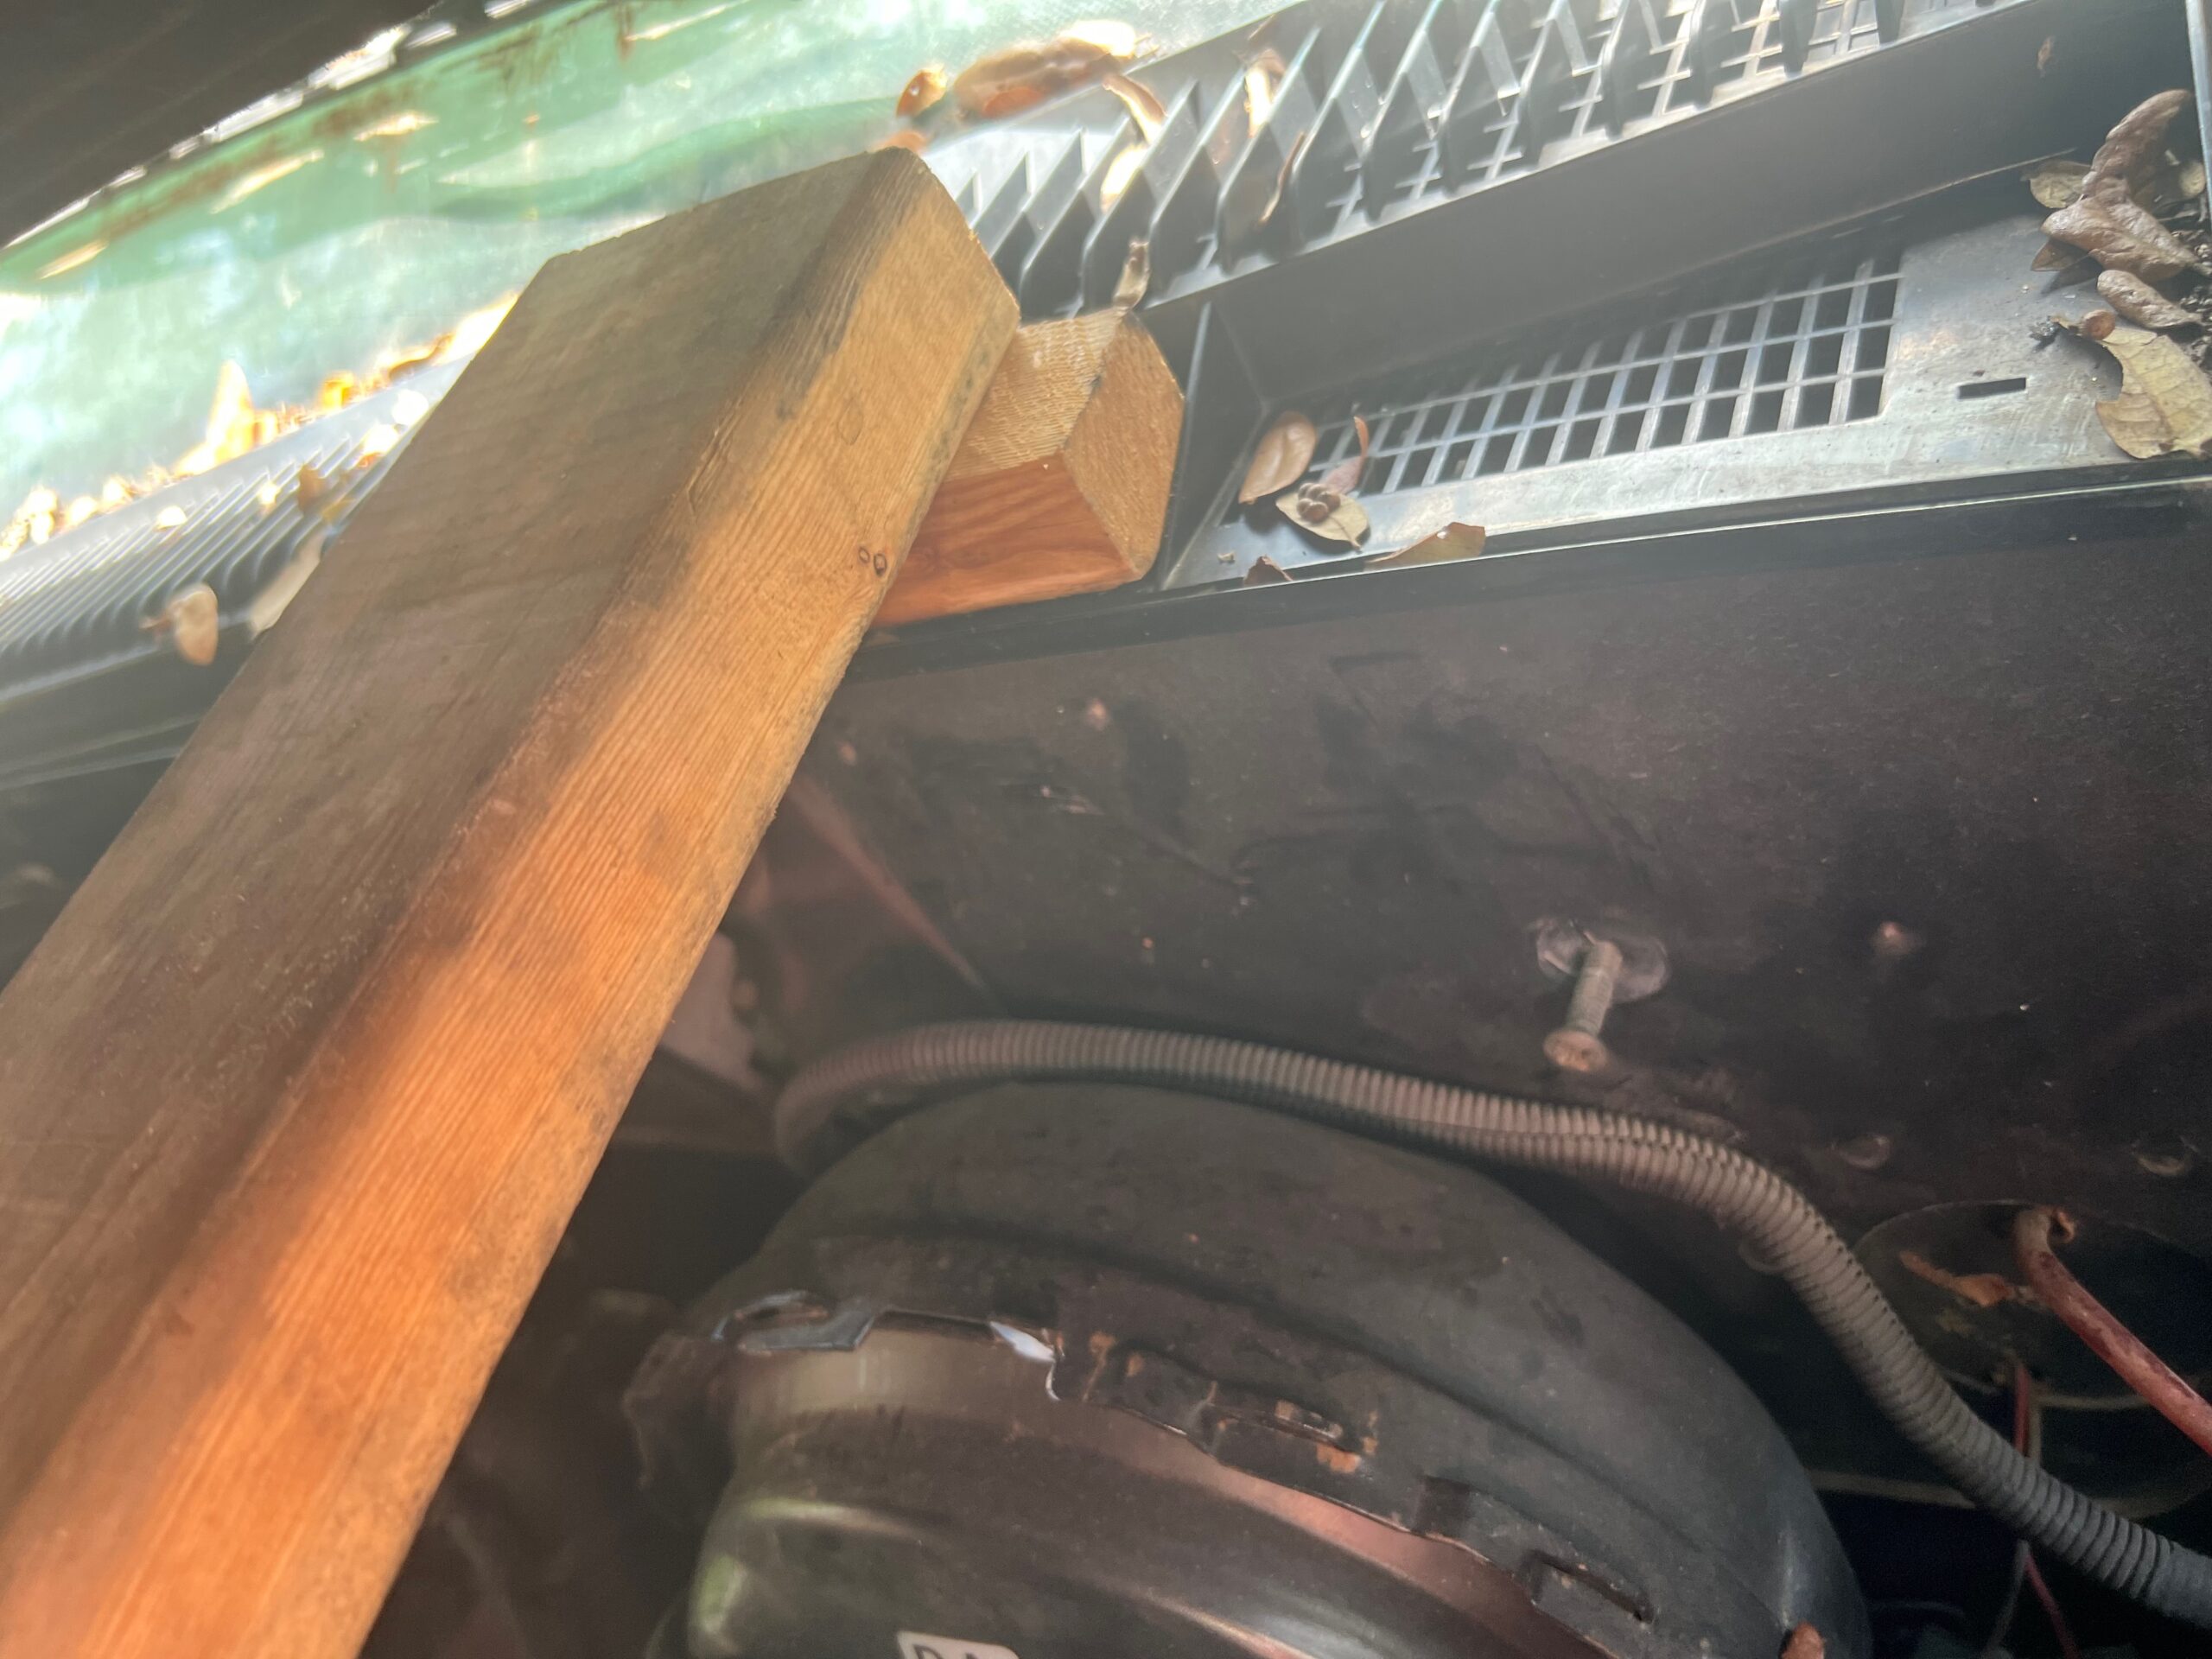
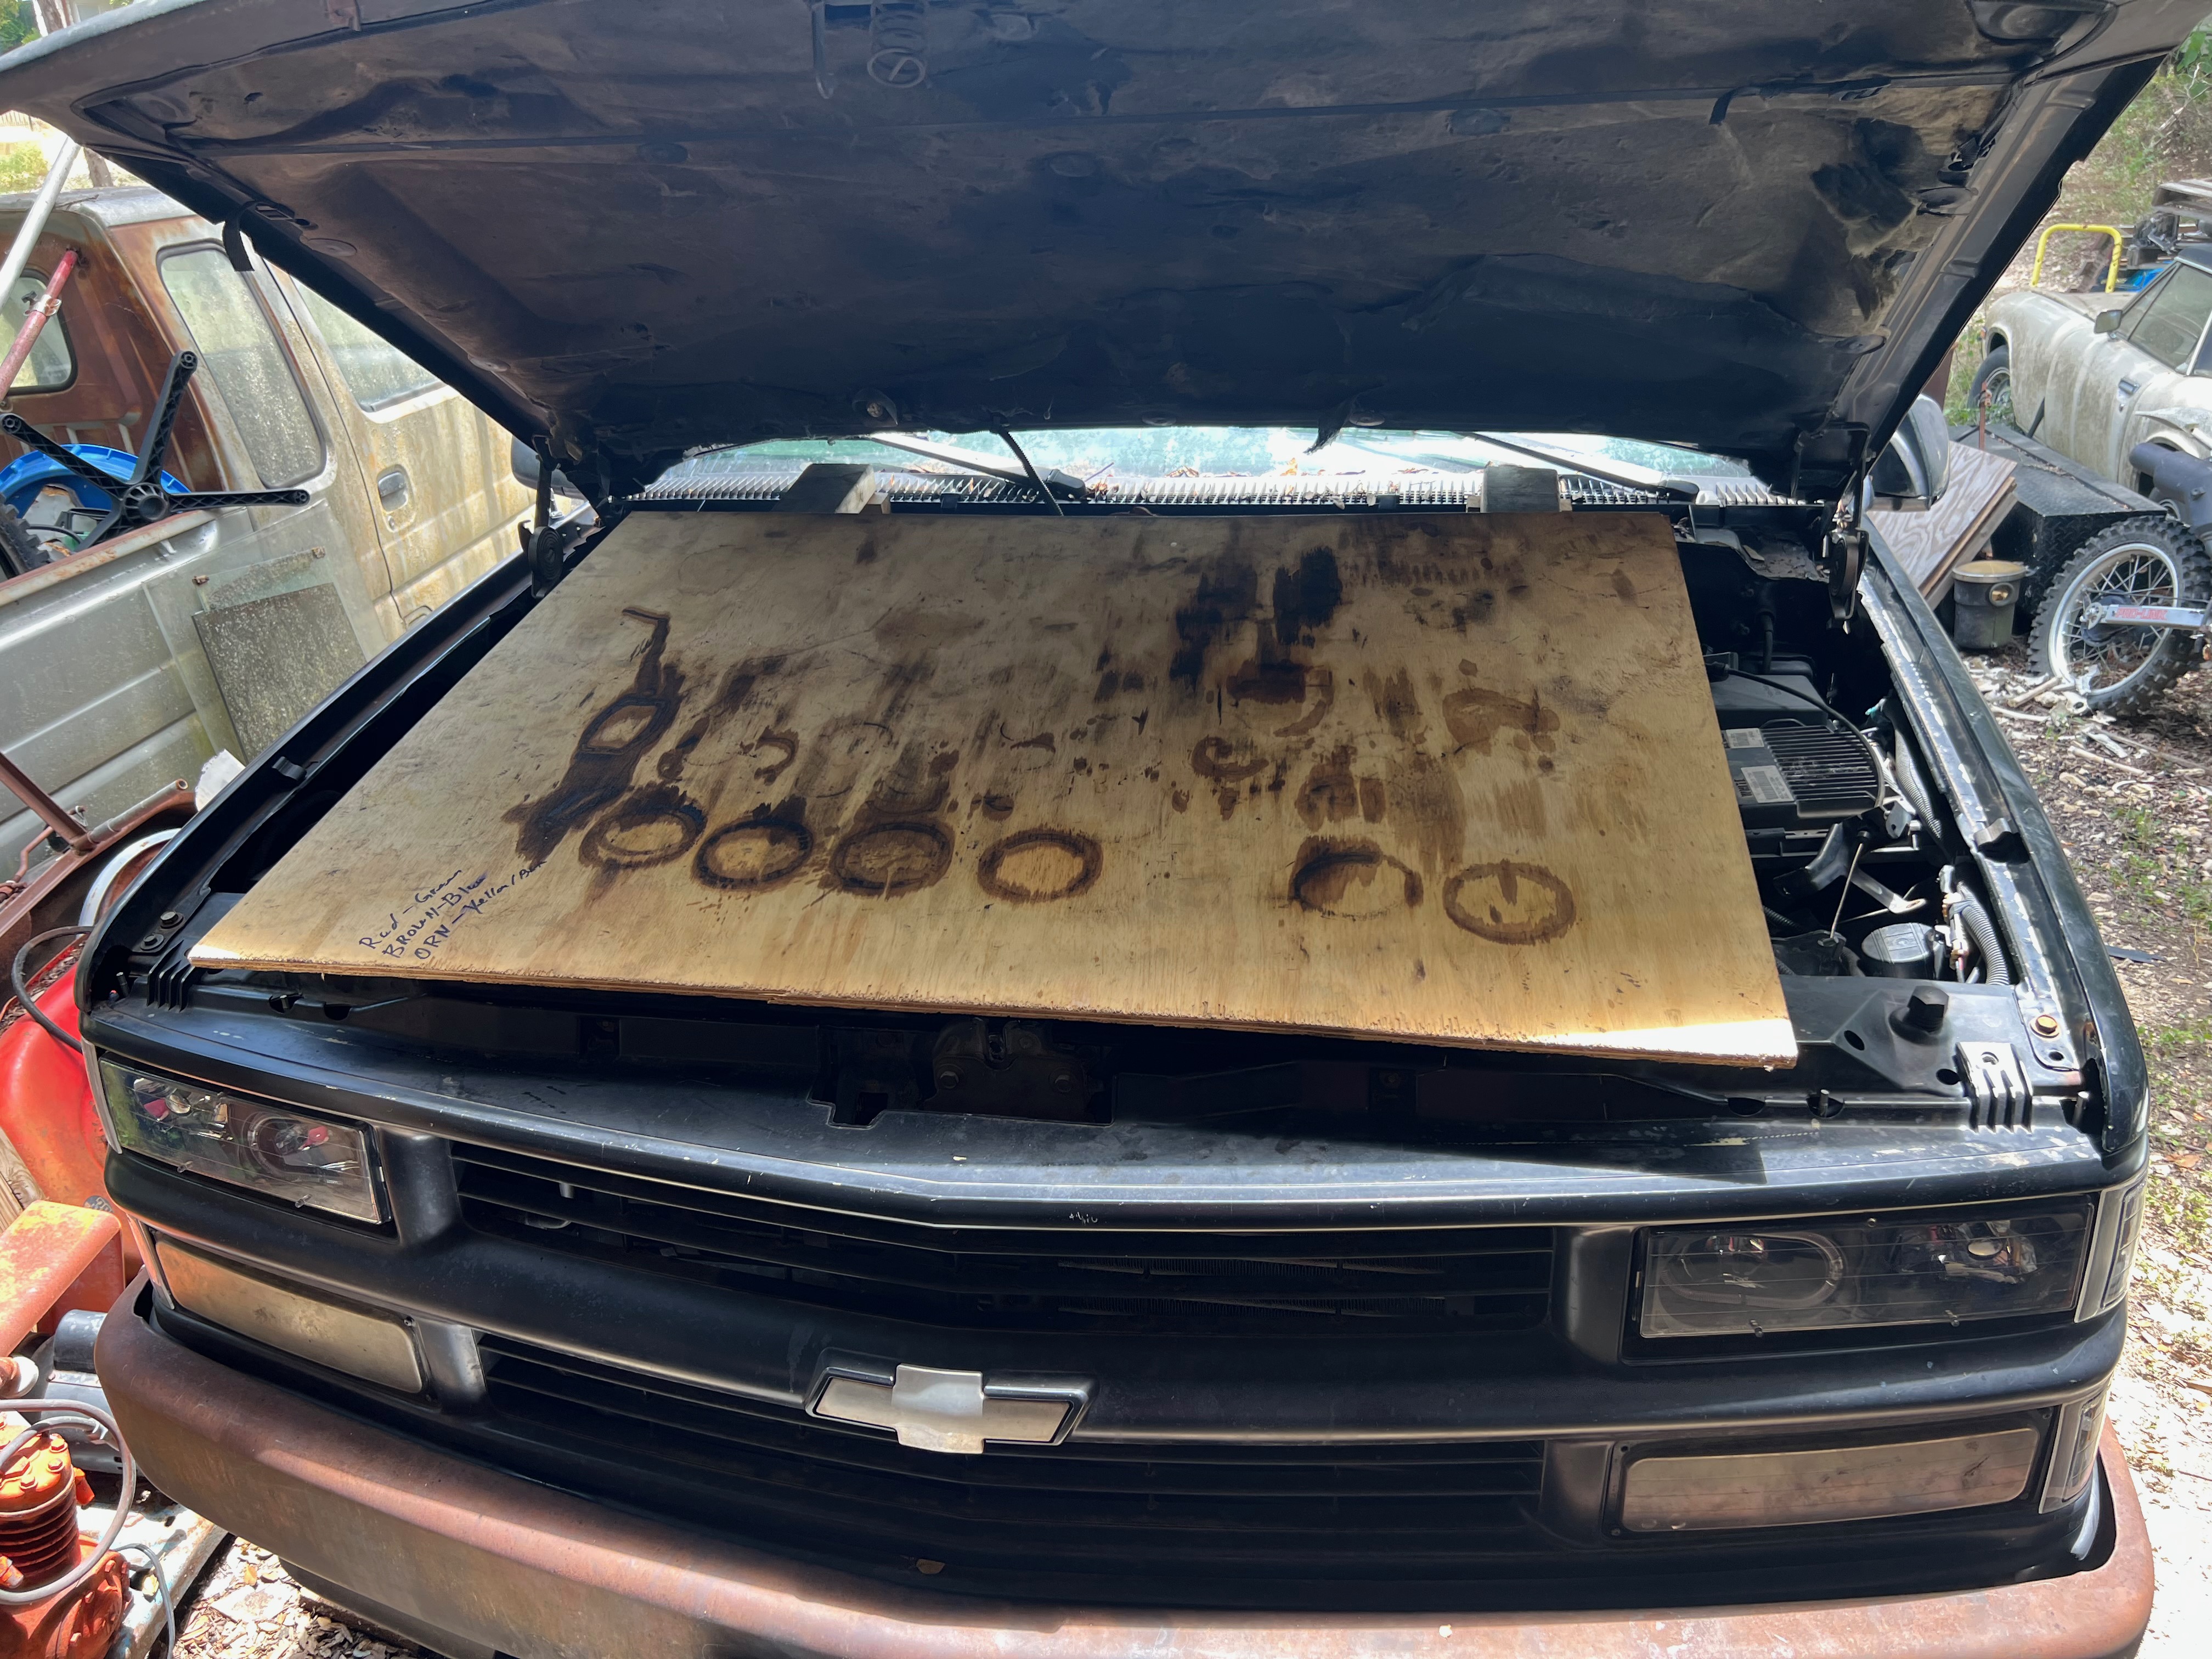
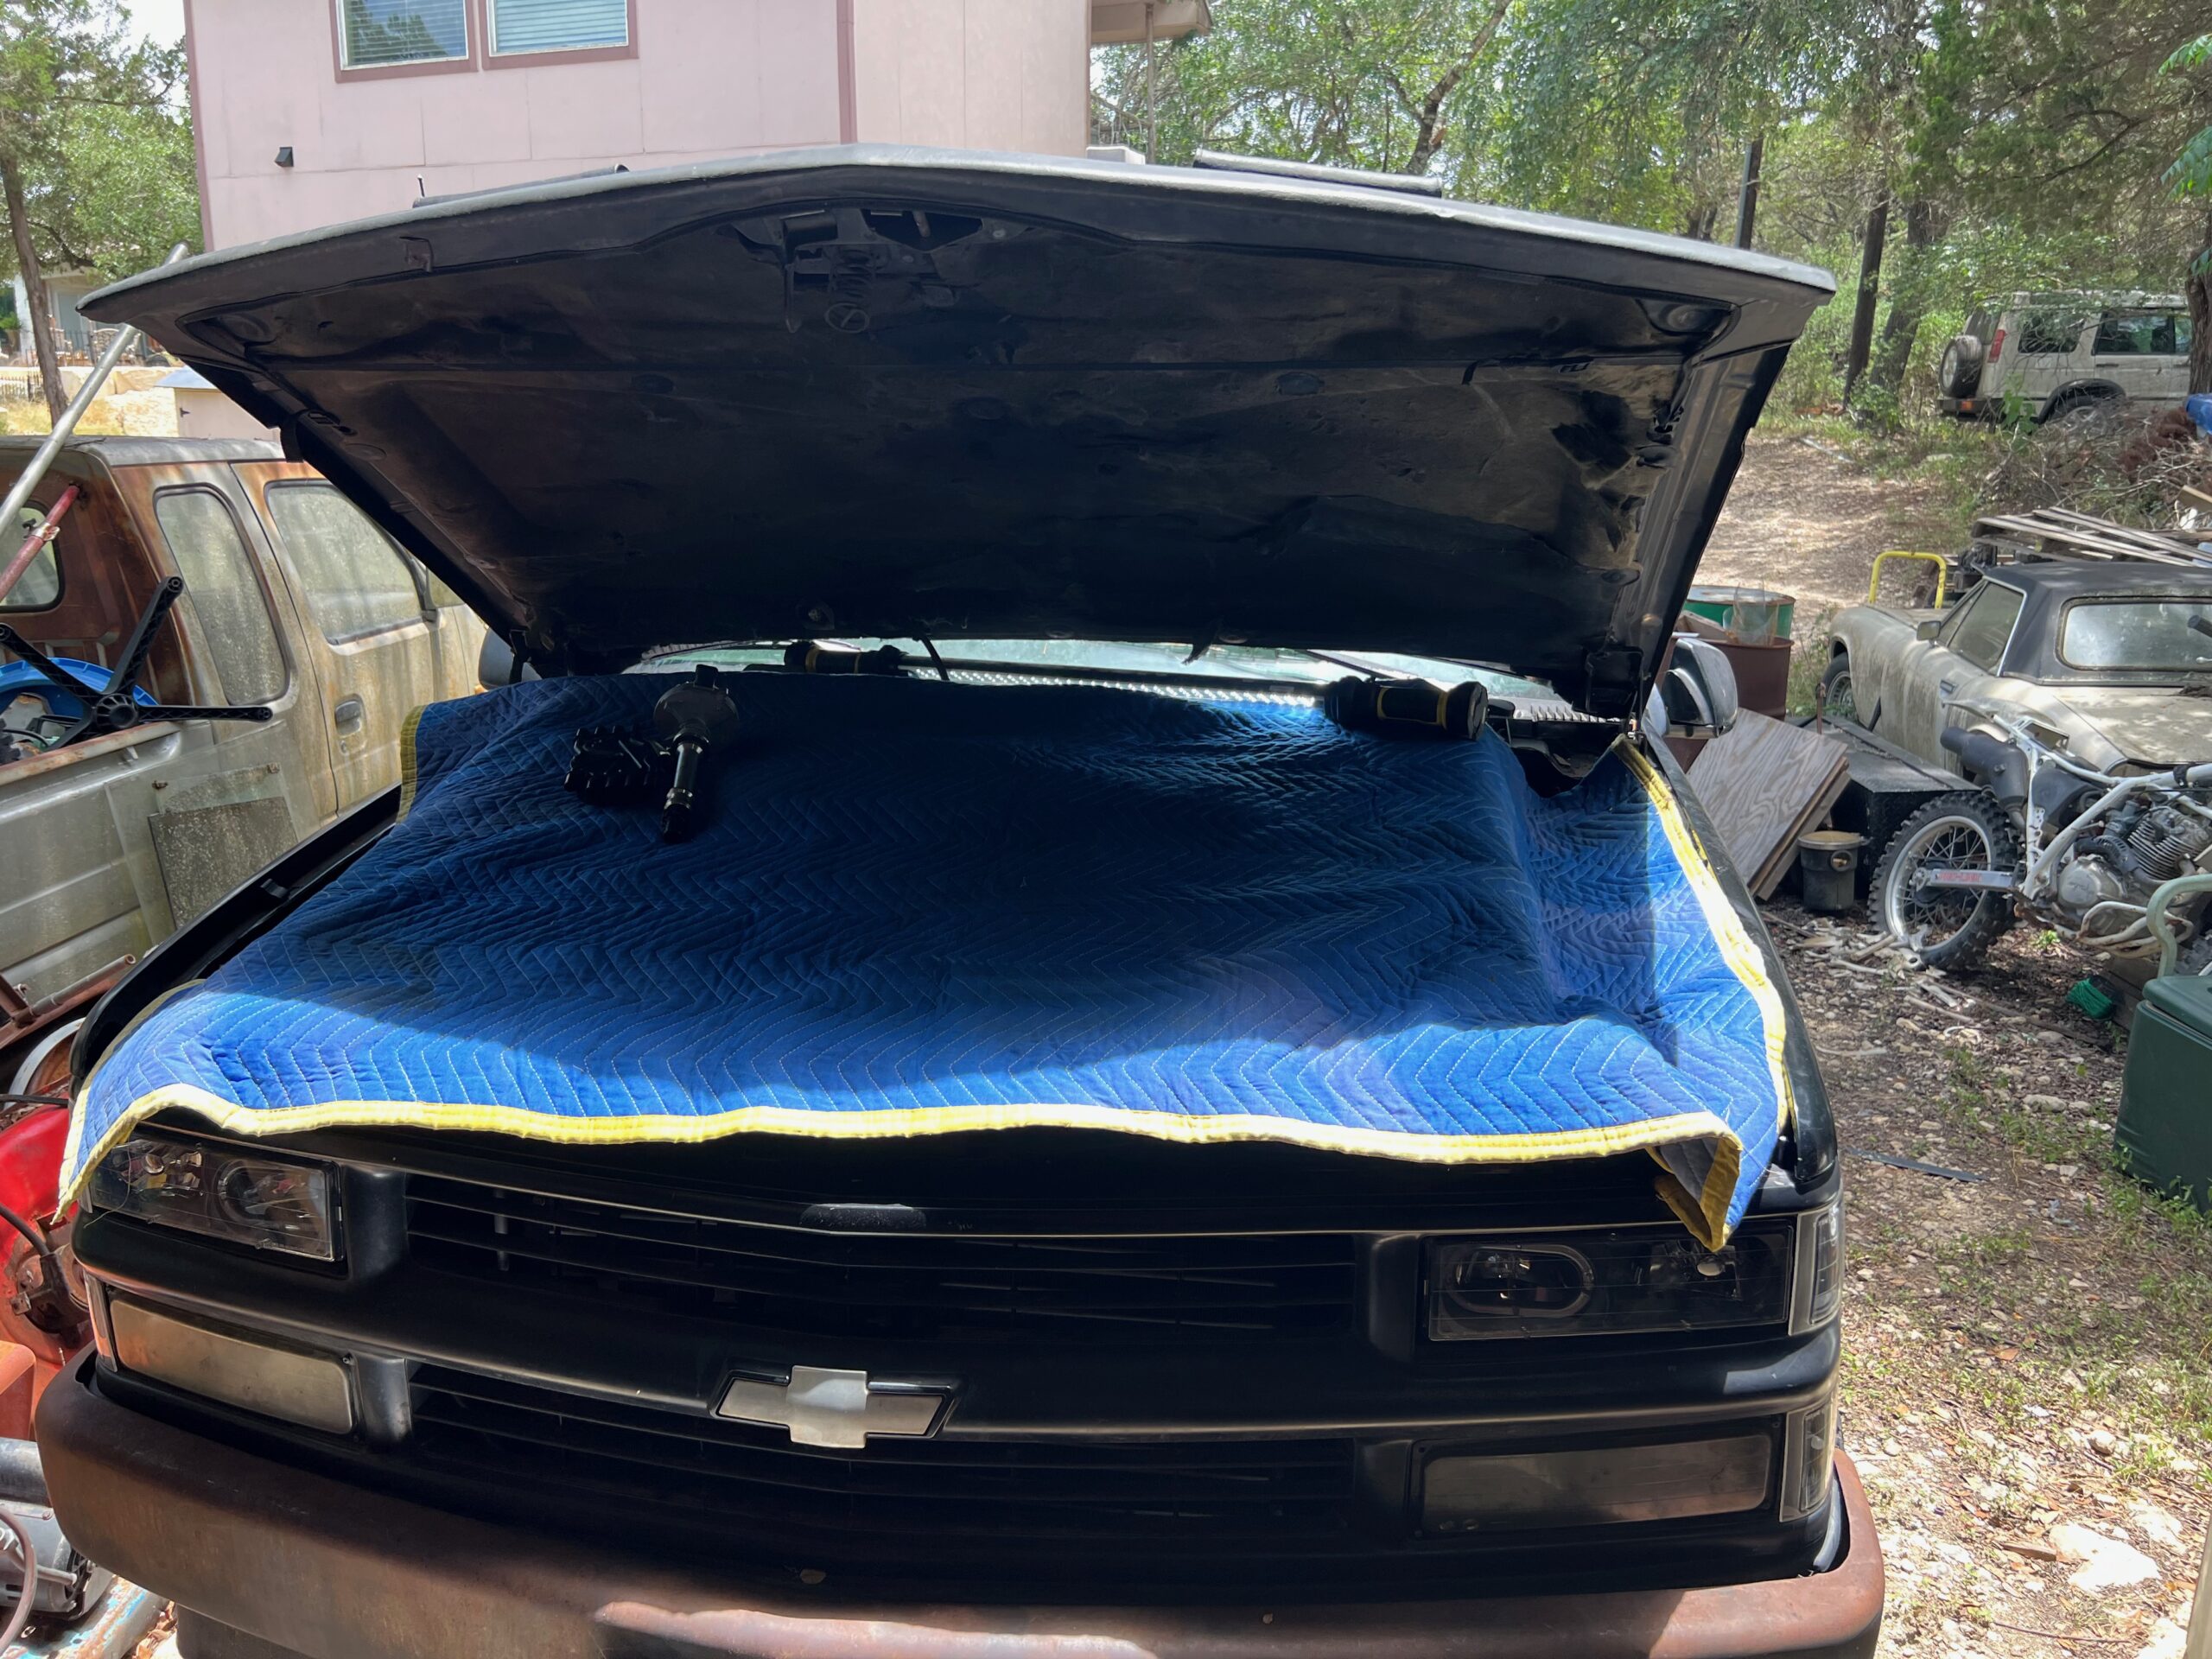
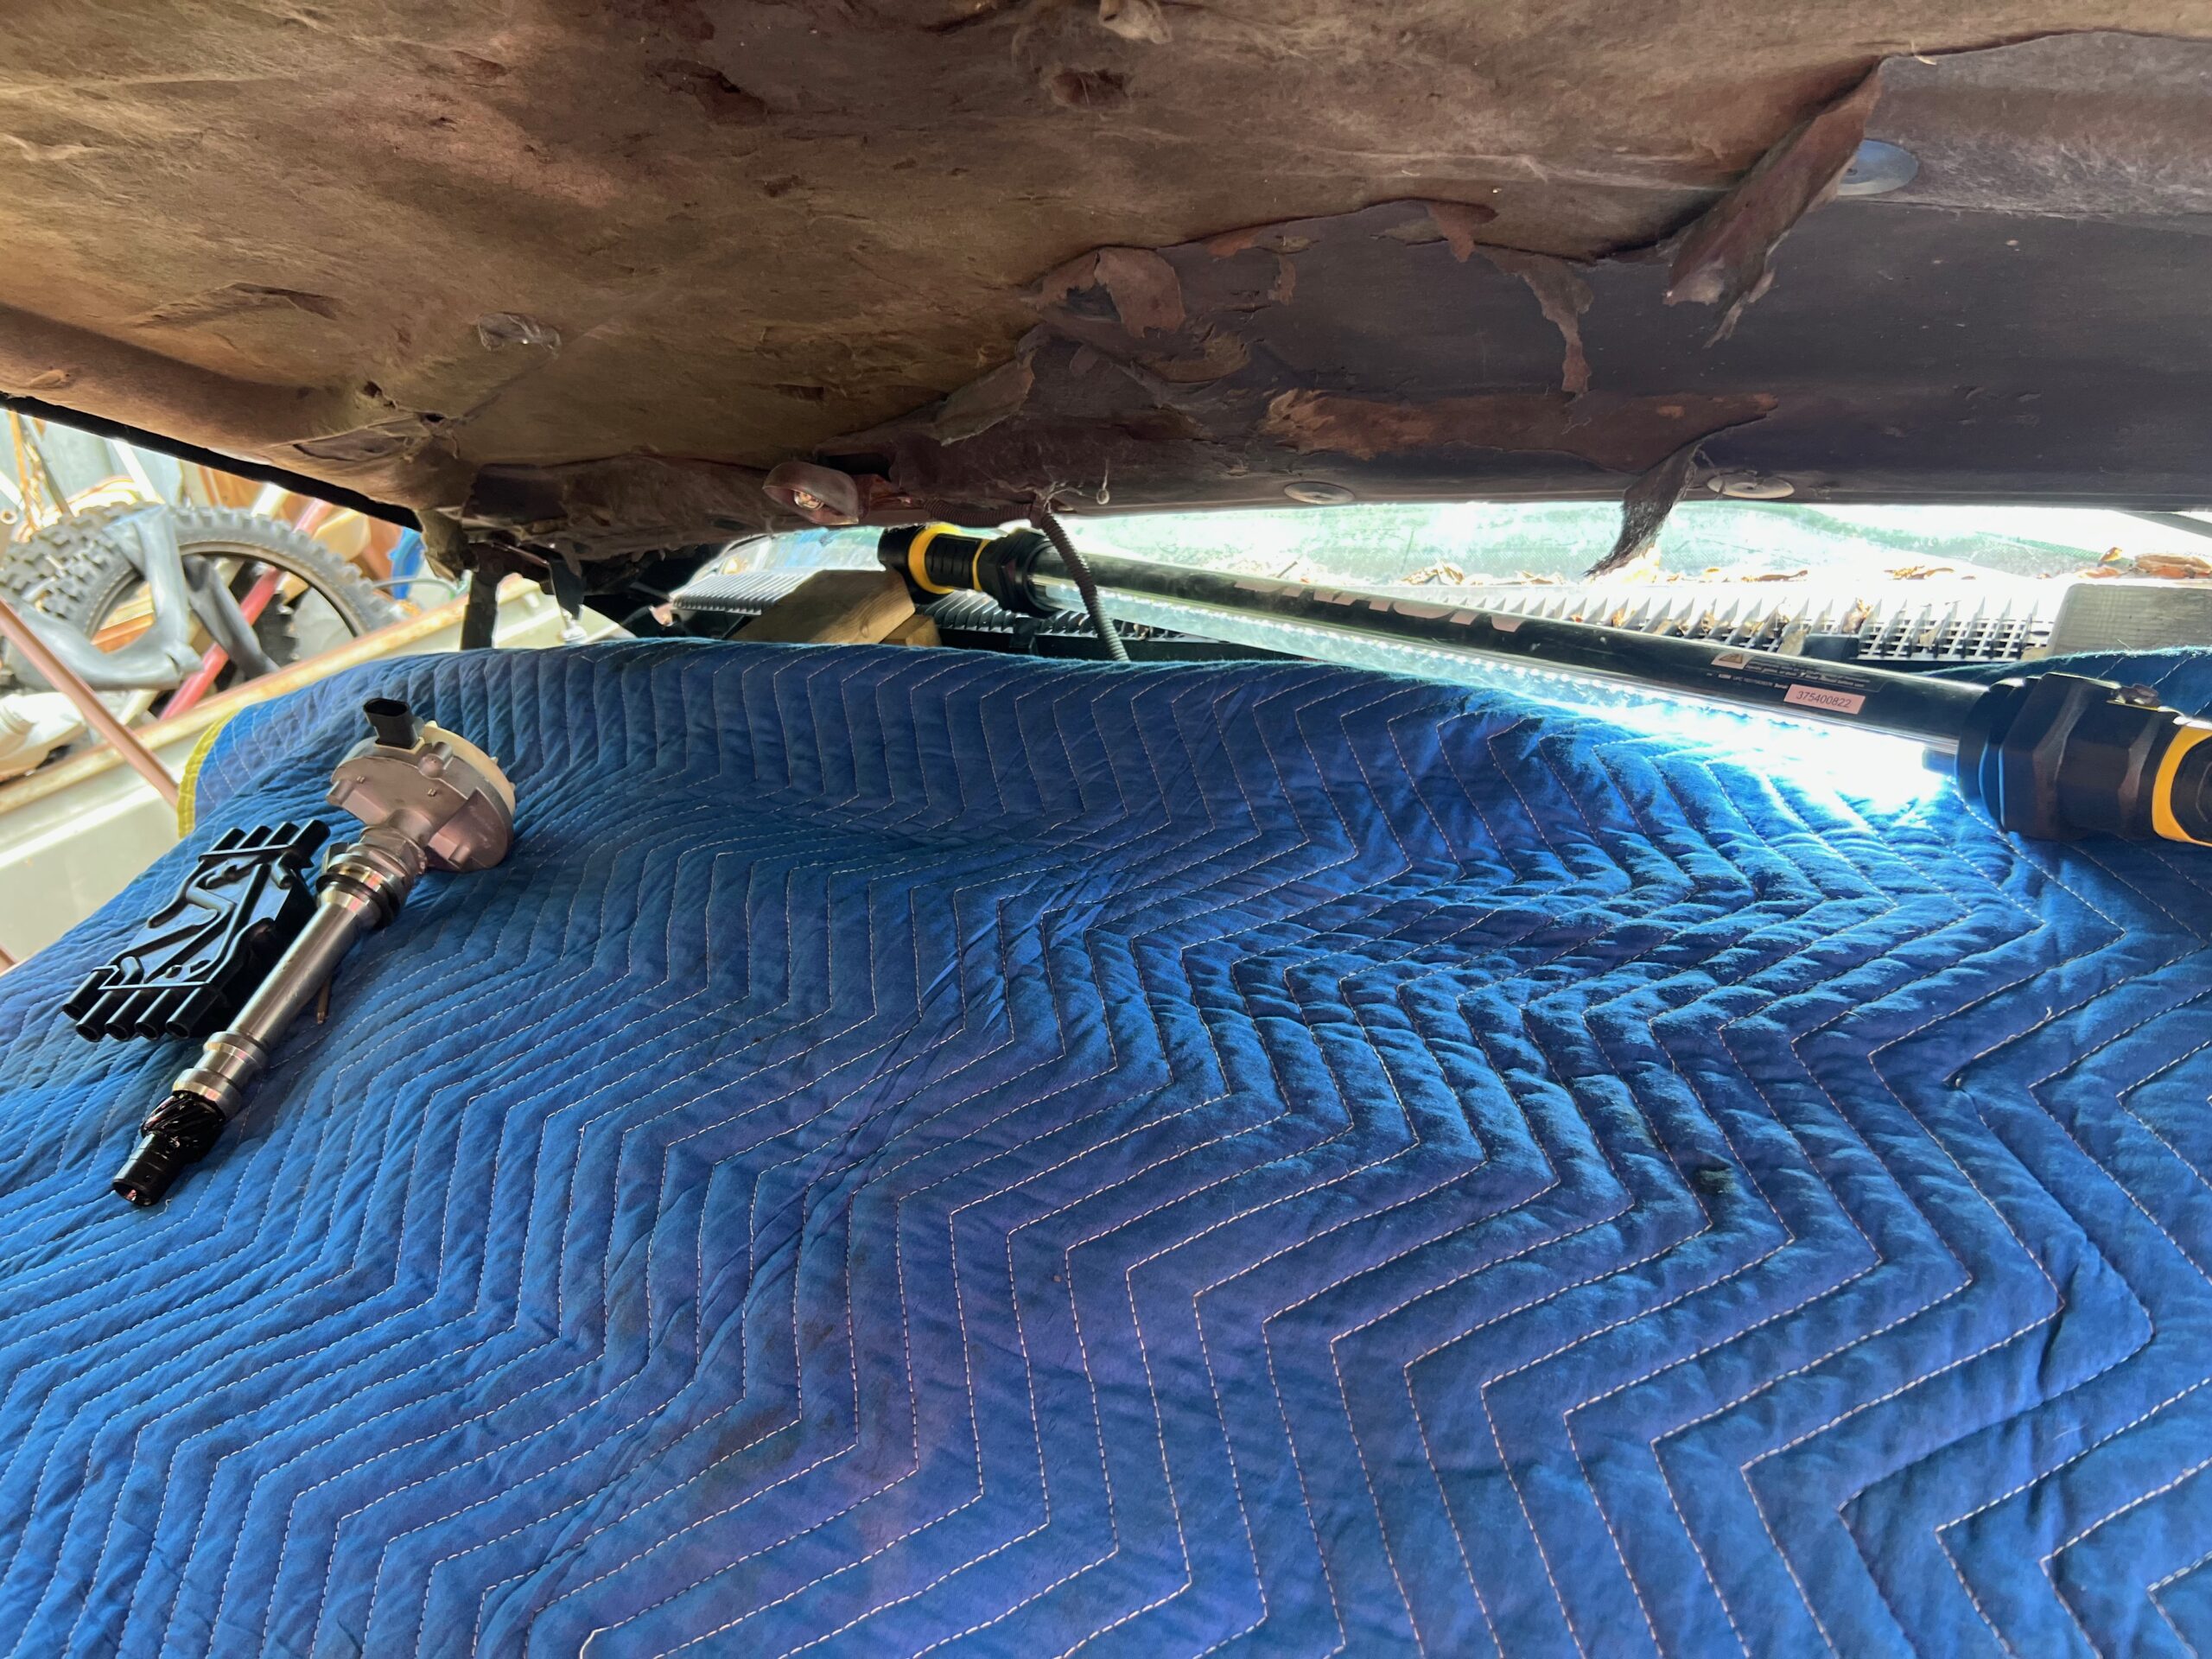
While it looks like it totally blocks the engine bay, the gap at the top by the firewall is plenty big enough for me to get one of my formidable appendages though with the distributor. I did actually get to use my tool that I had created from the other distributor. The oil pump shaft needed to be aligned to point at 1 on the clock for the distributor to be able to drop in with the rotor pointing to 5. Once aligned it dropped right in and I managed to screw the cap on without dropping the tiny screws. I hooked up the wires from the harness and notice the other wire for the missing oil pressure sending unit. I was not able to tighten the 1/2″ bolt that on the distributor hold down clamp. The wrench I had was too long. I will have to bring one of the stubbies down from the garage when I do the Oil Pressure sensor.
I decide to call it a day since I was out of water, having drained my 64oz growler. Good day.