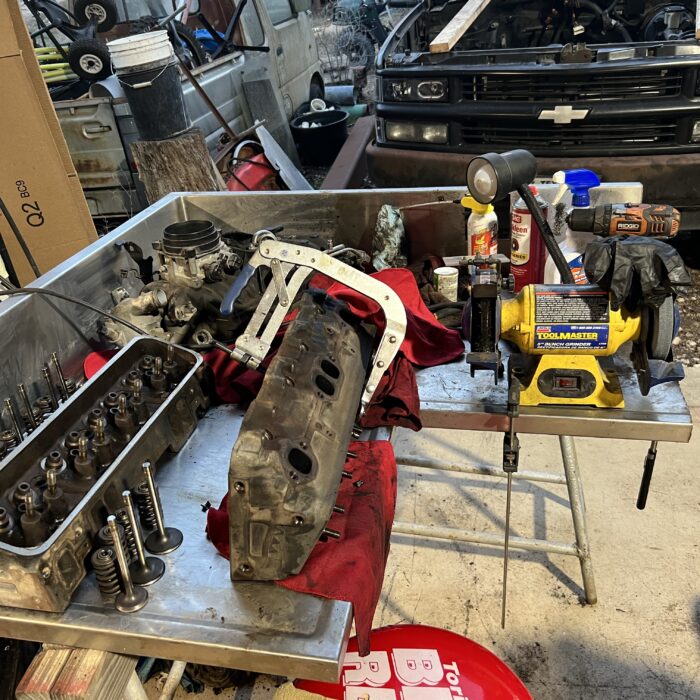
Whether your project is rebuilding an engine or just installing a water softener. It is alway good to have a plan. Plans for projects can be as elaborate or simple as you like. But the outcomes are all controlled by the iron triangle. Time, Cost and Quality. The inside of which is the project size.
But this isn’t a lesson in Project Management. This more of a cautionary tale about what happens when you don’t do the basics of planning.
The King of spreadsheets has been asking me to give him a hand installing a water softener for at least a month. This man’s friendship means a lot to me. So much so that my bride is sometimes suspicious of just how close we really are. But once she hears us giggling about big boobs, she realizes that we are just two big idiots who think alike.
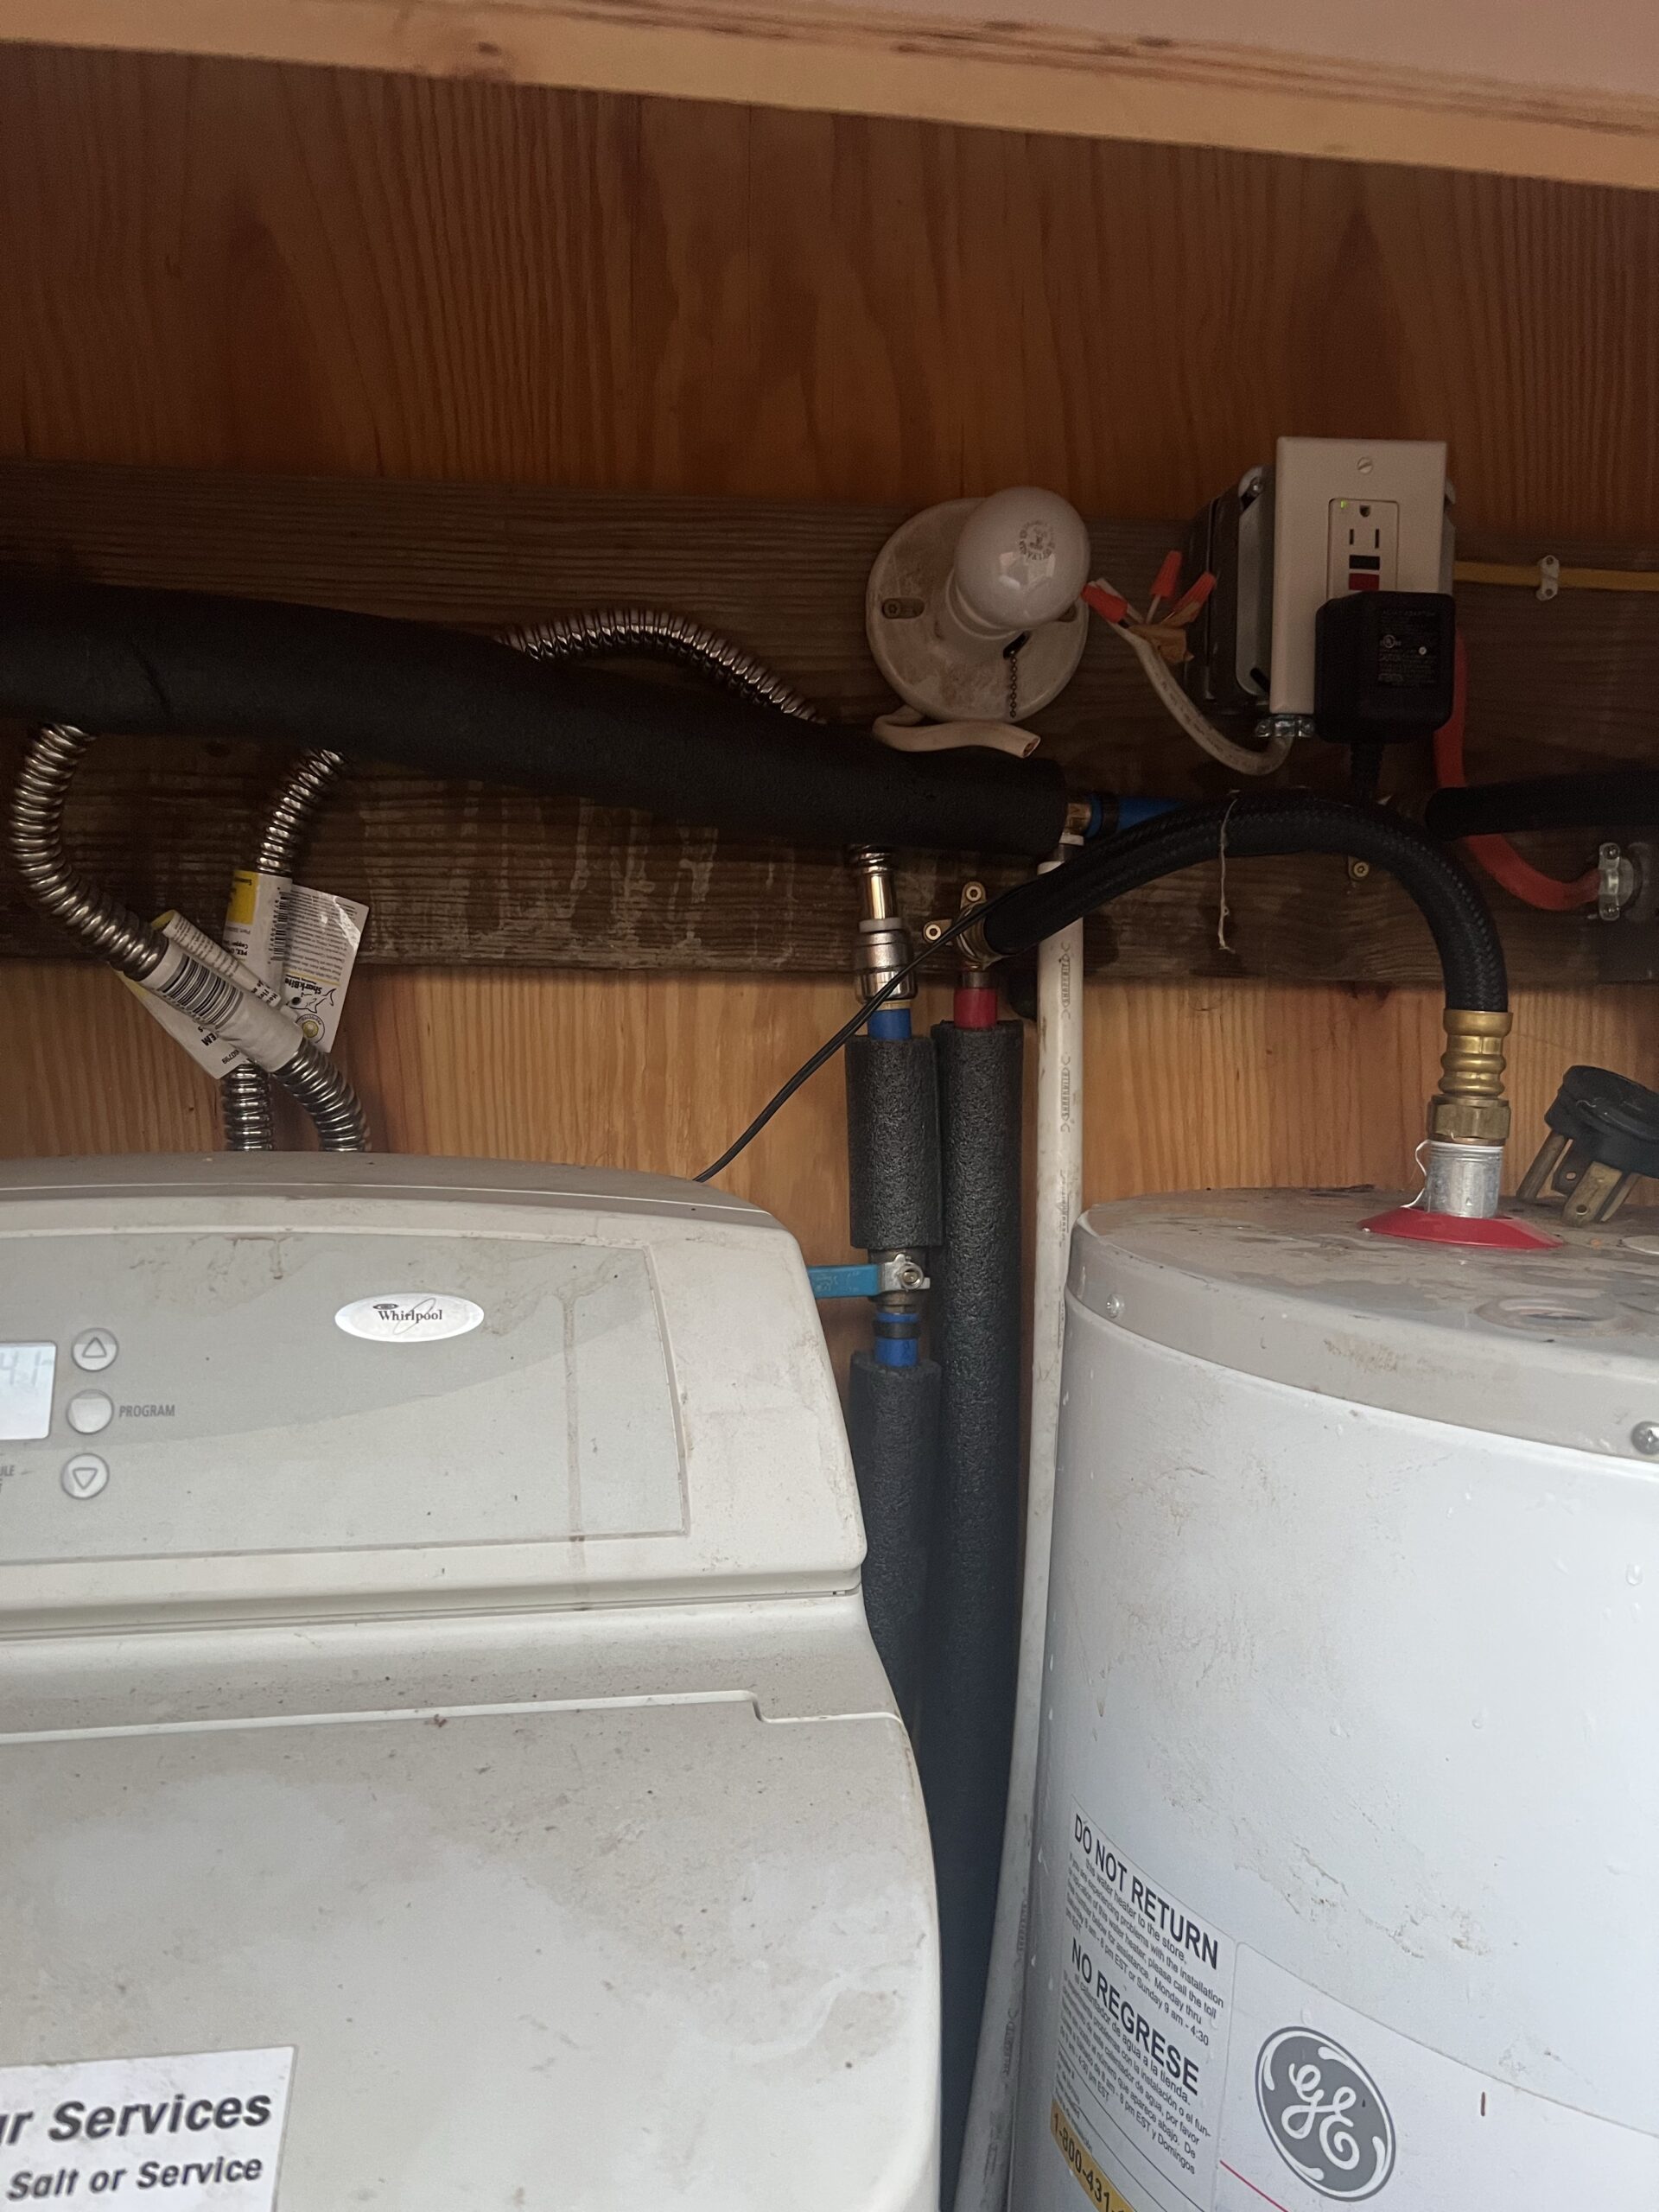
I got him to send me pictures of said water softener. And being a geek I looked up the installation instructions online. Very few tools necessary. The only things not in my small tool bag, are the plumbing specific tools necessary to splice into the already stubbed out pipes in the garage. The house is almost brand new. So it’s safe to assume that the pipes are PEX. I just can’t tell the size because they are insulated in the picture. So I am going to head there first to take a quick look. Being an hour away, I grabbed the tools and got in Big Red to head his way with these tools and the plan.
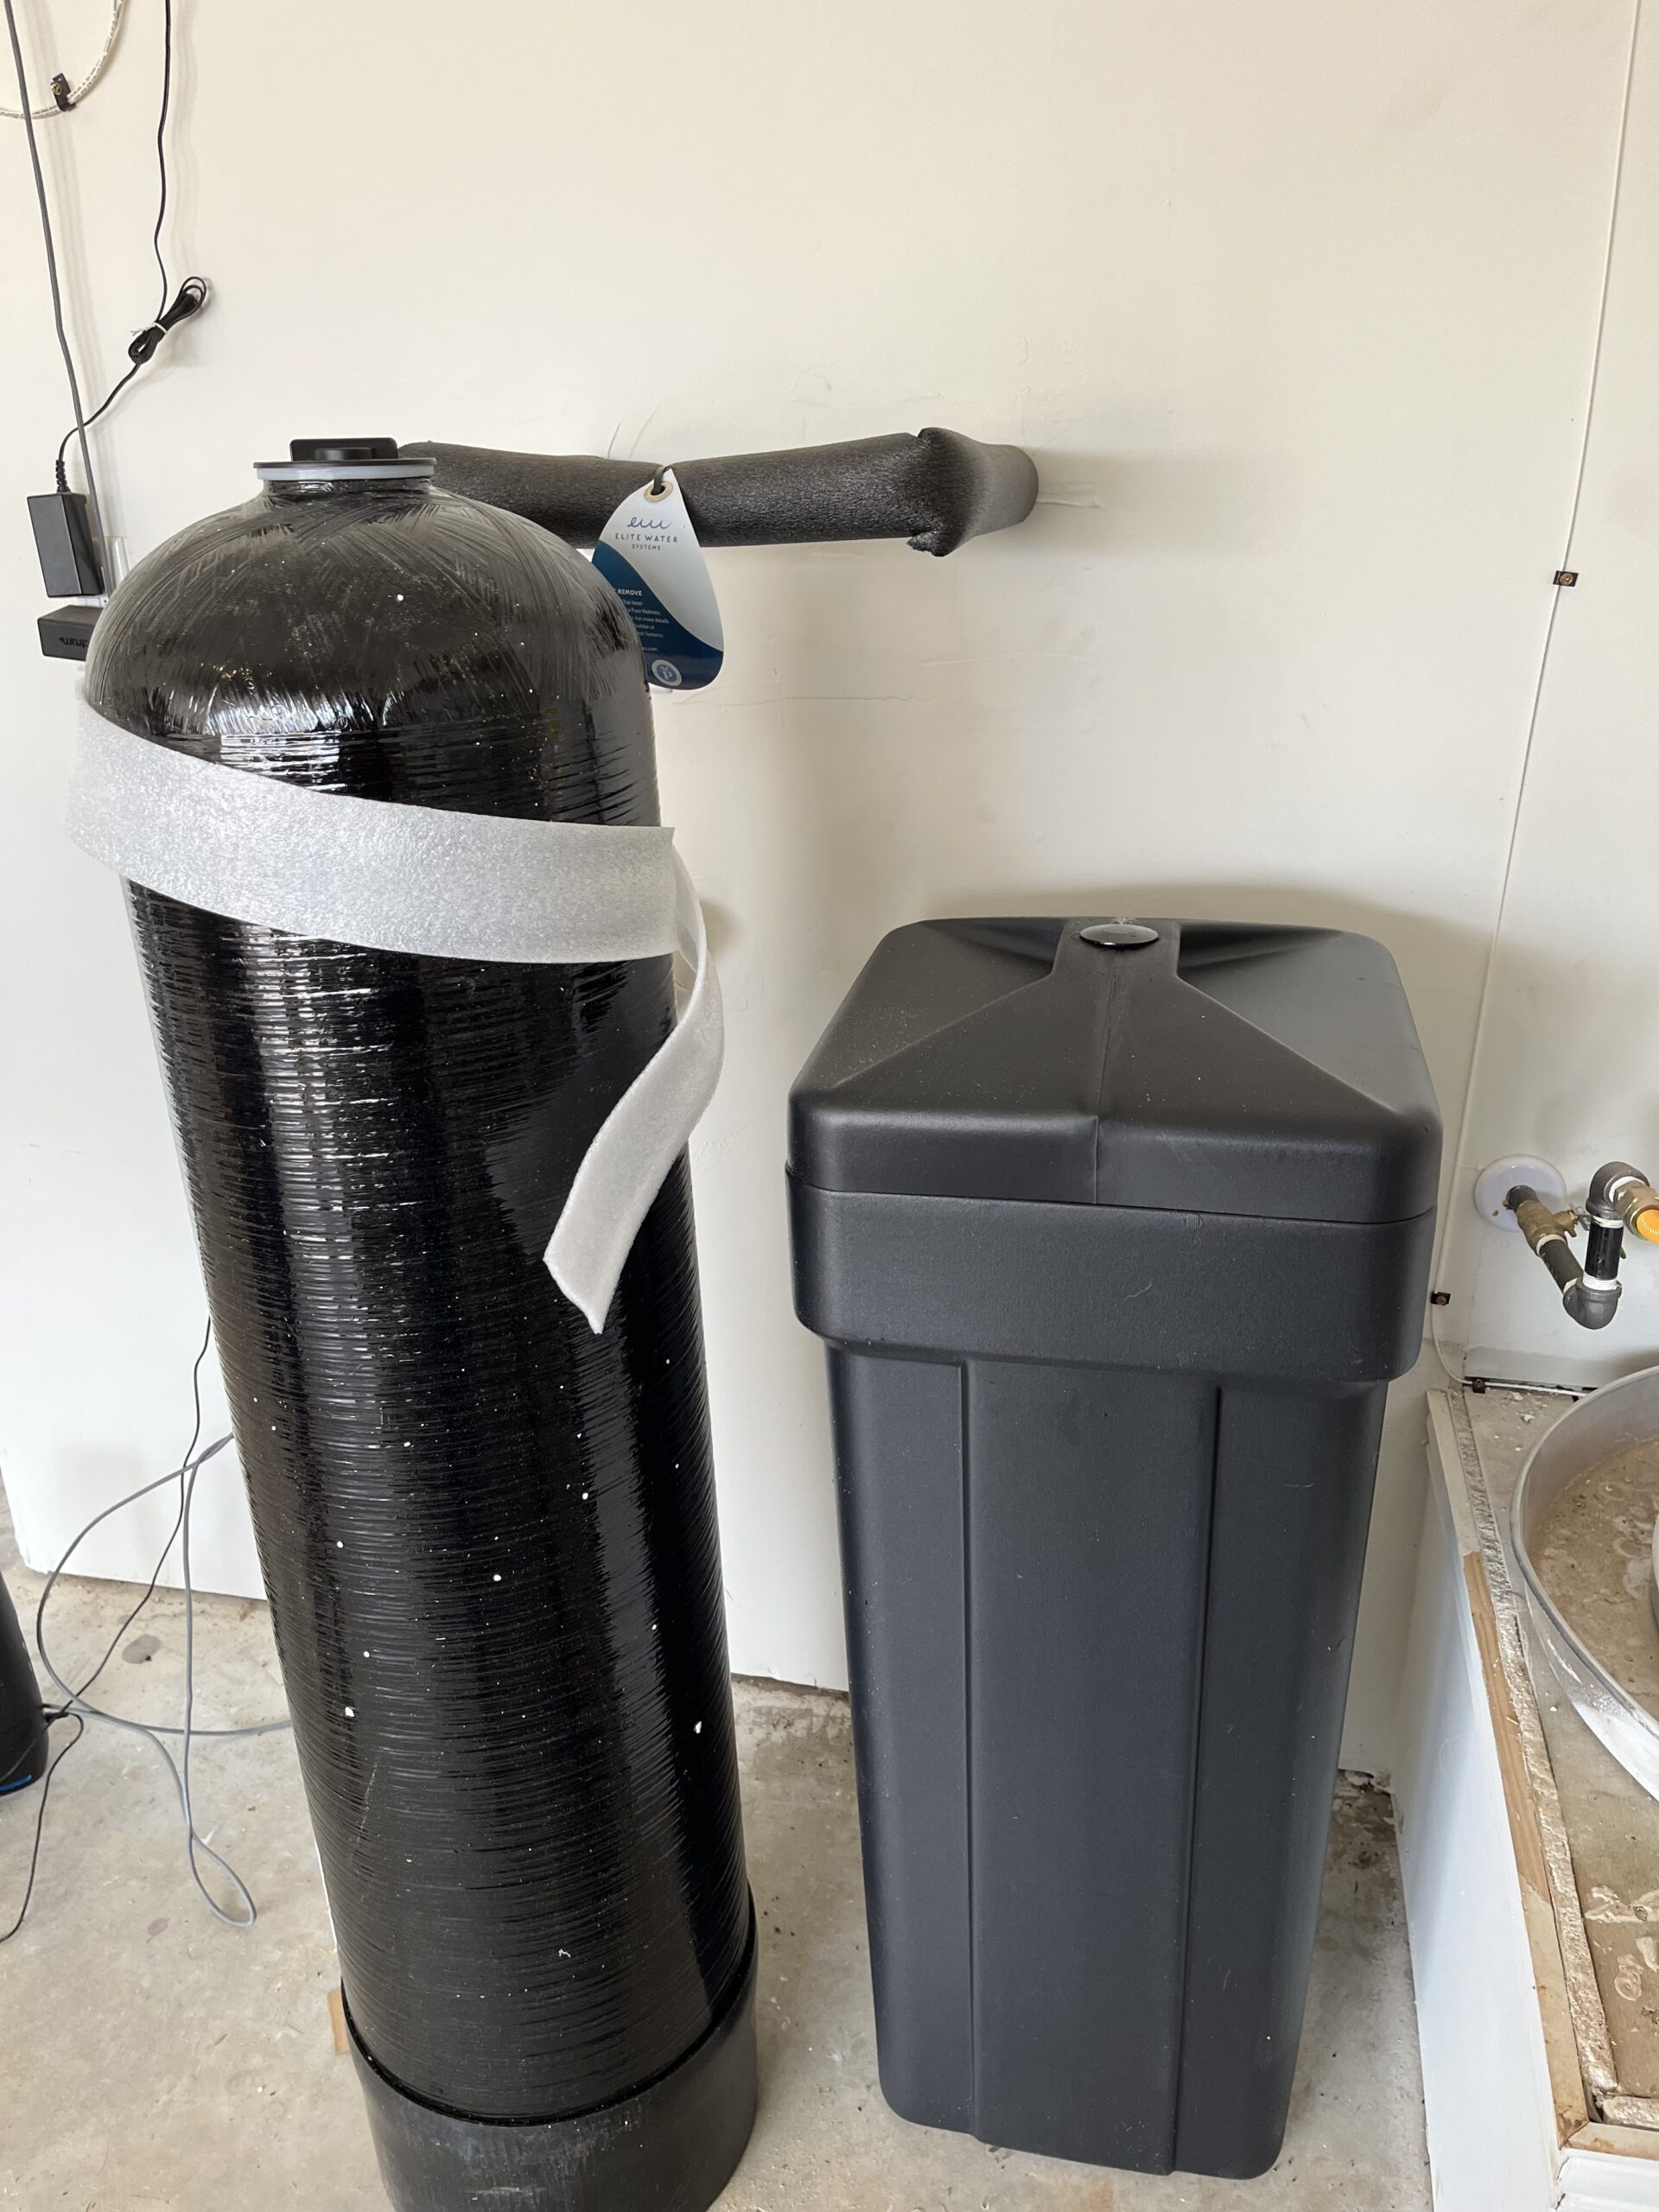
The water softener is a kit that comes partially assembled, it has the tank with the media a head unit that controls all the activity with valves, a bypass valve that goes between the house piping and the softener, and the saline tank that holds all the salt and brine water. The box of parts is not very daunting. There are a couple of pieces beyond the head and bypass valve:
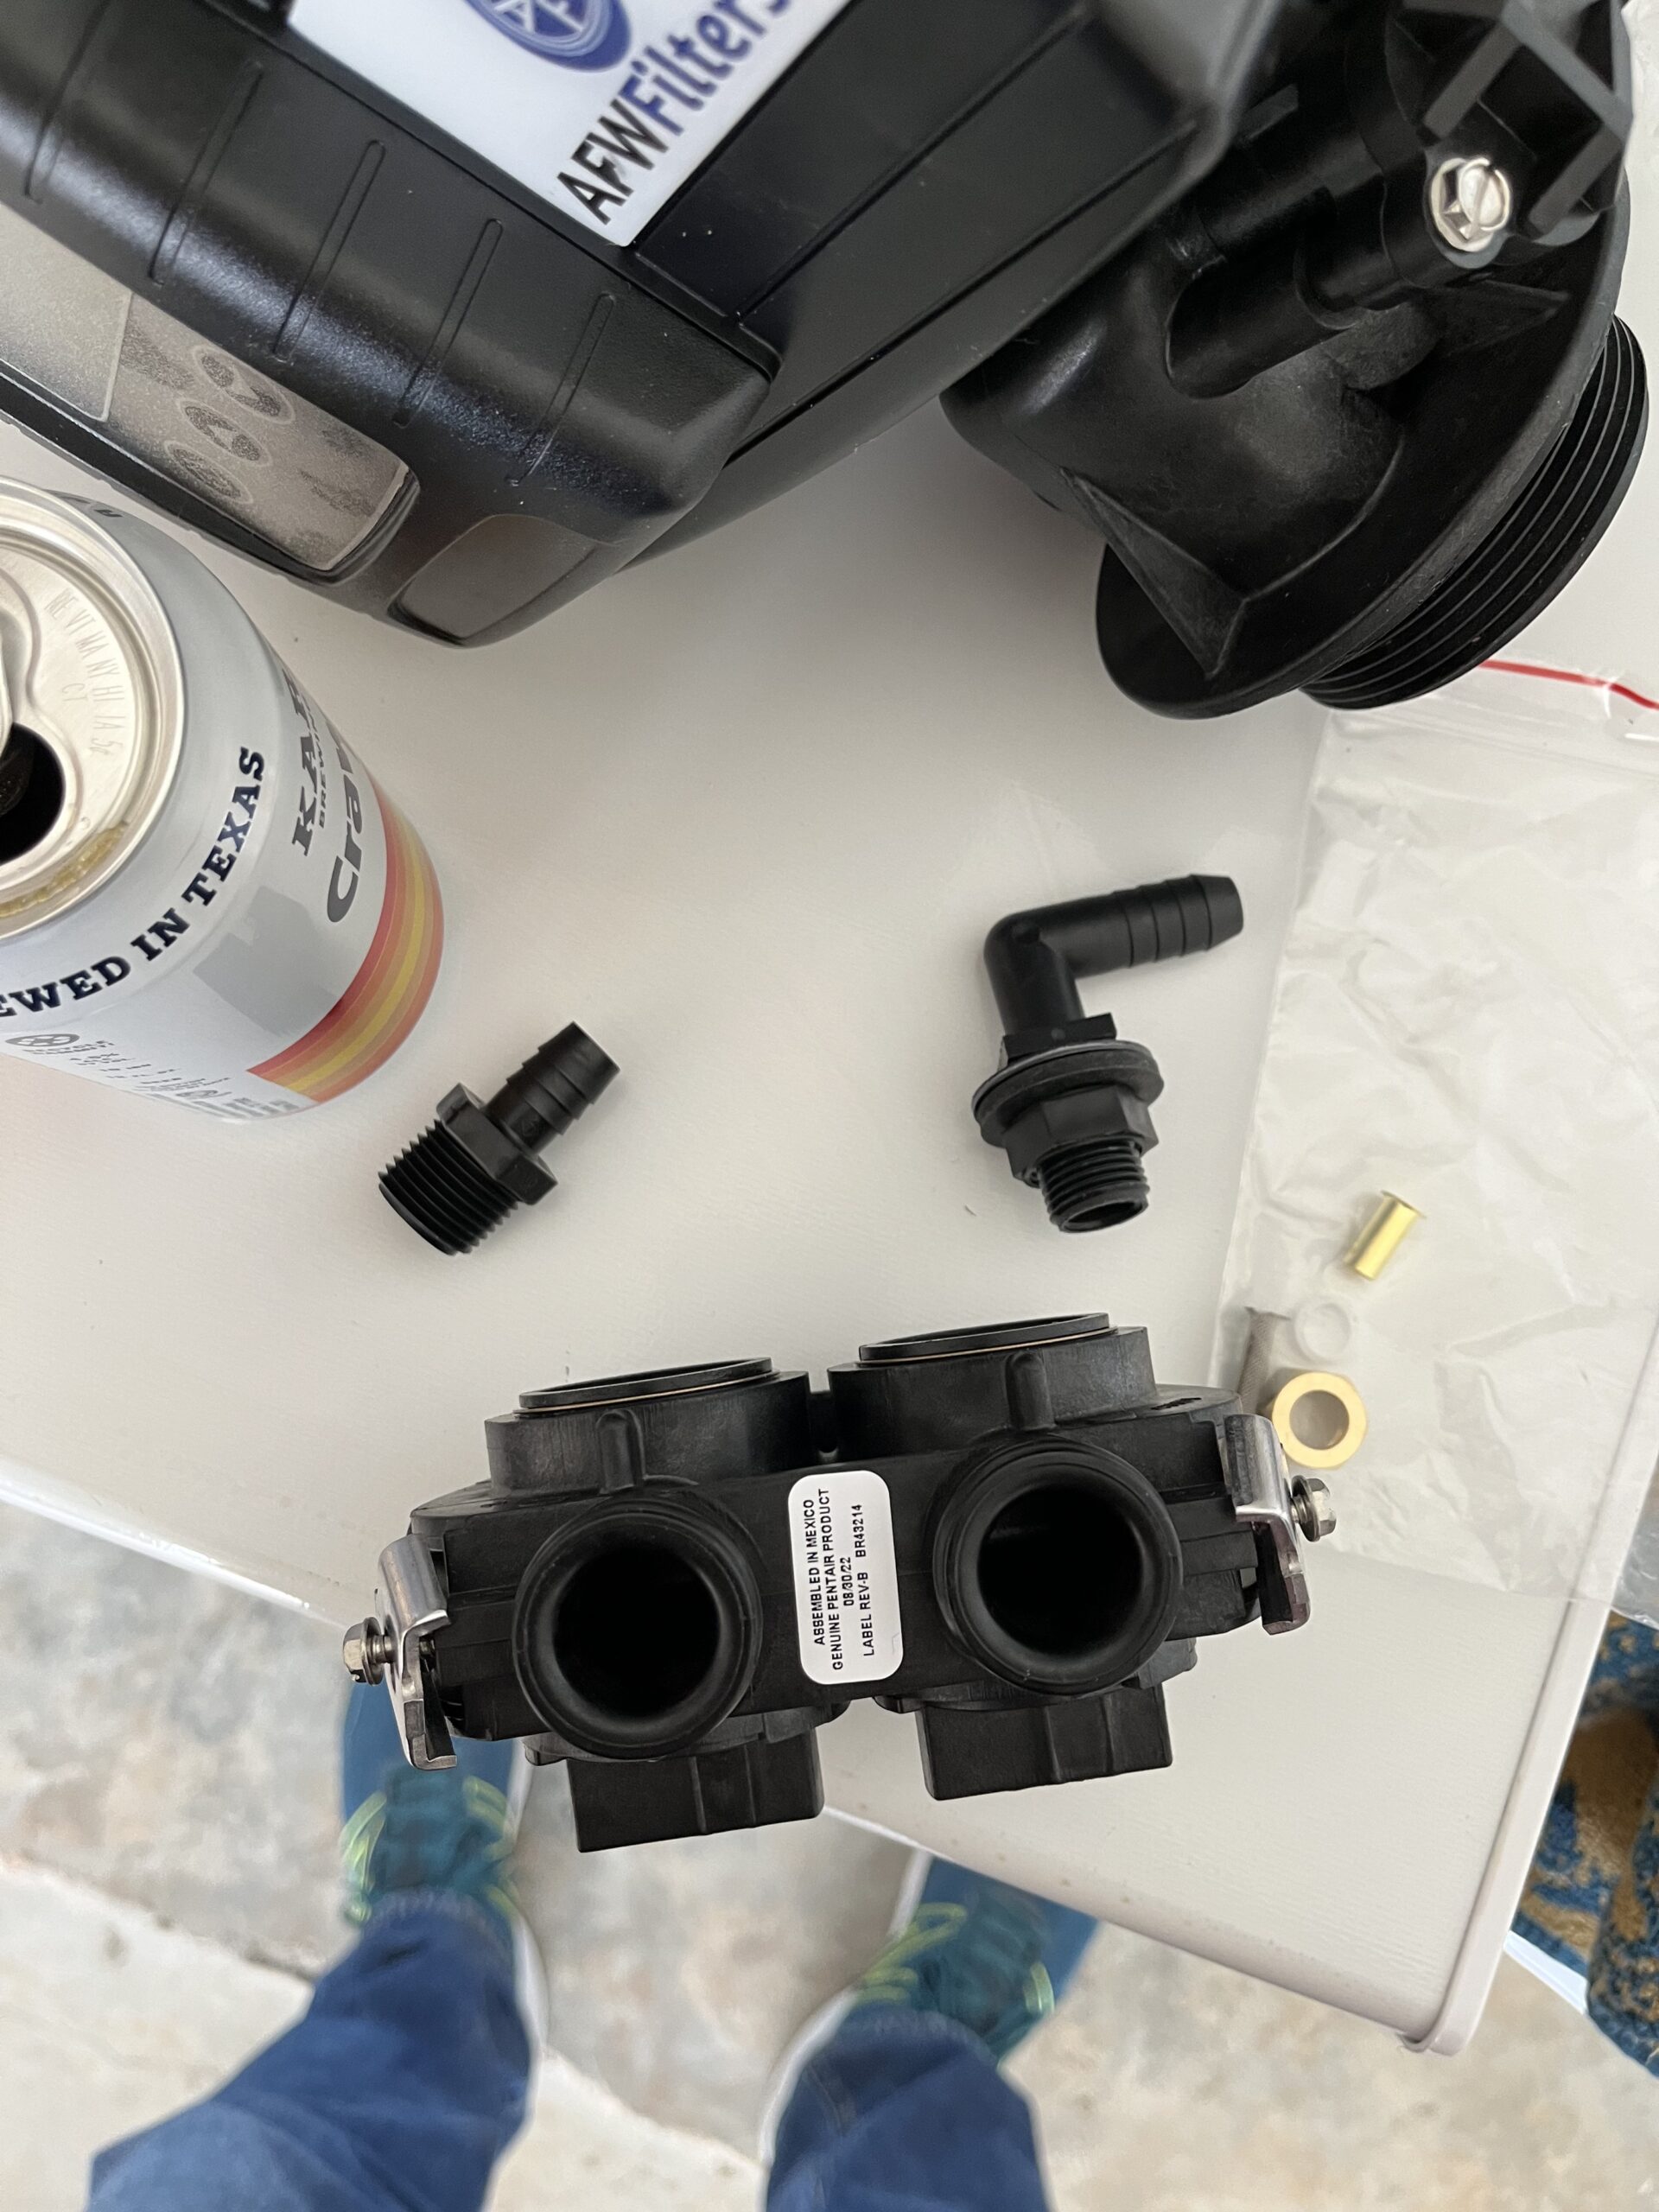
- a strainer basked that attaches to the head and goes over the end of the pipe in the media tank
- and a couple of barbed tube attachments. One screws into the head as the backflow drain the the other into the tank as an overflow drain.
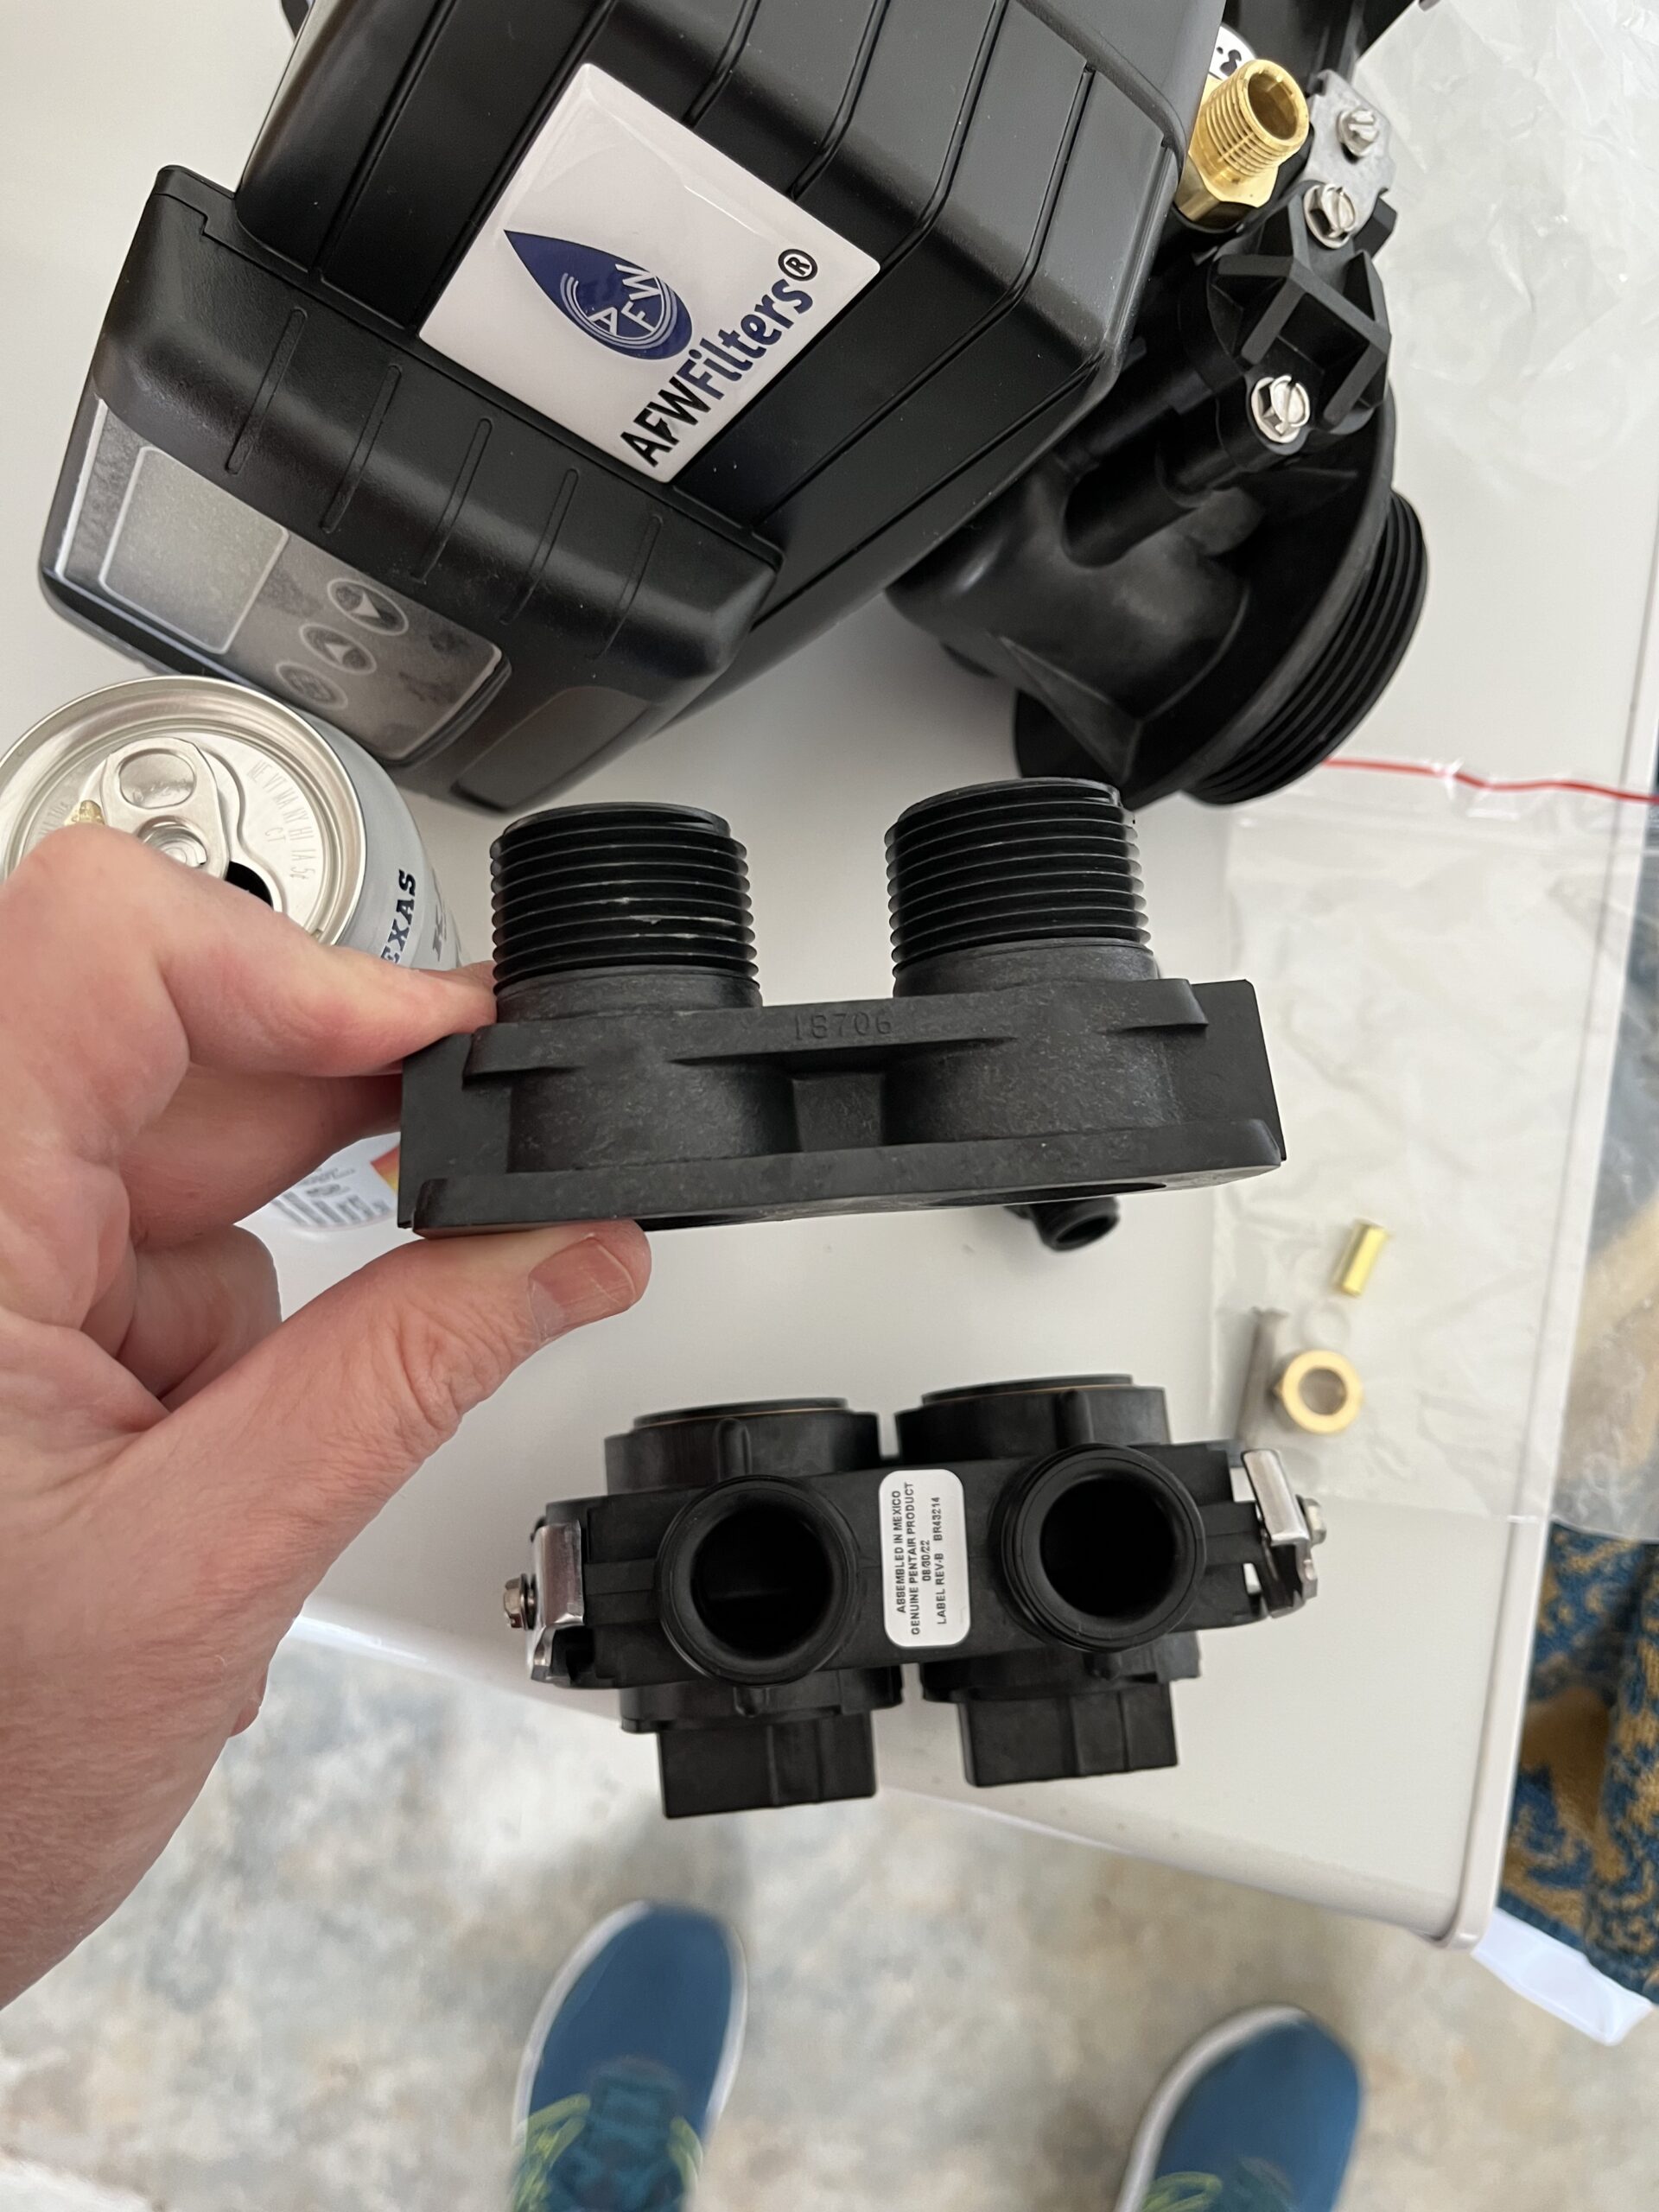
- The last part is a manifold with two threaded male pipe attachments that are to connect to the water from the house as an in and out. The manifold then attaches either to the head or, in our case, to the bypass valve when it is attached to the head.
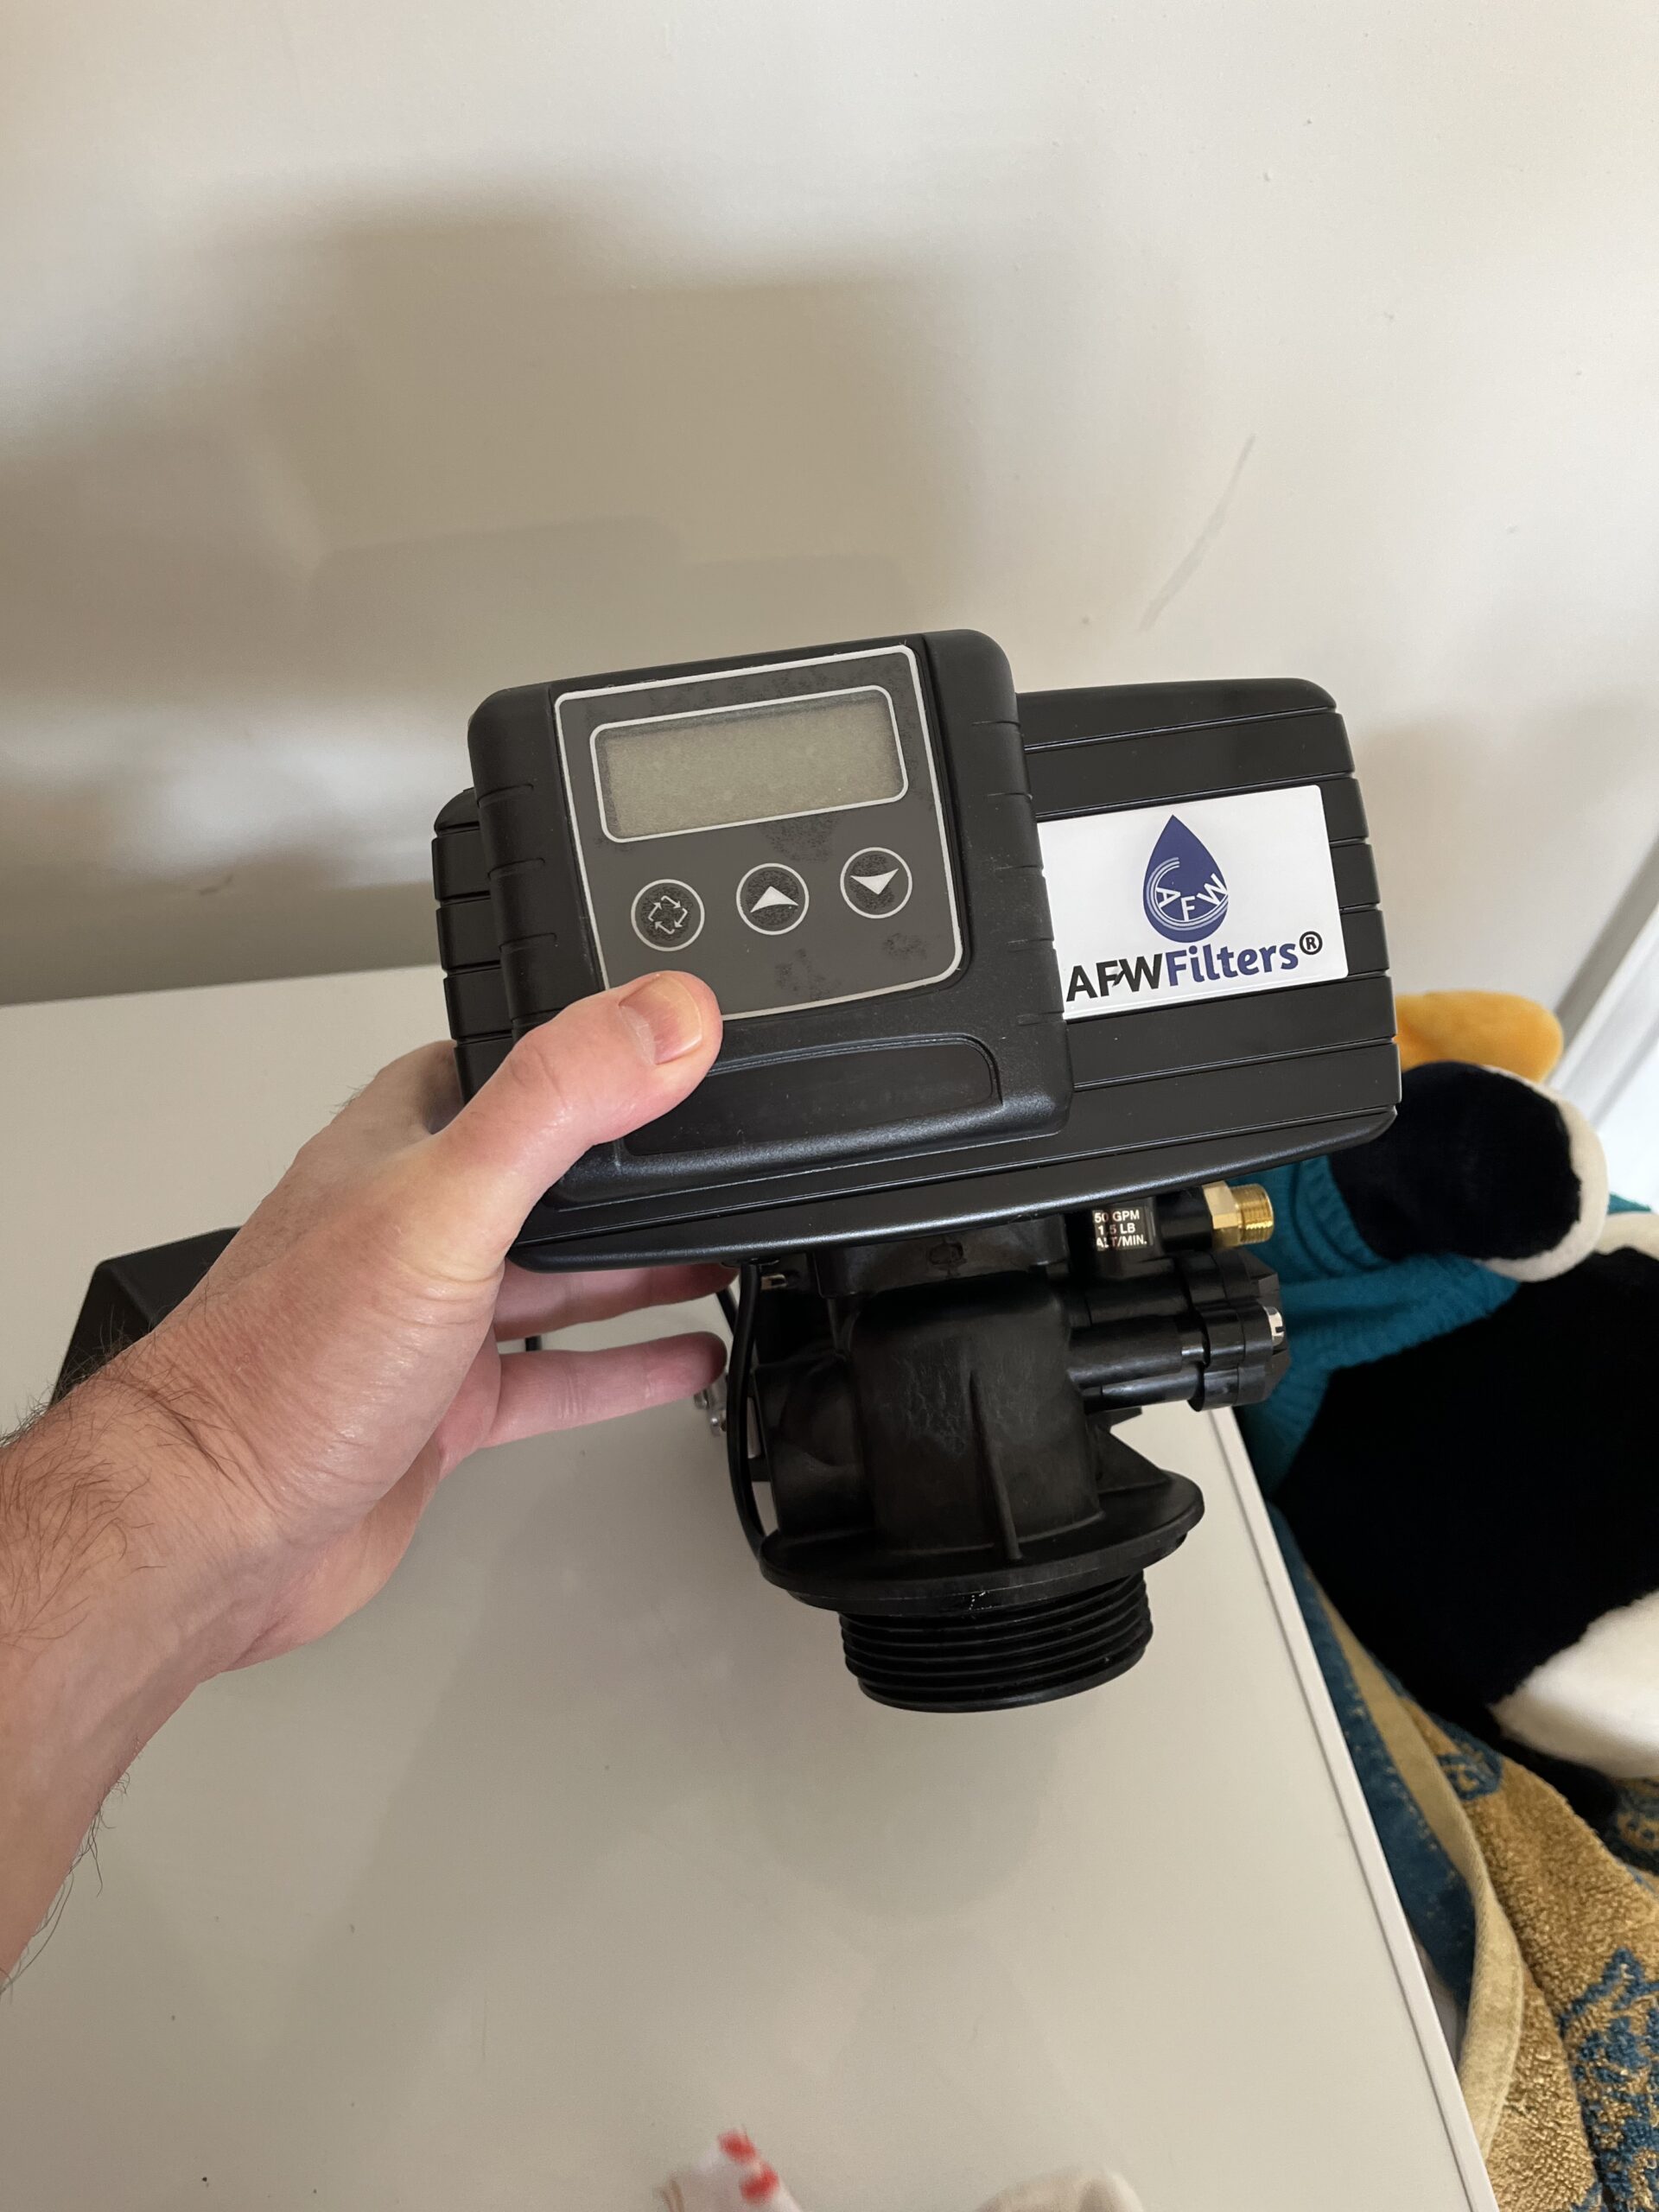
I take the barbed connectors and the manifold so I can match them up. I remove the insulation and size up the piping it is 1″ and I take a picture with my thumb on it just in case.
With pieces and picture available I head to the busiest damn store in New Braunfelds Lowes. I snag a coveted Pro parking spot under the awning and we head in to get the parts. Plumbing is of course at the direct opposite corner of the massive building and I am glad I have lost some weight already or my back would make this walk hell. Now i am in the isle I need to be in and I am pretty comfortable since I was in the same isle at my Lowes just yesterday getting parts for my plumbing job. I start grabbing the parts we are going to need. A 1″ pex to female NPT 90º does not exist to I end up getting straight fittings for the threaded part and then get a couple of 90º elbows to create the fitting I need. Only one problem. The box for the elbows is empty. I am not what is called a purist, but I don’t like cheap parts and avoid them at all costs. There is a box of plastic 90º elbows full of parts and they are cheaper than the brass ones I was going to use. After a quick search for overstock or misplaced parts I do find a single brass elbow but I can’t find a second one, so we end up with one brass and one plastic.
This set back has somehow knocked me off my game. I am slightly flustered and still trying to figure out what else we need. I had announced Fittings, Tubing, and Strap Wrenches, when we were at the house and that familiar refrain is repeated back to me and I get back to the search. I pick up 1″ copper crush rings to attach the fittings with, and find some clear 1/2″ tubing to use for drain pipe and test it with a barbed fitting. I open one of the Female threaded fittings and test it on the manifold I brought with me and it also fits. Now we are moving. The last thing we need is a strap wrench to take his kitchen faucet apart with. The faucet dribbles water out of the hand grip on the head every time it is turned on. I’m sure it is a bad or missing o-ring but we can’t take it apart because is was assembled by a gorilla. I find the tool section in the plumbing area, but no strap wrenches. This explains why so many faucets get destroyed by pipe wrenches. I do find some soft rubber covers for the jaws on a pair of slip joint pliers.

I end up in the tool section to find the strap wrench and we head to the pro desk to check out. It is the only non-self checkout and is the only one I will use. Standing in line I can’t help but think I have forgotten something. I ALWAYS do. I go over it in my head and re-assure myself, it is all covered. So we head to the truck. The King of Spreadsheets remembers that he needs salt for the softener so as i get to the vehicle he heads off to the consumer sided of Lowes where the salt is and I move the truck closer to the exit. Remembering how long the lines are at the self checkout I assume this is going to take another 30 minutes, but to my amazement he shows up with 6 bags of salt just as I am pulling into the parking spot. I help him pile them into the back of big red all the time imagining him elbowing women and children out of the way to get to the checkout and then just throwing cash at the checker and walking out. But he actually has a receipt so I’m assuming I must have passed out at some point while driving or that time dilated when I turned on the blinker to get this parking spot. Another mystery that is beyond me, so I just skip it and head to the house to get to plumbing.
First order of business, crack open a beer and look at everything again. That being done i start to assemble the softener. He figures out how to attach the strainer basked to the bottom of the head unit, then I install the head unit on the tank making sure that the surface is clean and the huge o-ring is in place. I put the parts in the brine tank and install both barb fittings. Then I attach the brine pipe to the tank and push it into the side of the head unit. I didn’t bother shortening it, just in case they want to move the brine tank later. Now everything is assembled it is time to cut into the plumbing to attach to the softener. The scary part!
We head into the yard to find the cutoff valve and to my surprise it is before you get to TWO water meters. Weird but whatever. With the water cut off we drain the system as much as possible by opening a faucet on the side of the garage and one in the bathroom. Once the stop flowing I use my pipe cutters and with the brine tank placed directly below I cut through the middle section of the pipe. It pours out about half a gallon and then we are good to work. It is at this point that I figure out what I was forgetting.
When my plan was changed from a single 90º PEX to NPT fitting to a PEX to PEX 90º elbow connecting to a PEX to NPT straight fitting I forgot the connection part. I got plenty of crush rings to make the connections but I didn’t get any 1″ pipe. Here is where serendipity steps in with her elegant solutions. I hadn’t noticed before but the head unit is about 2″ taller than the pipe coming out of the wall and the PEX is flexible but not like that, it would put a bad strain on the head unit if the pipe was pulling down on it constantly. That’s when it hits me. I can twist the existing elbows to face up rather than horizontally. The other thing i think is, the manifold makes the pipes a few inches apart and that combined with the length of the brass fittings I will need to cut a couple of inches of each of the pipes to make them short enough to fit correctly. BINGO I now have 2 extra pieces of 2″ long 1″ diameter PEX to connect the elbows to the pipe fittings. I set to work applying thread tape to the fittings and tightening them to the manifold. My almost brand new PEX crimper makes short work of the rings on the fittings and in no time it is time to turn on the water.
Ok, one more double check that everything is attached and is tightened appropriately. The King turns on the mains and i hear the rush of water but see none. We stand there trying not to look so surprised at our first attempt success. Then I realize the bypass is still set on bypass, so we switch both vavles to open and I immediately regret it. While it doesn’t shoot water everywhere I remember I did not put the fitting together for the end of the brine tube where it goes into the head. We quickly re-enable the bypass valves and I grab the little bag with the parts, I install the brass insert the micro mesh filter and put the nut and jamb washer on the tube and tighten it all into the head. That done we dis-able the bypass and drink a beer. He fills the brine tank with salt and starts poking at the head to enable the filter. It runs a 10 minute backwash which is good because the color of water exiting the system starts off as orange before clearing up.
Being done with the softener. We eat some most excellent brisket from Rudys and I take a quick look at the dishwasher, it is only 18 months old and completely encrusted inside with lime deposits. It is no longer getting water so I assume that the wire mesh strainer is entirely lime encrusted and stopping the water. I don’t have time to look at it today and I promise to return soon to resolve that issue. I get the faucet undone with the help of the soft jaw pliers and find an o-ring with a part of it missing. Probably from someone getting it caught when installing it and then forcing it. I tell him to get another one and I a show him how to re-assemble it without tools. As I head out he hands me a wad of cash that he would have given a plumber, I accept it with a smile and let him know I will be using it to take my bride out for her birthday to his restaurant.
After I get home he sends me a text with this victory video
I manage to get home by 2 in the afternoon before my bride has had a chance to miss me since she was able to sleep in till noon. Now it is time to do more plumbing on the cabana. I bring my trusty tool bag and get started dismantling the leaking toilet. The tank disassembly goes very smoothly, the fittings are made of brass and not over tightened. I don’t have to curse “the idiot who installed this”, which is good since it was me. The hardest part is literally that, the crust of hard water deposits on every surface where water sits. With the tank removed I get to work on the base. even the floor bolts come out without a fight. the was ring is still intact but I scrape it off with one of my pocket knives, closest thing to a scraper I can find. My bride cleans up the spilled water and attempts to clean under where the bowl pedestal had been sitting. I get the flange cleaned and install the new wax ring and new floor bolts. I am a little concerned that the new pedestal is offset from the wall further than the old one. Turns out they were exactly the same from the wall to the center of the hole and it fits with no issue on the back. Unfortunately the footprint is about 2 inches shorter than the old one and the floor will need more cleaning to make it match. In the meantime I am moving fast, I attach the large gasket to the bottom of the tank and get it tightened into place. I hook up the water line and turn on the valve. The water is still turned off but once I finish the plumbing underneath it is ready to flush.
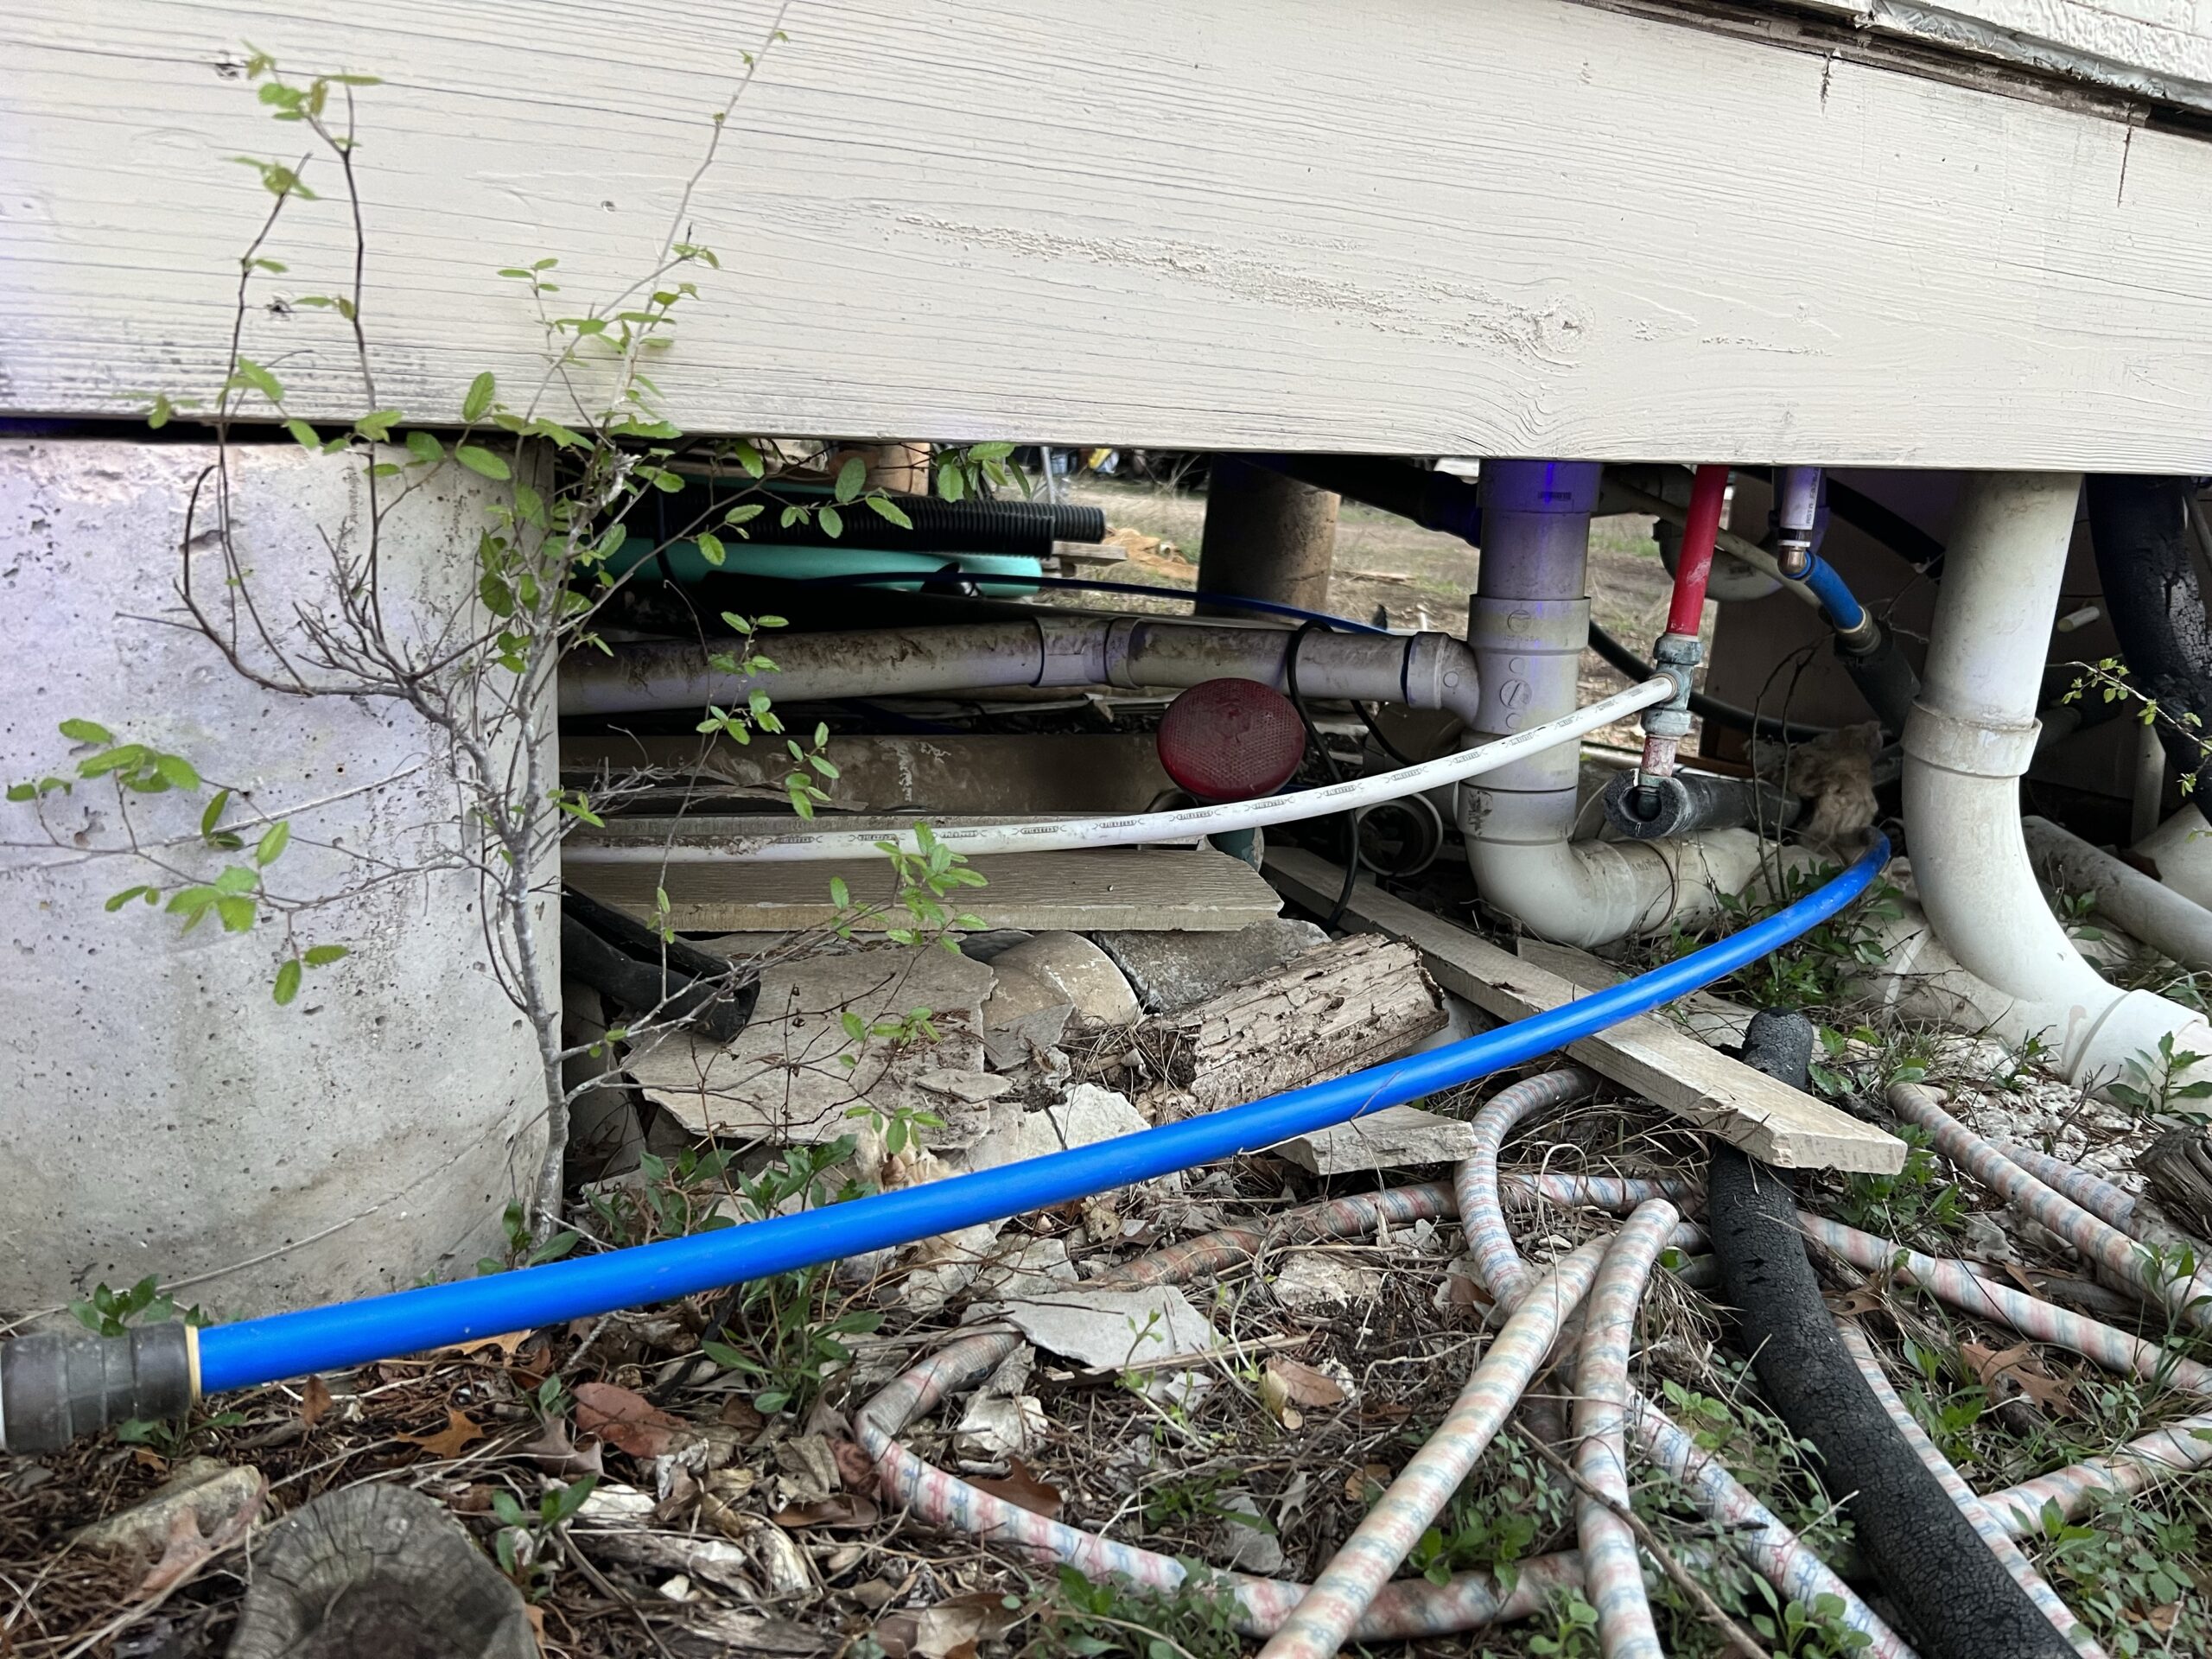
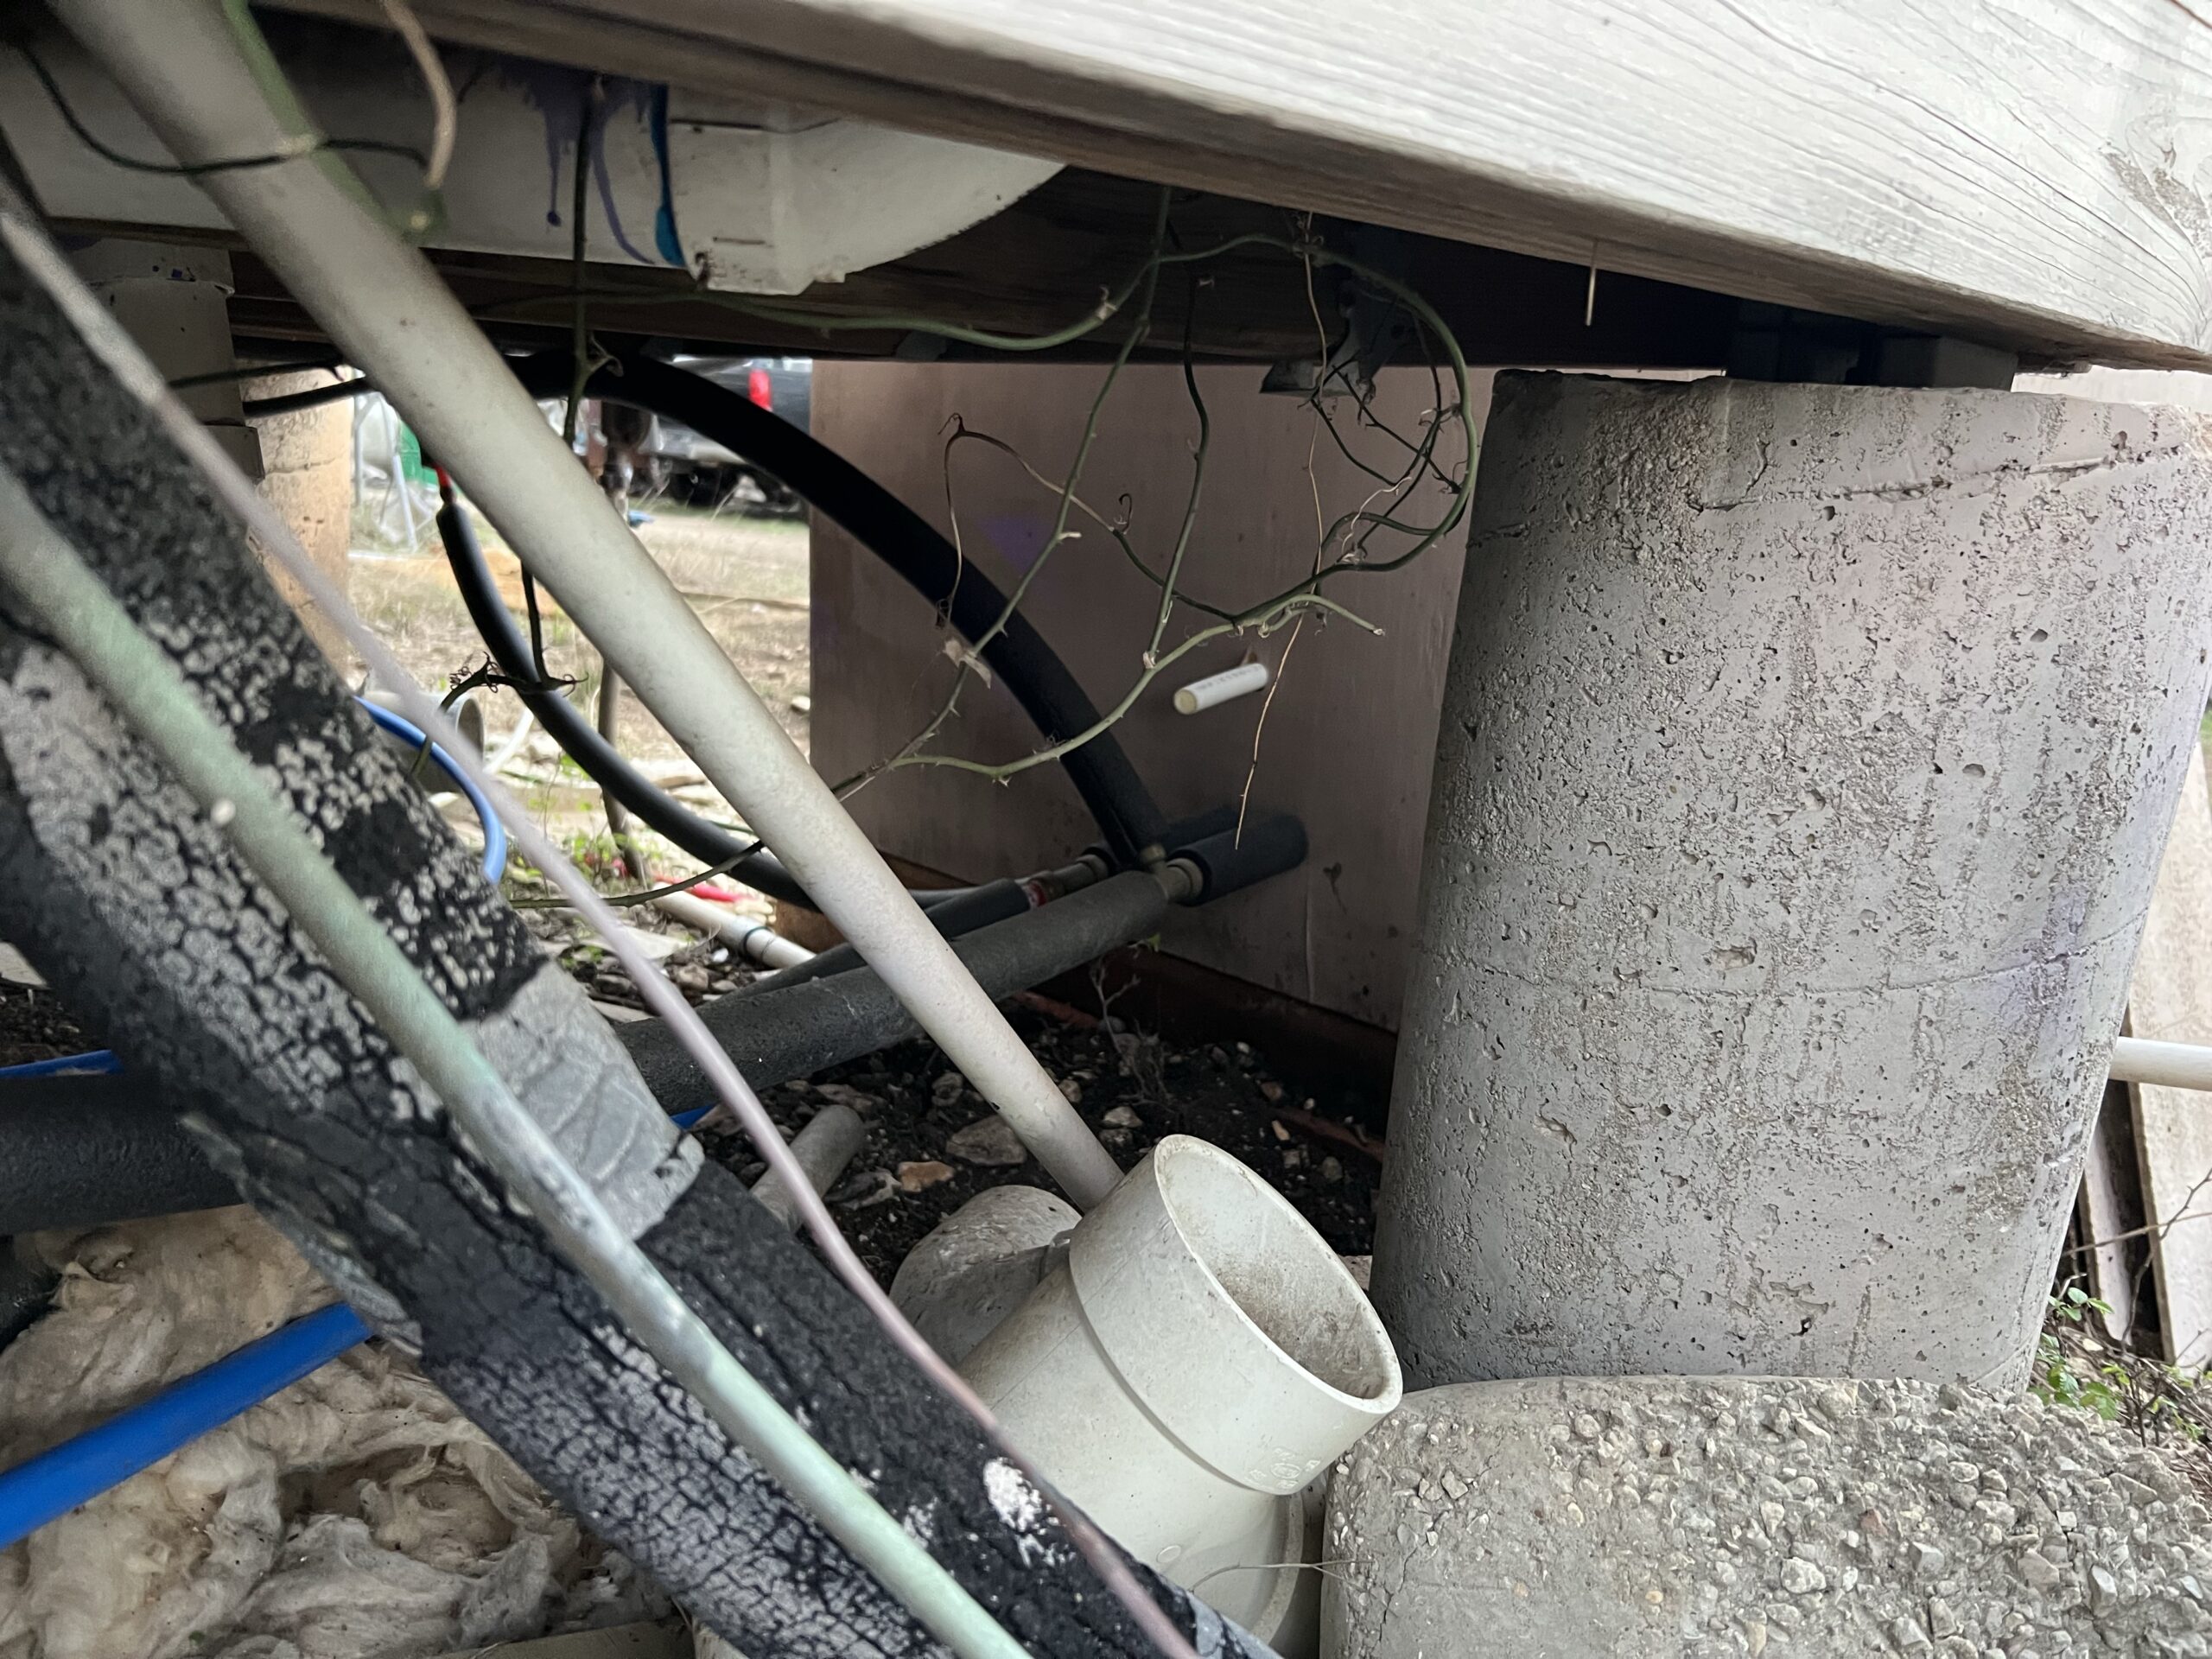
First a water softener and now a toilet, both installed without any issues. On to the plumbing down under the cabana, will it get competed with the same ease? The scene of clearly unplanned spaghetti junction of pipes can be daunting but if you follow it along you can see what everything is for.
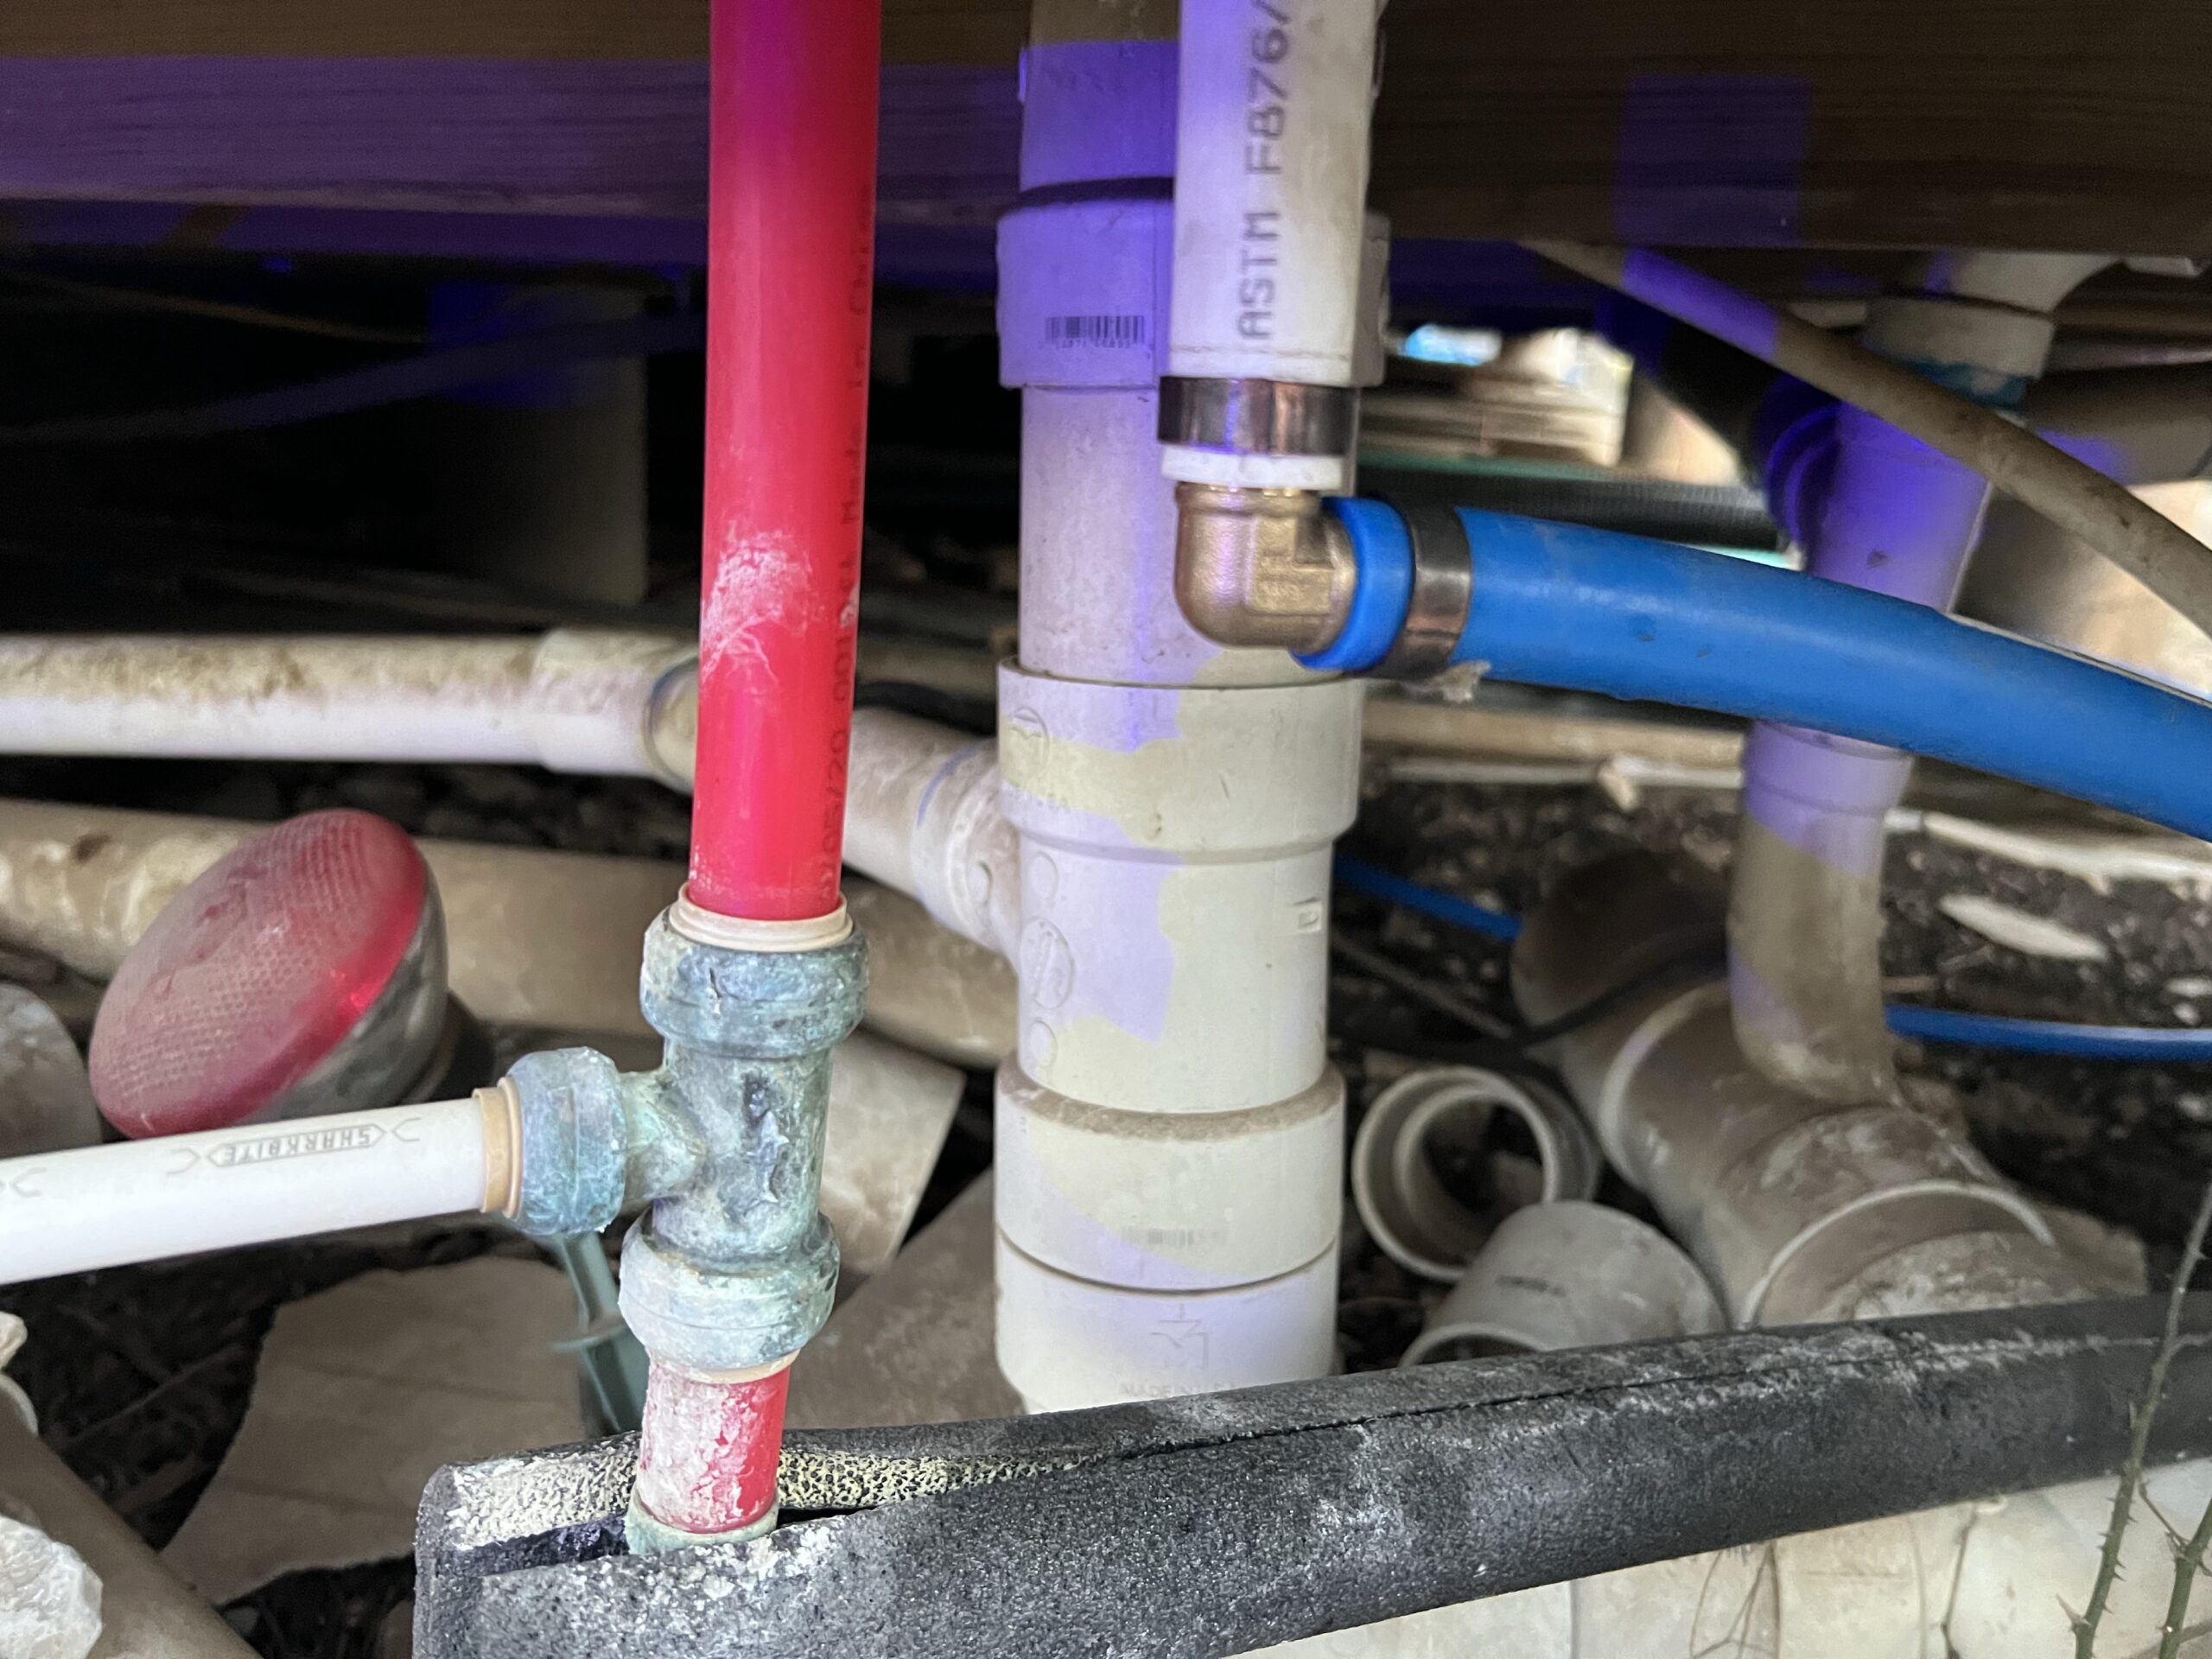
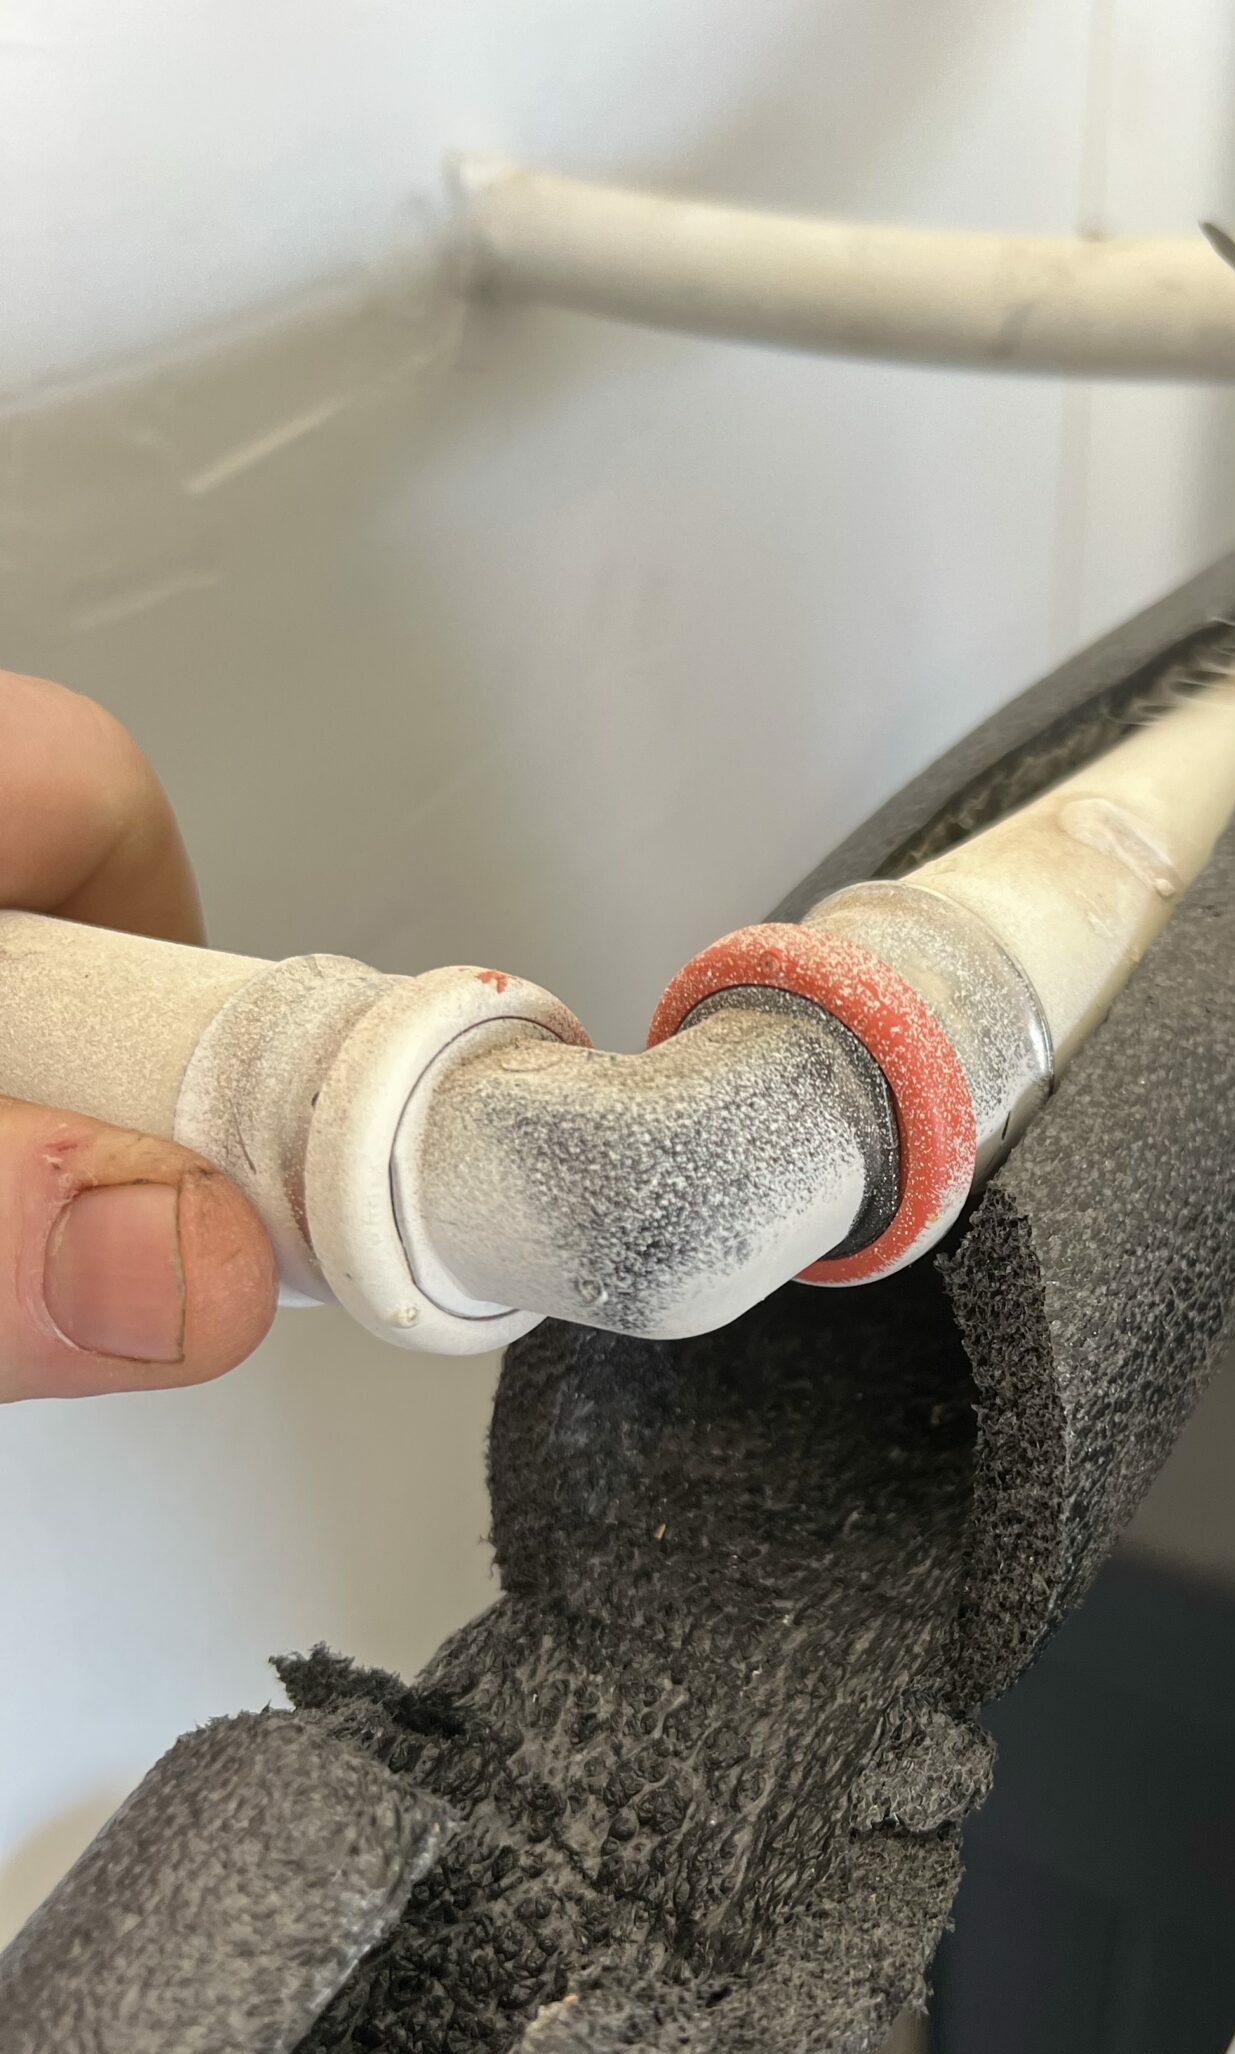
For some reason when I installed the water softener I plumbed the output directly into the hot water tank. Because of this all the cold water faucets have hard water, which has left marks on the shower the sinks and the faucets. The plan is to fix the hot water leak by replacing the “sharkbite” fitting with a crimped one. it is 3/4″ x 3/4″ x 1/2″ which I have already picked up alone with a 3/4″ T fitting to tap off the cold supply to go to the shop. The second part of the plan is to move the cold supply line to a direct connection to the water softener and have the other pipes connect to a T fitting placed on the output from the softener before it gets to the hot water tank. Simple enough. With the water turned off i remove the supply line that has. a 90º bend in it to connect to the rest of the supply. I remove the T it is connected to and replace it with just an elbow that you can see in the second picture above. I move over to the cabinet and attach the old supply line to the 3/4″ T i have installed on the back wall.
Everything seems to be going smoothly so far. I continue on with attempting to replace the hot water fitting that is leaking. I am able to remove the two 3/4″ pipes using the sharkbite tool, I can’t find my 1/2″ tool but manage to use the go-no go checker to manipulate the unlocking mechanism. I get the top and bottom of the fitting attached to the 3/4″ pipes with the crush rings and then head into my shop to find the single 1/2″ ring I need to finish the job. 20 minutes and 50 curse words later. I give up. I know I bought a bag of them and in fact i remember having a plastic jar of them, but at this point I can even find a single one, which would also be the amount of them necessary to finish this job. I retire to the house a beaten man. Another plumbing job that requires a second run to the hardware store to finish. Will I never learn. Preparation is such a pain in the A$$.