I’m starting to think I should save working on vehicles to working on Fun, non-essential vehicles. The truck is my sole source of transportation, and I haven’t bee able to drive it for over 6 months. Well technically I also have a ’04 Escalade that I could drive, but my eldest daughter has pretty much taken over that. I could… but then I would need to… ah, never-mind. My truck is almost fixed. Yes I said it. No, I’m not trying to jinx it. It is just an eventuality. I am running out of parts to put back on the truck. So here was the list now updated with finished jobs.
The Underside:
Connect the three flex plate to torque converter boltsinstall the bottom bell housing coverInstall the bottom rods from the bell housing to the engine mounts.connect the O2sensor wiring.Install the starter motor and wiringinstall the upper bell housing bolts.(maybe easier from below) NOT! did it from the topInstall the exhaust to the manifolds
From the Top
- r
un the oil pump primer while rotating the engine by hand (making sure each of the lifters gets pumped up and has oil pushing out of the rockers.- Change of plan, although I did make a sweet tool to do this. I am going to remove the fuel pump relay and the coil wire and have the engine turn over using the starter with the real distributor in it. it should pump everything up and then be ready to start without delay of replacing the distributor again.
- torque the vibration damper bolt to 70 ft lbs
remove the antifreeze and the missing nut from the exhaust crossover pipe.- This was awesome, I used the strong magnet on the bottom of my mechanics light to move the nut down the exhaust tube to closer to the opening, then I used my flexible magnet to reach in the pipe and around the bend of the pipe and attract the nut and remove it. Yeay! The antifreeze will get blown through the mufflers and out the pipe.
remove rust from manifold bolts and paint bolt heads- i
nstall the exhaust manifolds to the block. attach the manifolds to the exhaust pipes.Make sure all ground wires are mounted to the back of the engine.- Attach the wiring harness to the firewall and inside the passenger side
- Install the distributor, wires and spark plugs
- Re-install the exhaust to intake manifold pipe for the EGR vavle
- I was going to leave it off but i ran nicely before, so It deserves to stay.
install the wiring harness across the engine to the front cam shaft sensor- install the temperature sensors on the heads
Install the water temperature sensor into the intake manifoldclean up and install the water neck and thermostat.install the harness connector for the knock sensorinstall the water pump hoses to the heater bottom radiator hose.- install the water pump hoses to the heater top radiator hose.
Install pcv valveand hosing- Install vacuum lines
Connect the harness to the injector block and other intake sensors- Clean, paint and install the front pulley mounts.
- rebuild the power steering pump and install
- Clean and Paint the alternator (maybe)
- Install the AC compressor without connecting it (another project)
- Install the serpentine belt
- Install the fan and fan clutch
- Install the fan shroud
- install the top radiator hose
- Install the cold air intake
- Install the throttle cables
- Install the new cruise control cable and box
- Install the Battery
- Install the Positive Battery cable to the Alternator
- Install the Positive Battery cable to the Computer
- Install the Positive Battery cable to the Battery
- Install the Negative Battery cable to the battery
It is definitely getting finished. It is exciting but scary as hell. I mean what If I have done all this work and I did something wrong at the beginning of the rebuild and it just never starts or worse it jams and won’t turn over or if something wasn’t tight enough or what if it is too tight. This is why I never rush to finish. It may not work out as planned. Or I may just be paranoid.
Paranoid or not, I know I am sore, and tired. I managed to get in about 4 hours of work down there today, during which I also managed to chug 64 oz of ice water. I have a home made solution for working on the back of the engine. I have a couple of 2x4s with small blocks attached to one end that I use to lay across the engine bay from the back to the front. The little blocks, sit behind the little drip rail above the firewall on top of these boards I lay a 3/4″ piece of plywood about 6′ by 4′ and on top of that a moving blanket. The contraption becomes my perch. I leave a 6″ gap between the firewall and the platform for my arm to be able to reach down into the engine bay. This allows me to reach all of the blots on the top of the front of the transmission, without me leaning on any parts or impaling myself on anything while reaching back there.


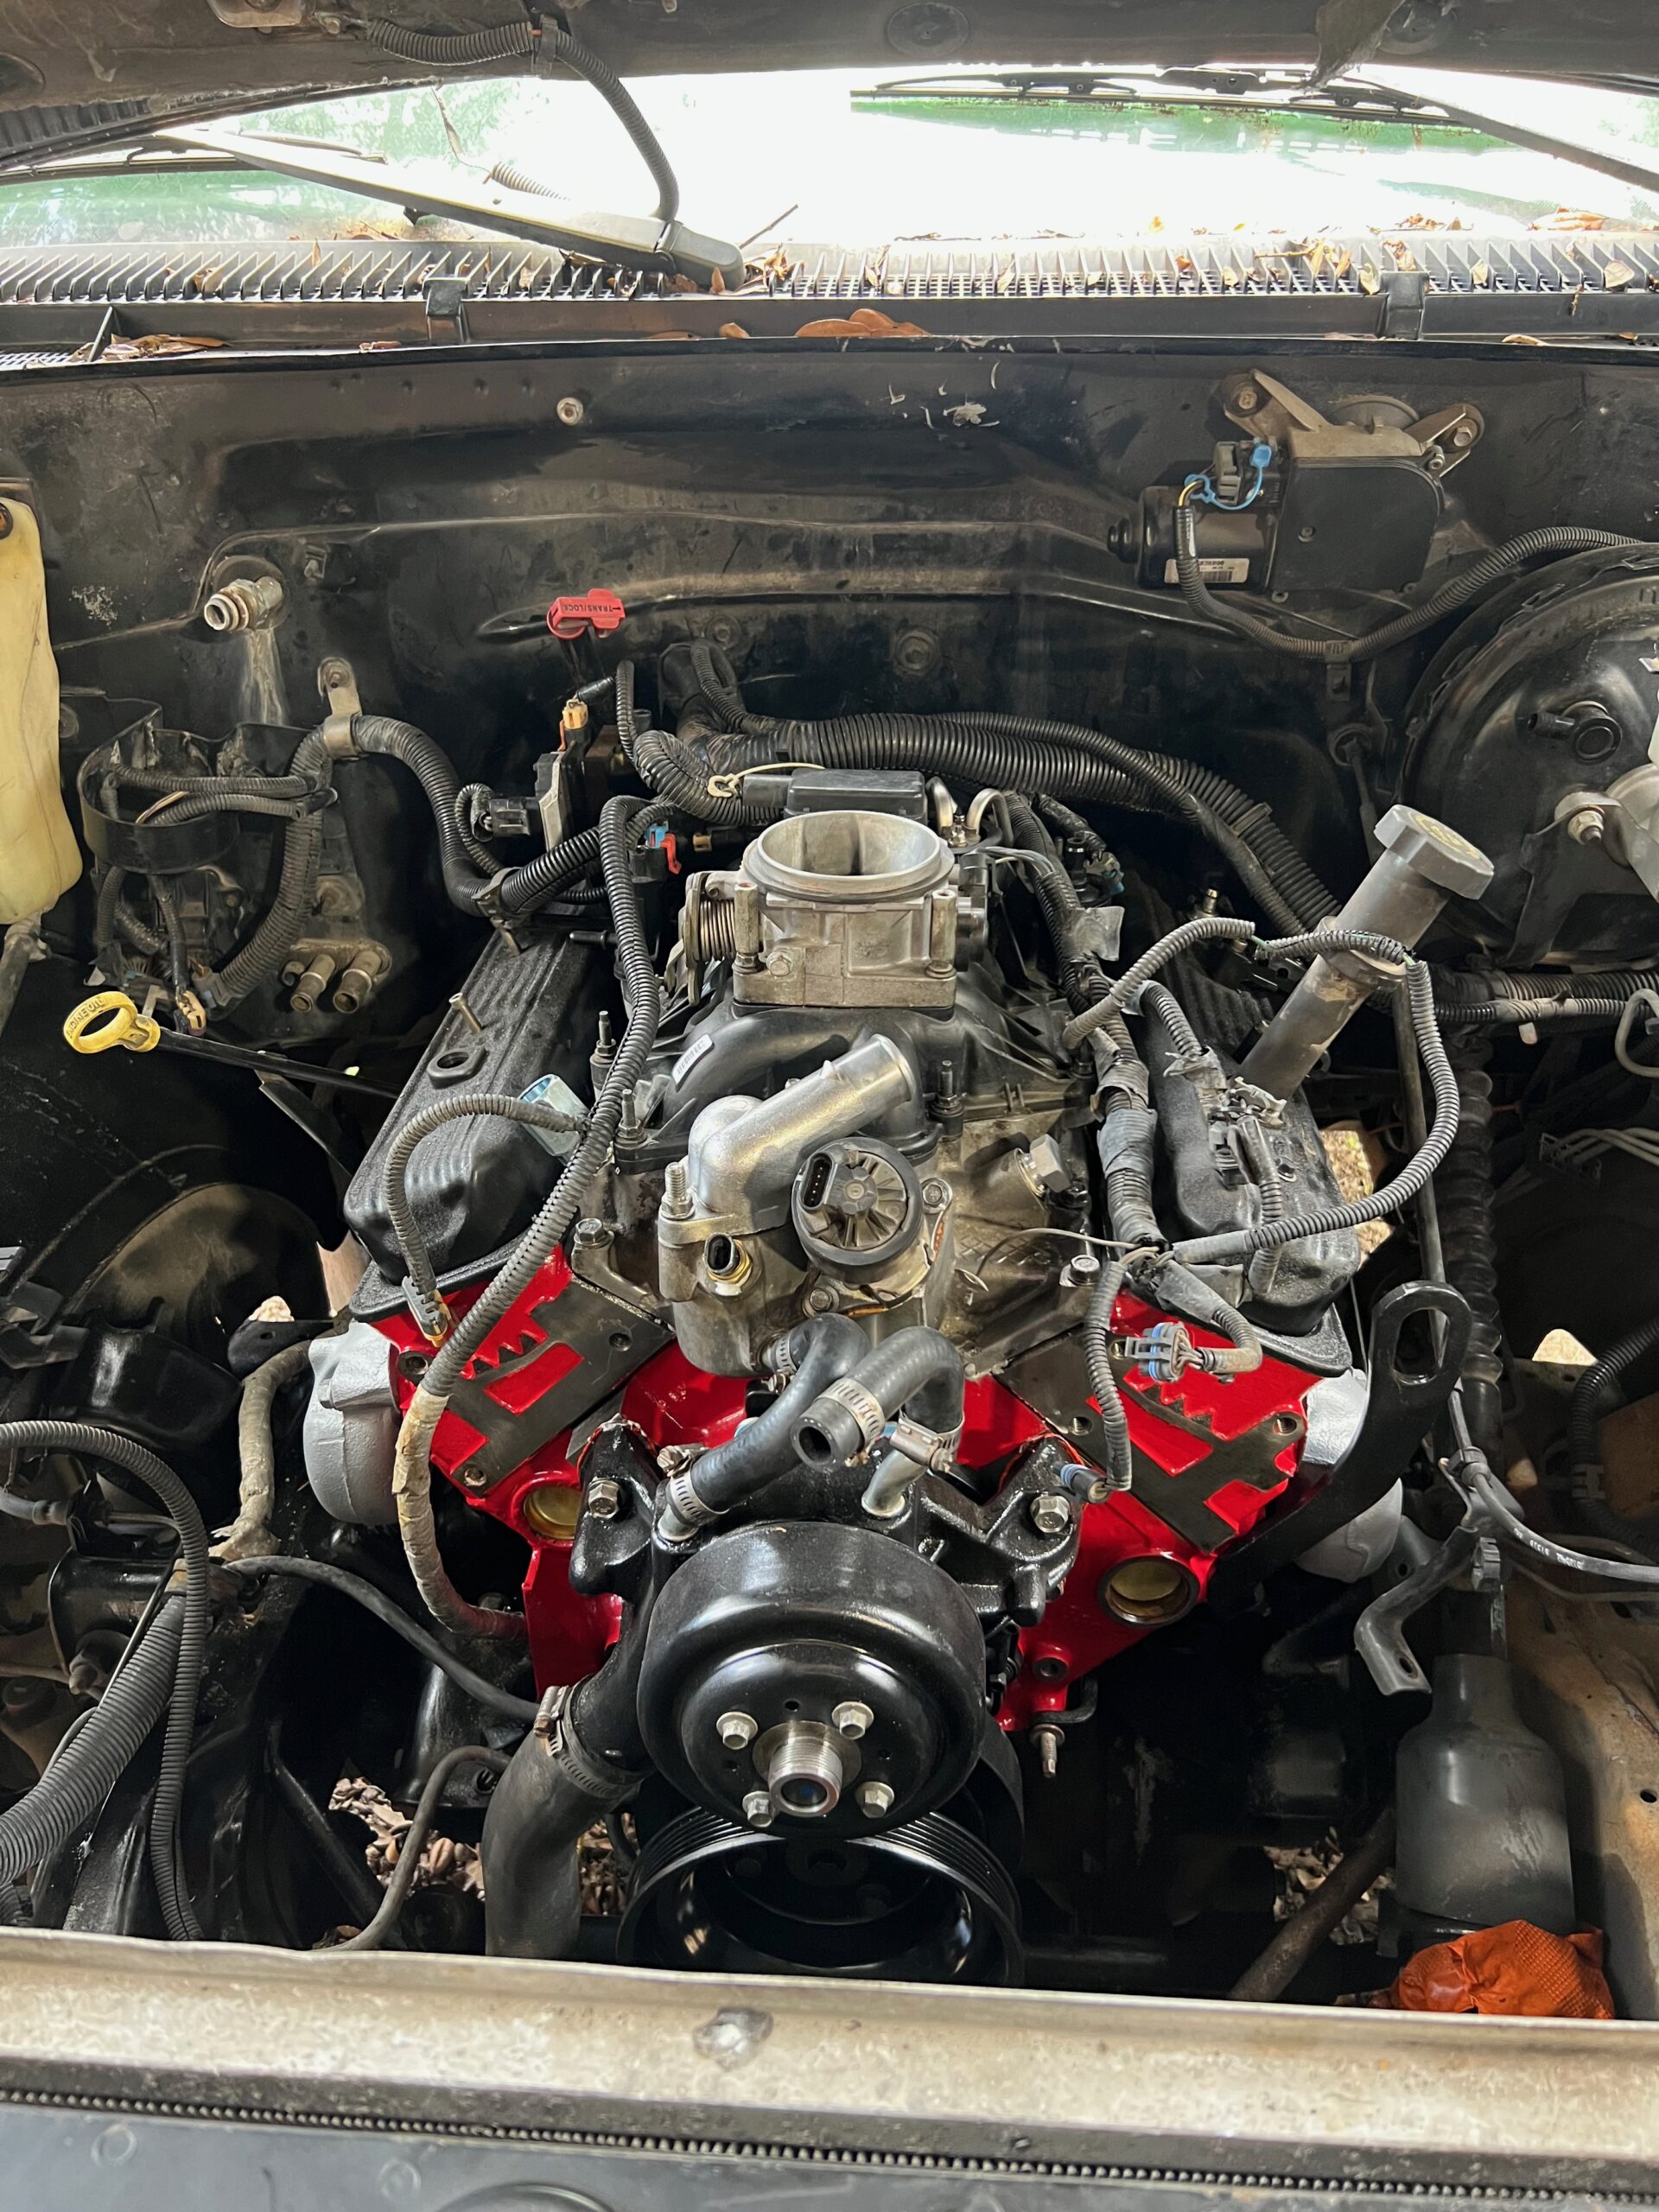
The images above are from my perch above the engine. The only issue is of course when you drop tools you can’t reach them. It’s not like I dropped the 13mm wrench six times tightening one bolt, having to get down off the perch and then retrieving the wrench with a telescoping magnet and then climbing back up to the perch over and over. In truth I dropped it seven times. But like the pig headed bulldog that I am I just kept going till it was tight, there was no way I was going to stop knowing that this was one of the bolts that was never tightened correctly when I did the transmission last year and seemed to be suspect in multiple bad ground issues I had. No way, am I going to live with that guilt again.
After finishing up today. I am very confident that the back of the engine is exactly how it should be and all the bolts are tight and secure. The only other jobs I have to do back there is the distributor, and the oil pressure sensor, which I plan on taking care of tomorrow morning (right after I find the new sensor). The last rear engine bolt I installed today was for a wiring harness cradle that attaches to the back of the passenger head and the the mounting bolts of the coil on the intake manifold. This is a weird piece of metal that basically holds the harness off the engine it really just validated that what I have installed so far is in the right places. I also installed the fuel hoses onto the rails that go to the injector block using my 16mm flare wrench on the hoses, and an 8mm on the clamp for the injector block. I used a 10mm bolt with a weird extra unthreaded shank on the end of the bolt to hold down the fuel rail mount. I hope they don’t have or require new o-rings since I didn’t see any or install any. I guess I will check for gas leaks during first startup.
Tomorrow I need to take some tire shine down to the shop to use on the hoses to clean them before re-installing them. I also need to clean the firewall and show this baby some respect. It has been a long journey and noticing I only have a few bags of bolts left and really just the front of the engine to finish it will be over in an abrupt way once this little lady runs agin. I am still somewhat paranoid but one way or another this journey is about to be over.


