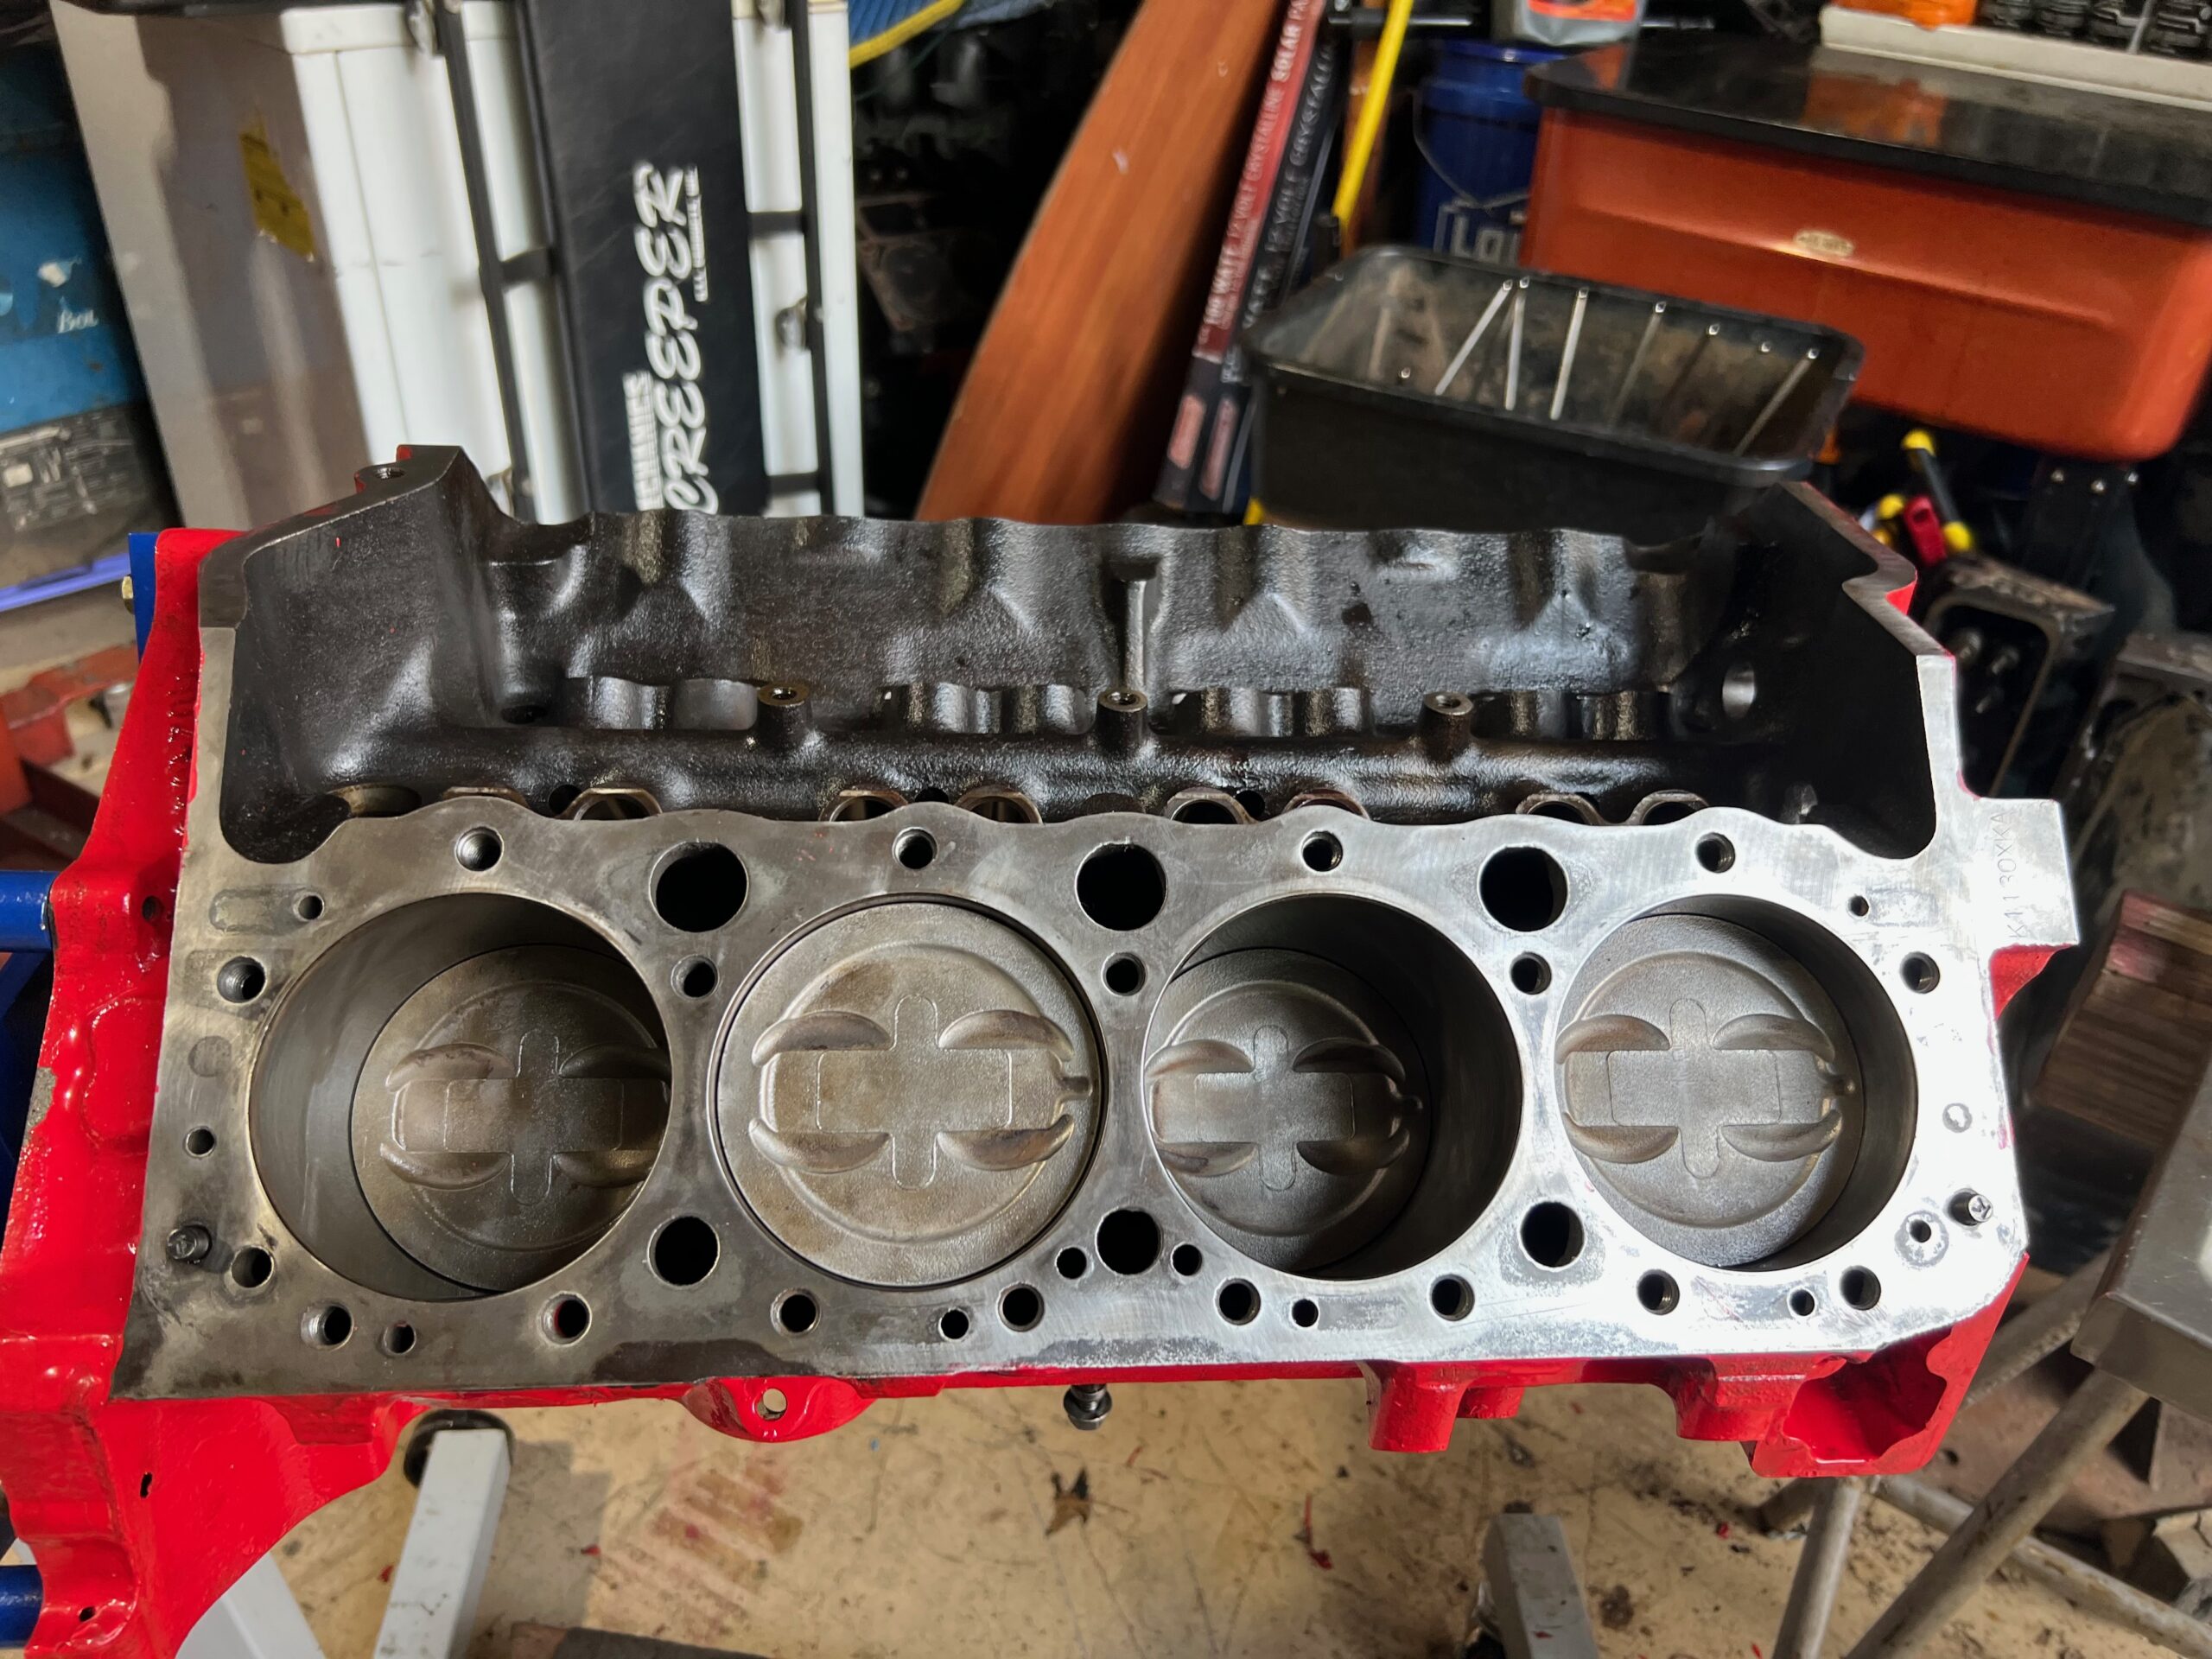
Now that the crankshaft is in It’s time to install the pistons. I spend the first 45 minutes cleaning up around the shop in an effort to find the piston ring expander. I bought it for this exact job and now I can’t find the damn things anywhere. Right as I was about to give up I found them under a rag on the table that I was planning on working on. That is infuriating, especially since i can only blame myself for not being tidier. With tool in hand I read the instructions on the rings and figure out which is the top ring and which side of each ring is the top.
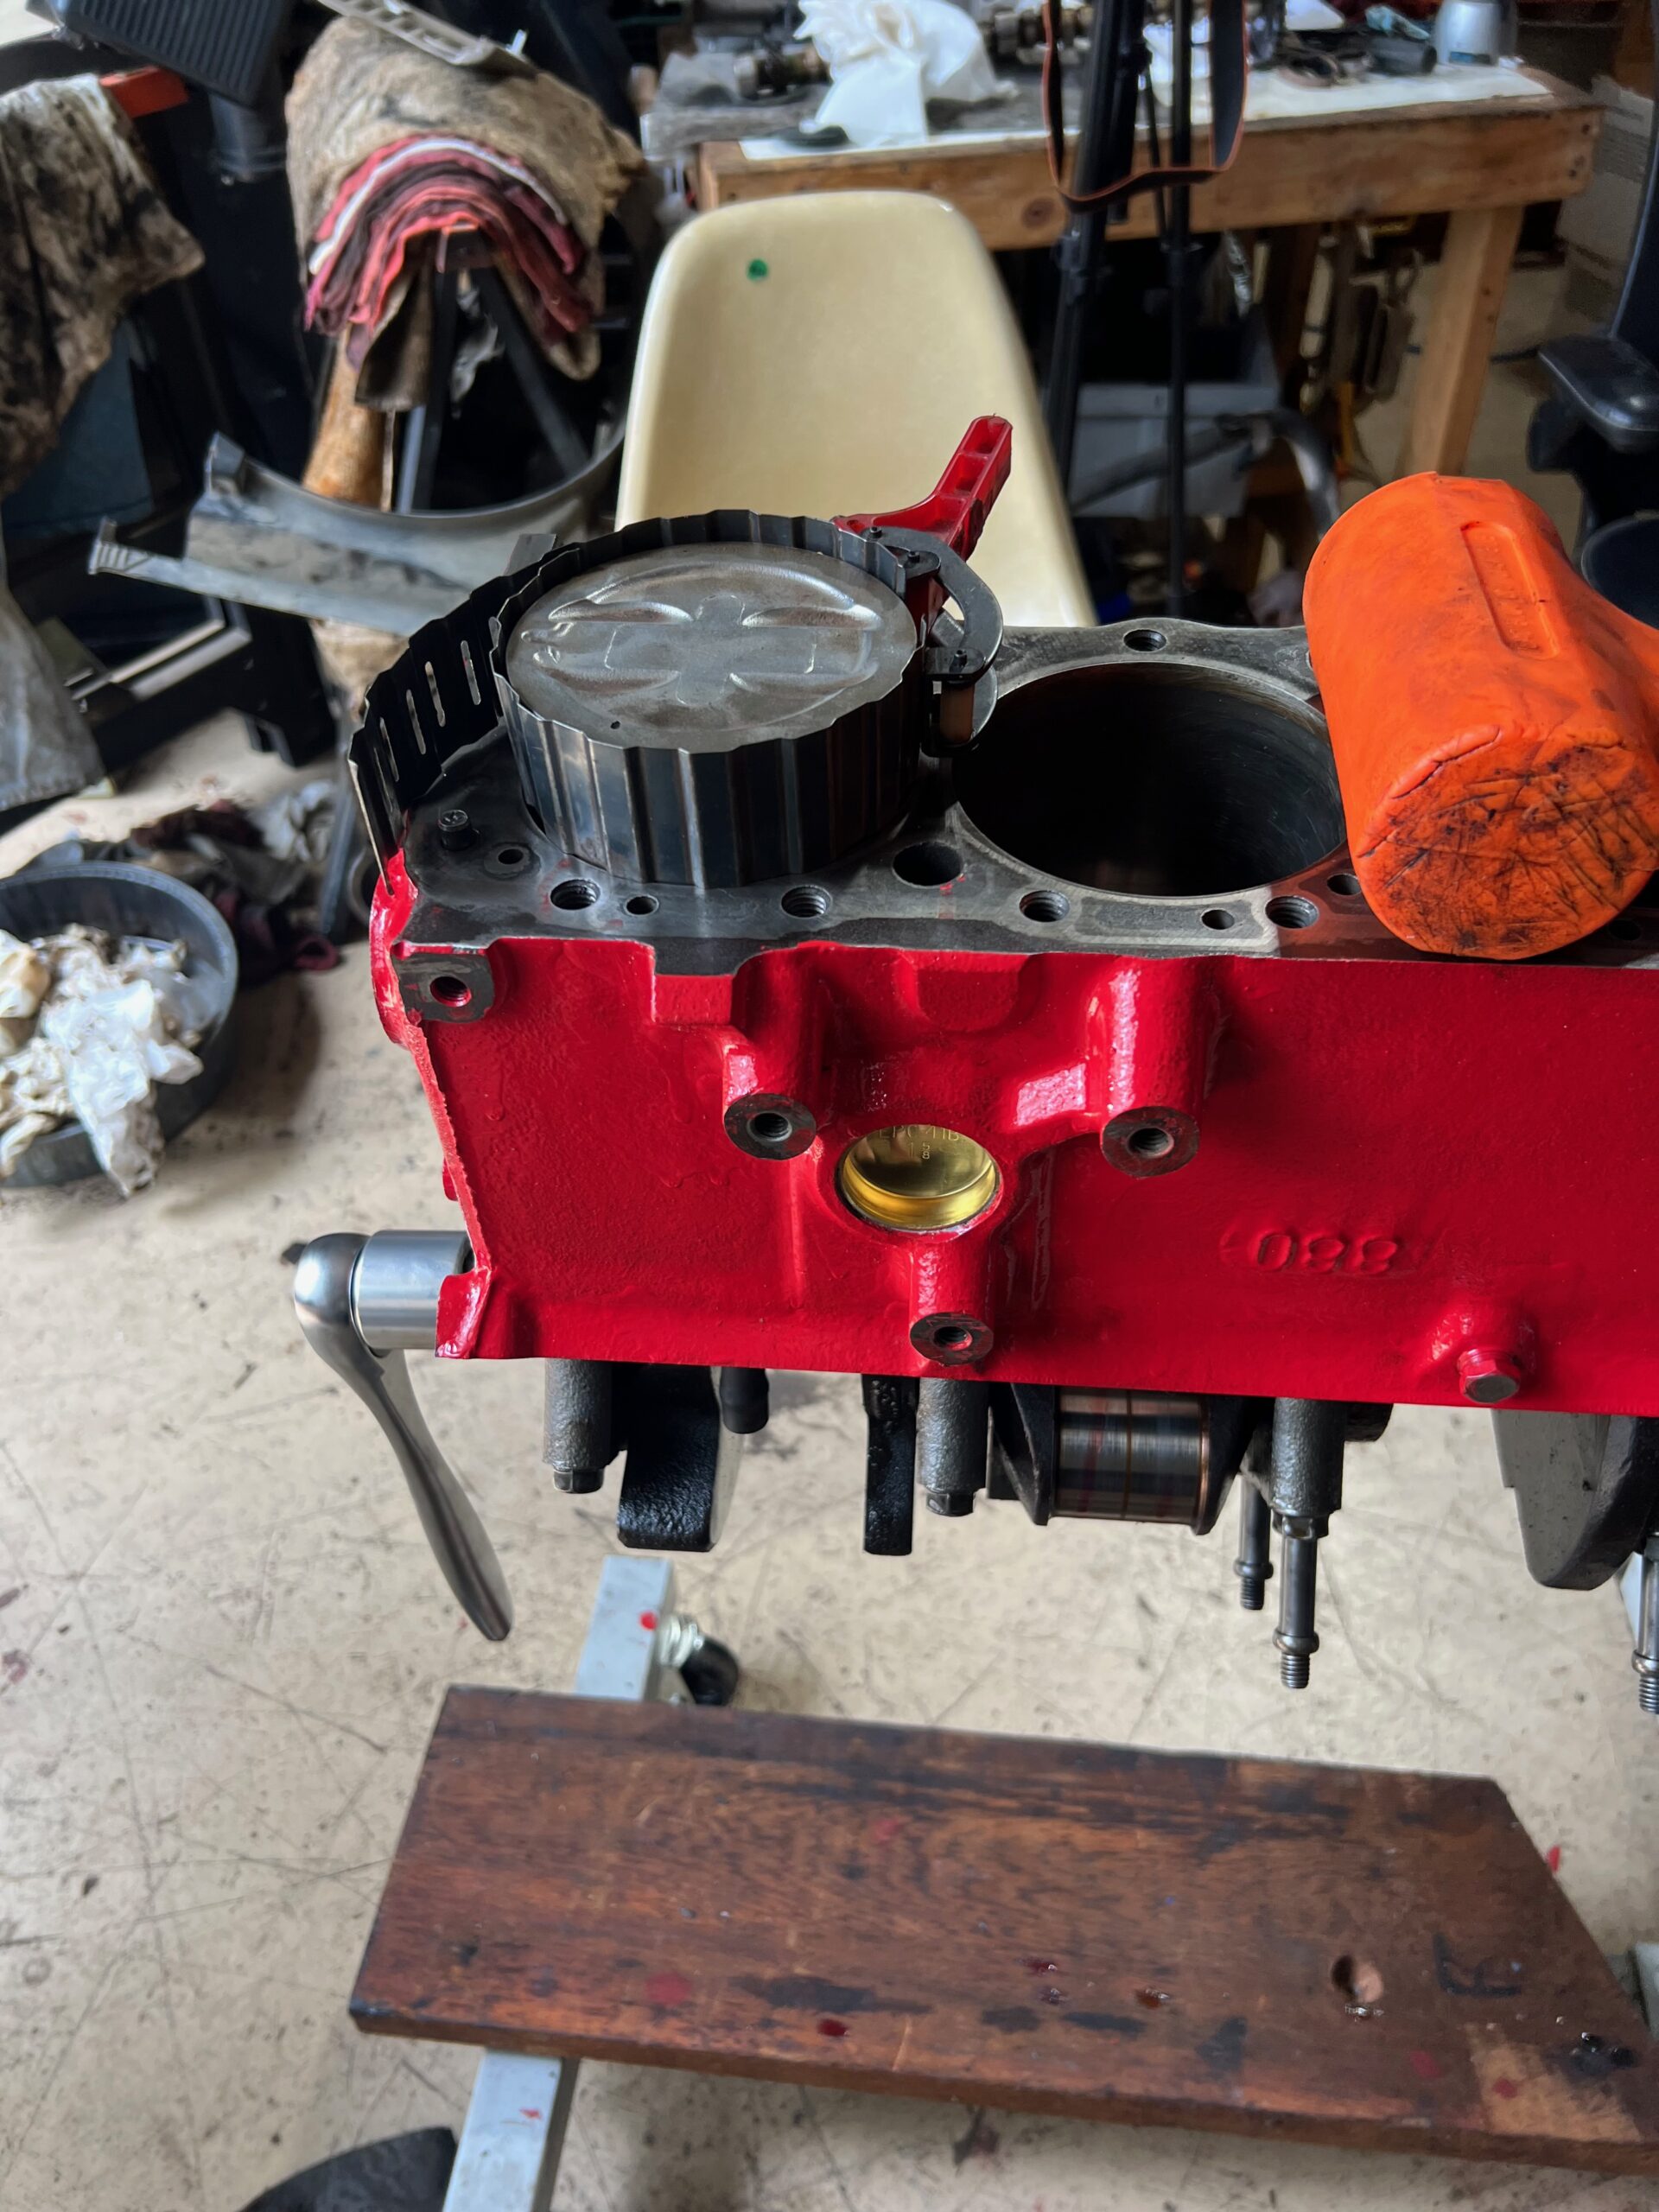
I lube each wrist pin and install the rings on each piston also installing a new bearing in the con rod at the same time. the oil scrapers are easy to install and the wiper rings above and below the are so thin it is a little difficult to separate the with my gloves on. I take care to have the ring openings at different clock locations and then put the ring compressor on them. I use some old fuel line to cover the rod bolts and then line up the crank so that the cylinder I am working on is at the bottom of the stroke. One good thump with the handle of the dead blow hammer and the piston seats itself inside the bore. I use my left hand to guide the connecting rod down around the crank and push down on the piston with my right hand.
I have a video of the whole process but it is rather long. As soon as I figure out how to add a decent video player to the blog I will post it.
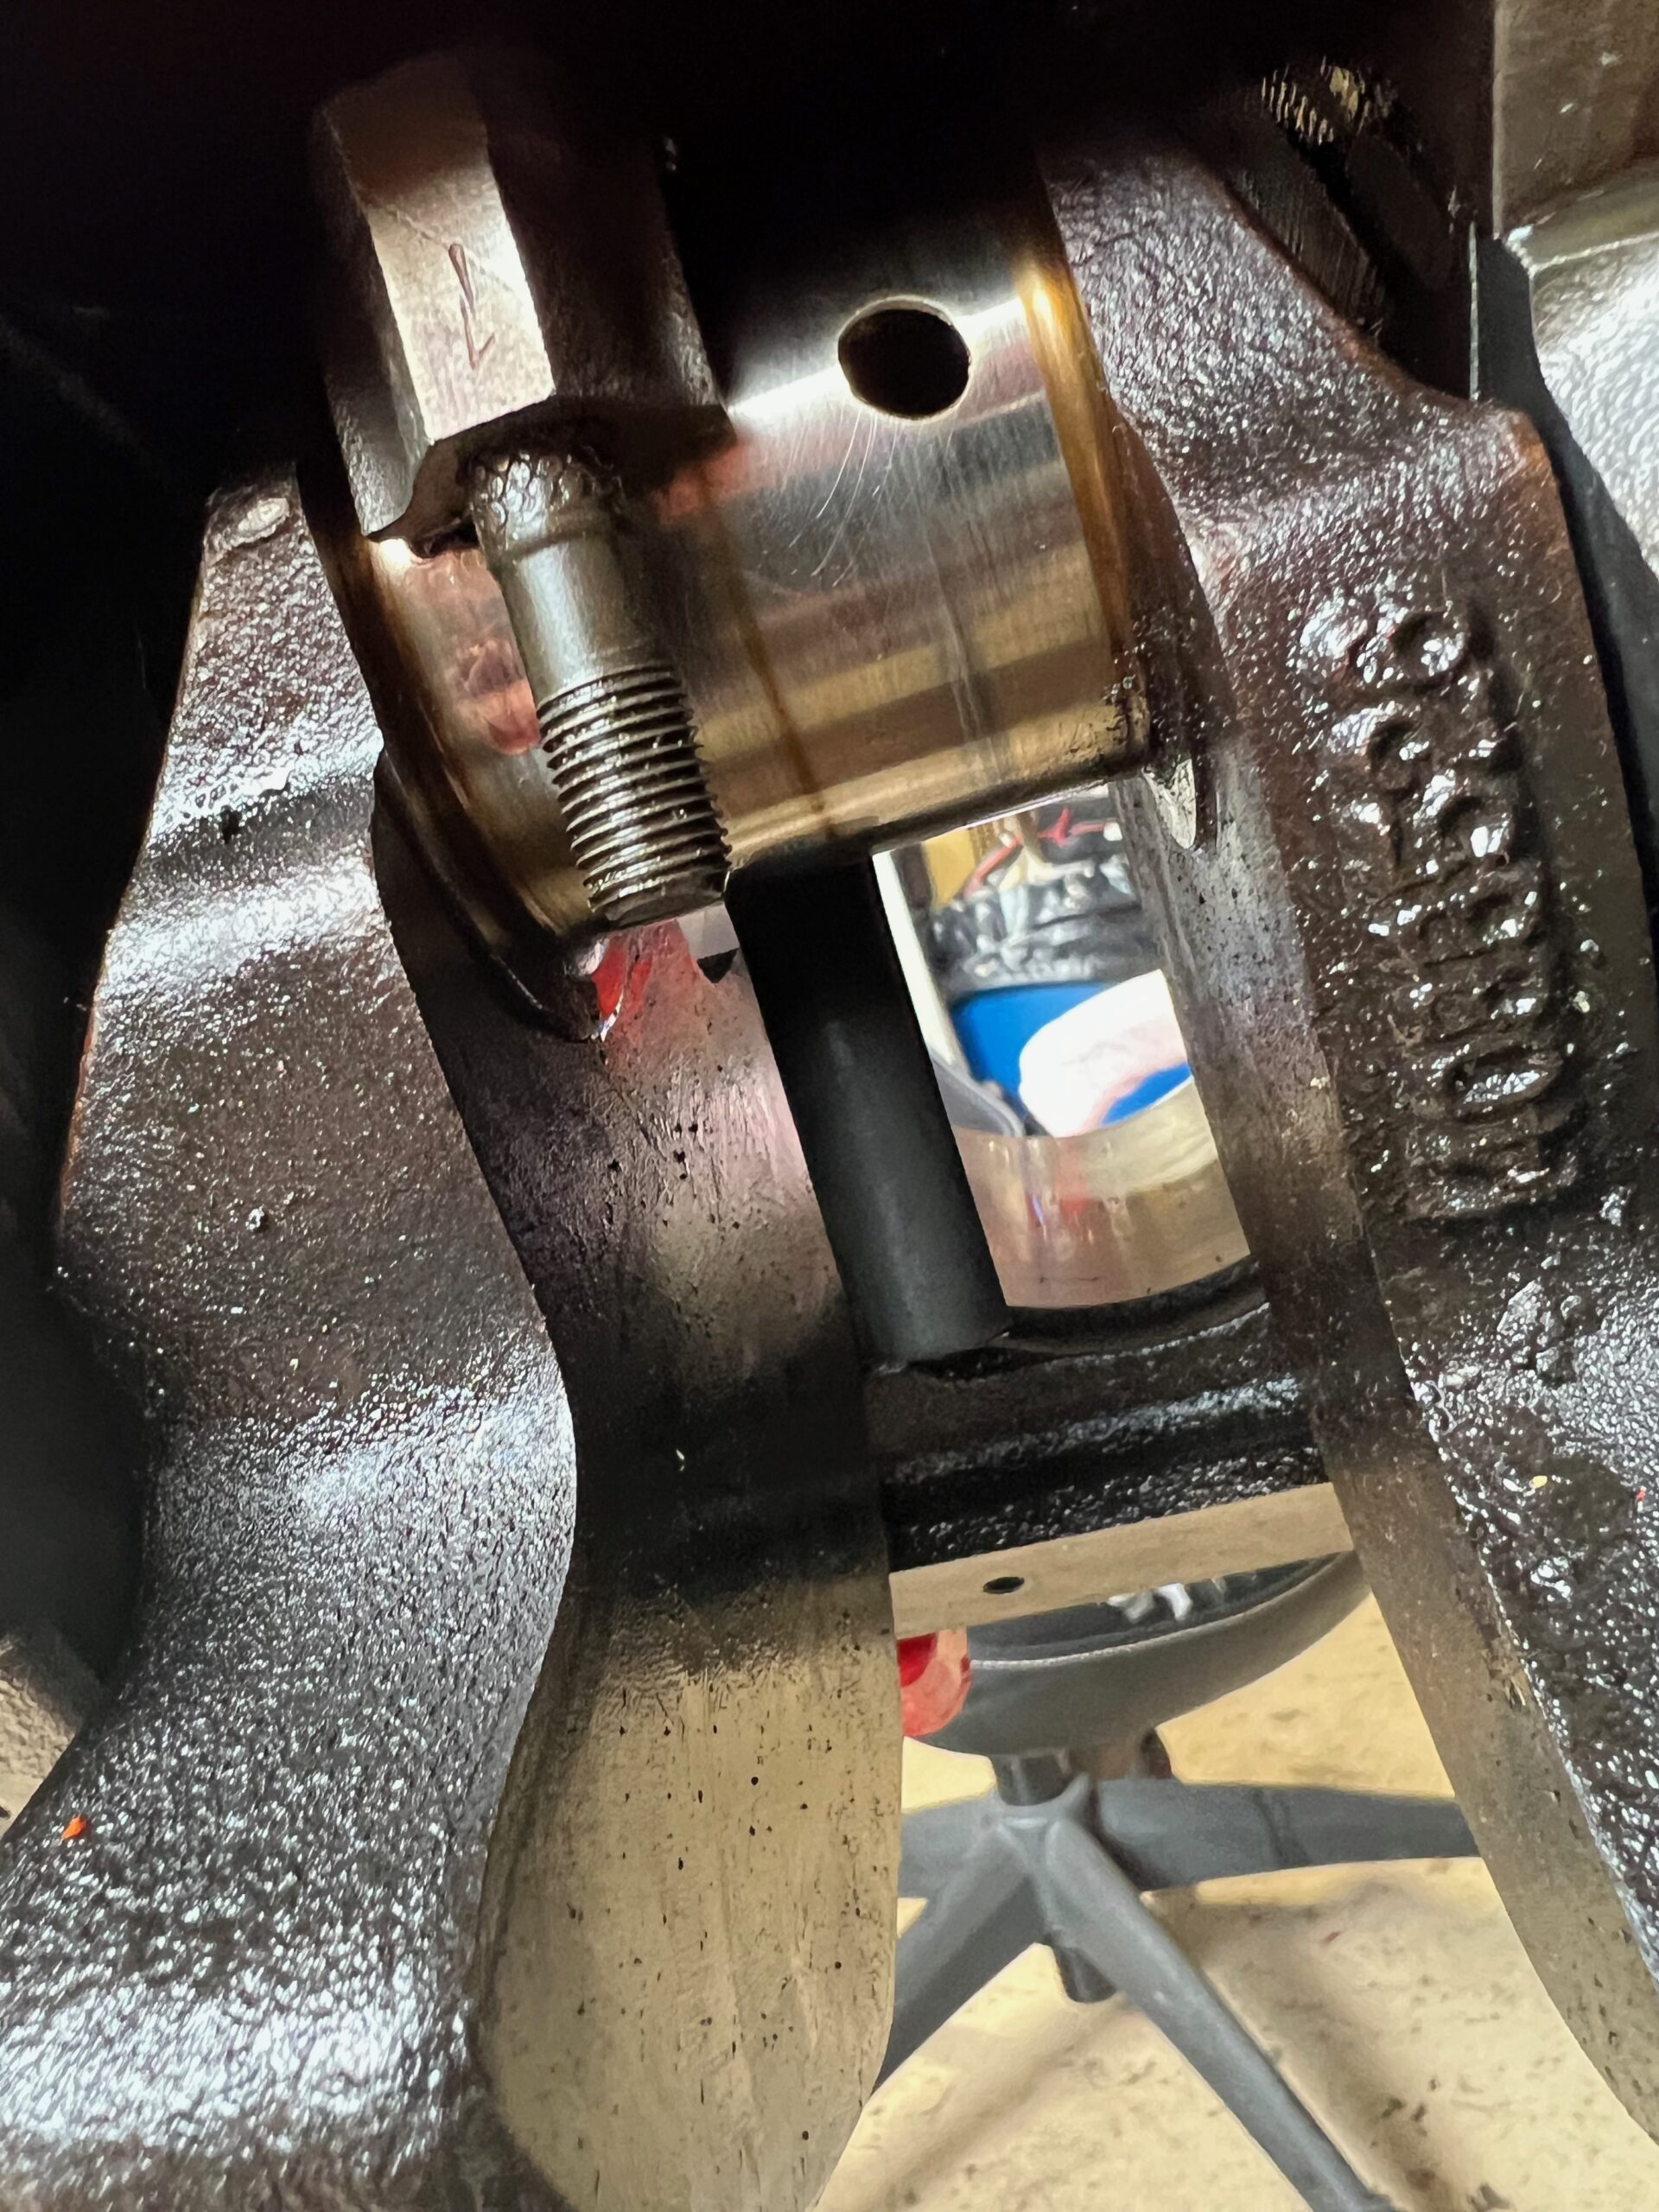
With all eight pistons installed I turn the crank with my 3/8 ratchet, it turns smoothly, I am really pleased. Now I need to install the camshaft. This should be pretty simple, since I have already fouled up one set of camshaft bearings and installed another set along with checking them with the camshaft. So I lube it up and carefully push it through all 5 bearings and it seats itself perfectly.
Those two tasks have got this rebuild up and running. I hope to keep it going at a decent pace but life does seem to get in the way. More updates soon.
