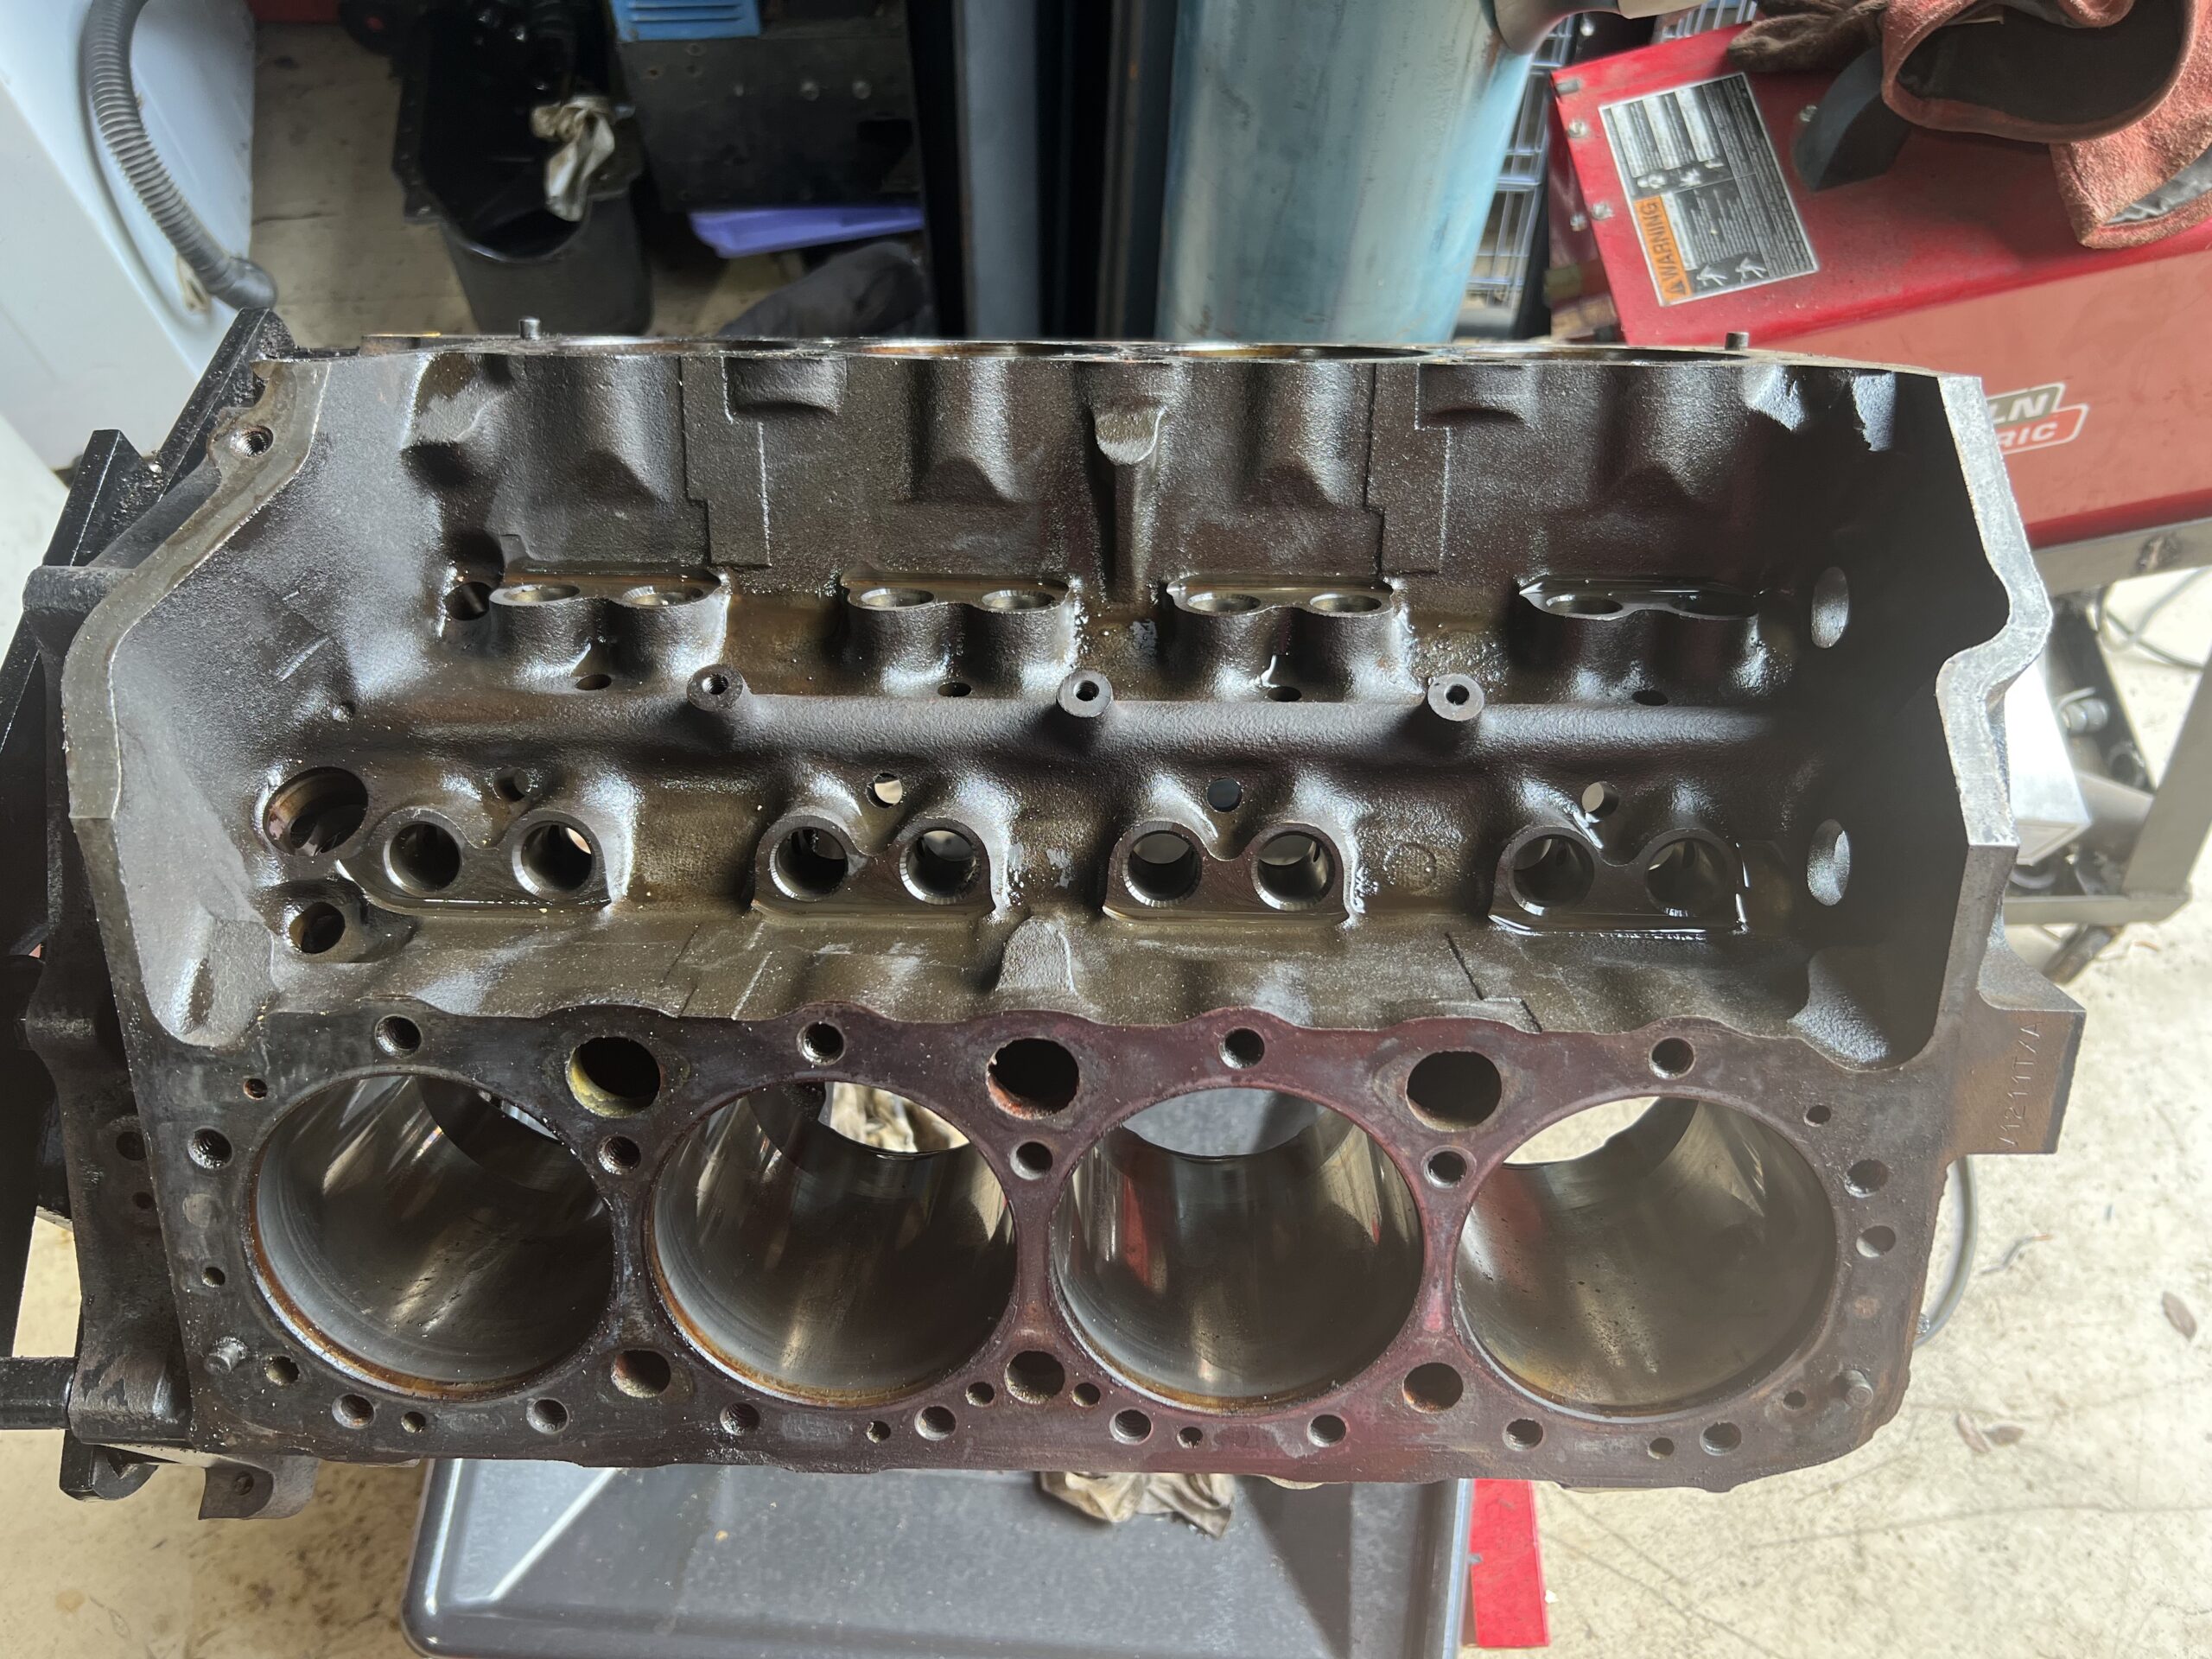
It has taken a while but I have managed to tear myself away work long enough to strip the block bare. I didn’t think I would go this far, but I can’t see doing this much work and not doing the complete job. That being said, I am not taking to a machine shop. It will all be done by me in the BS&RN garage.
I will try to keep track of all costs for parts and tools.
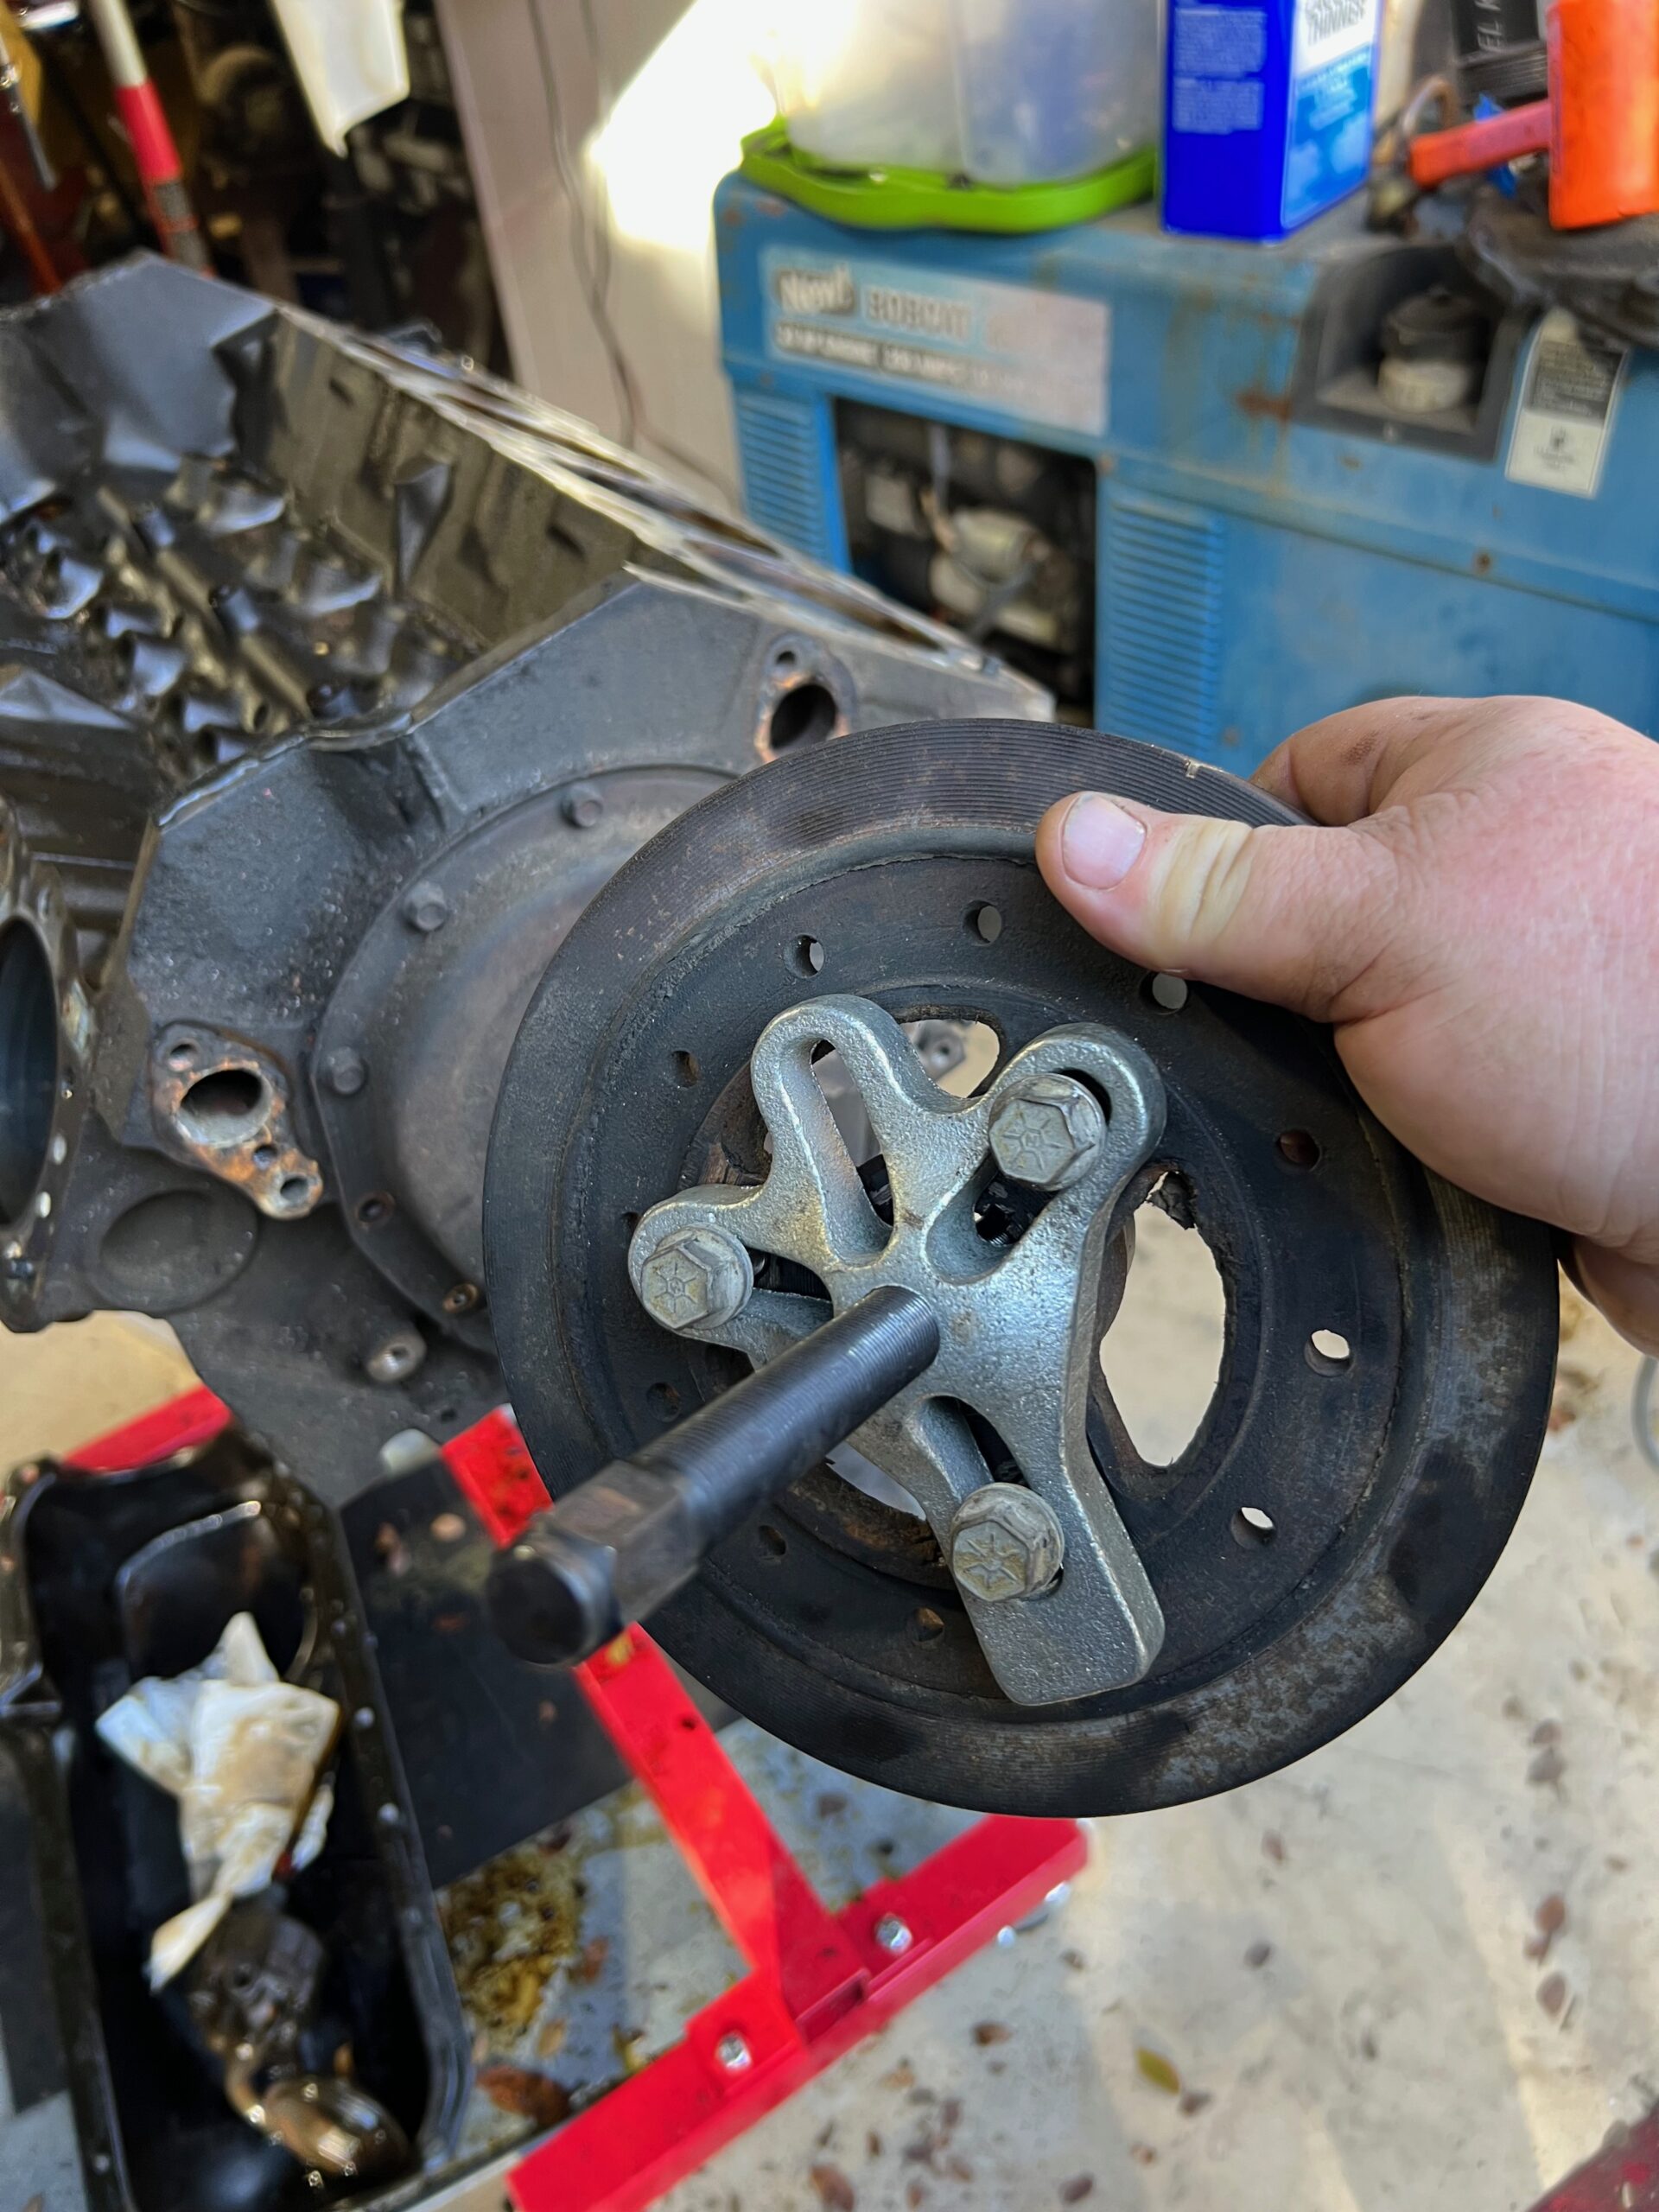
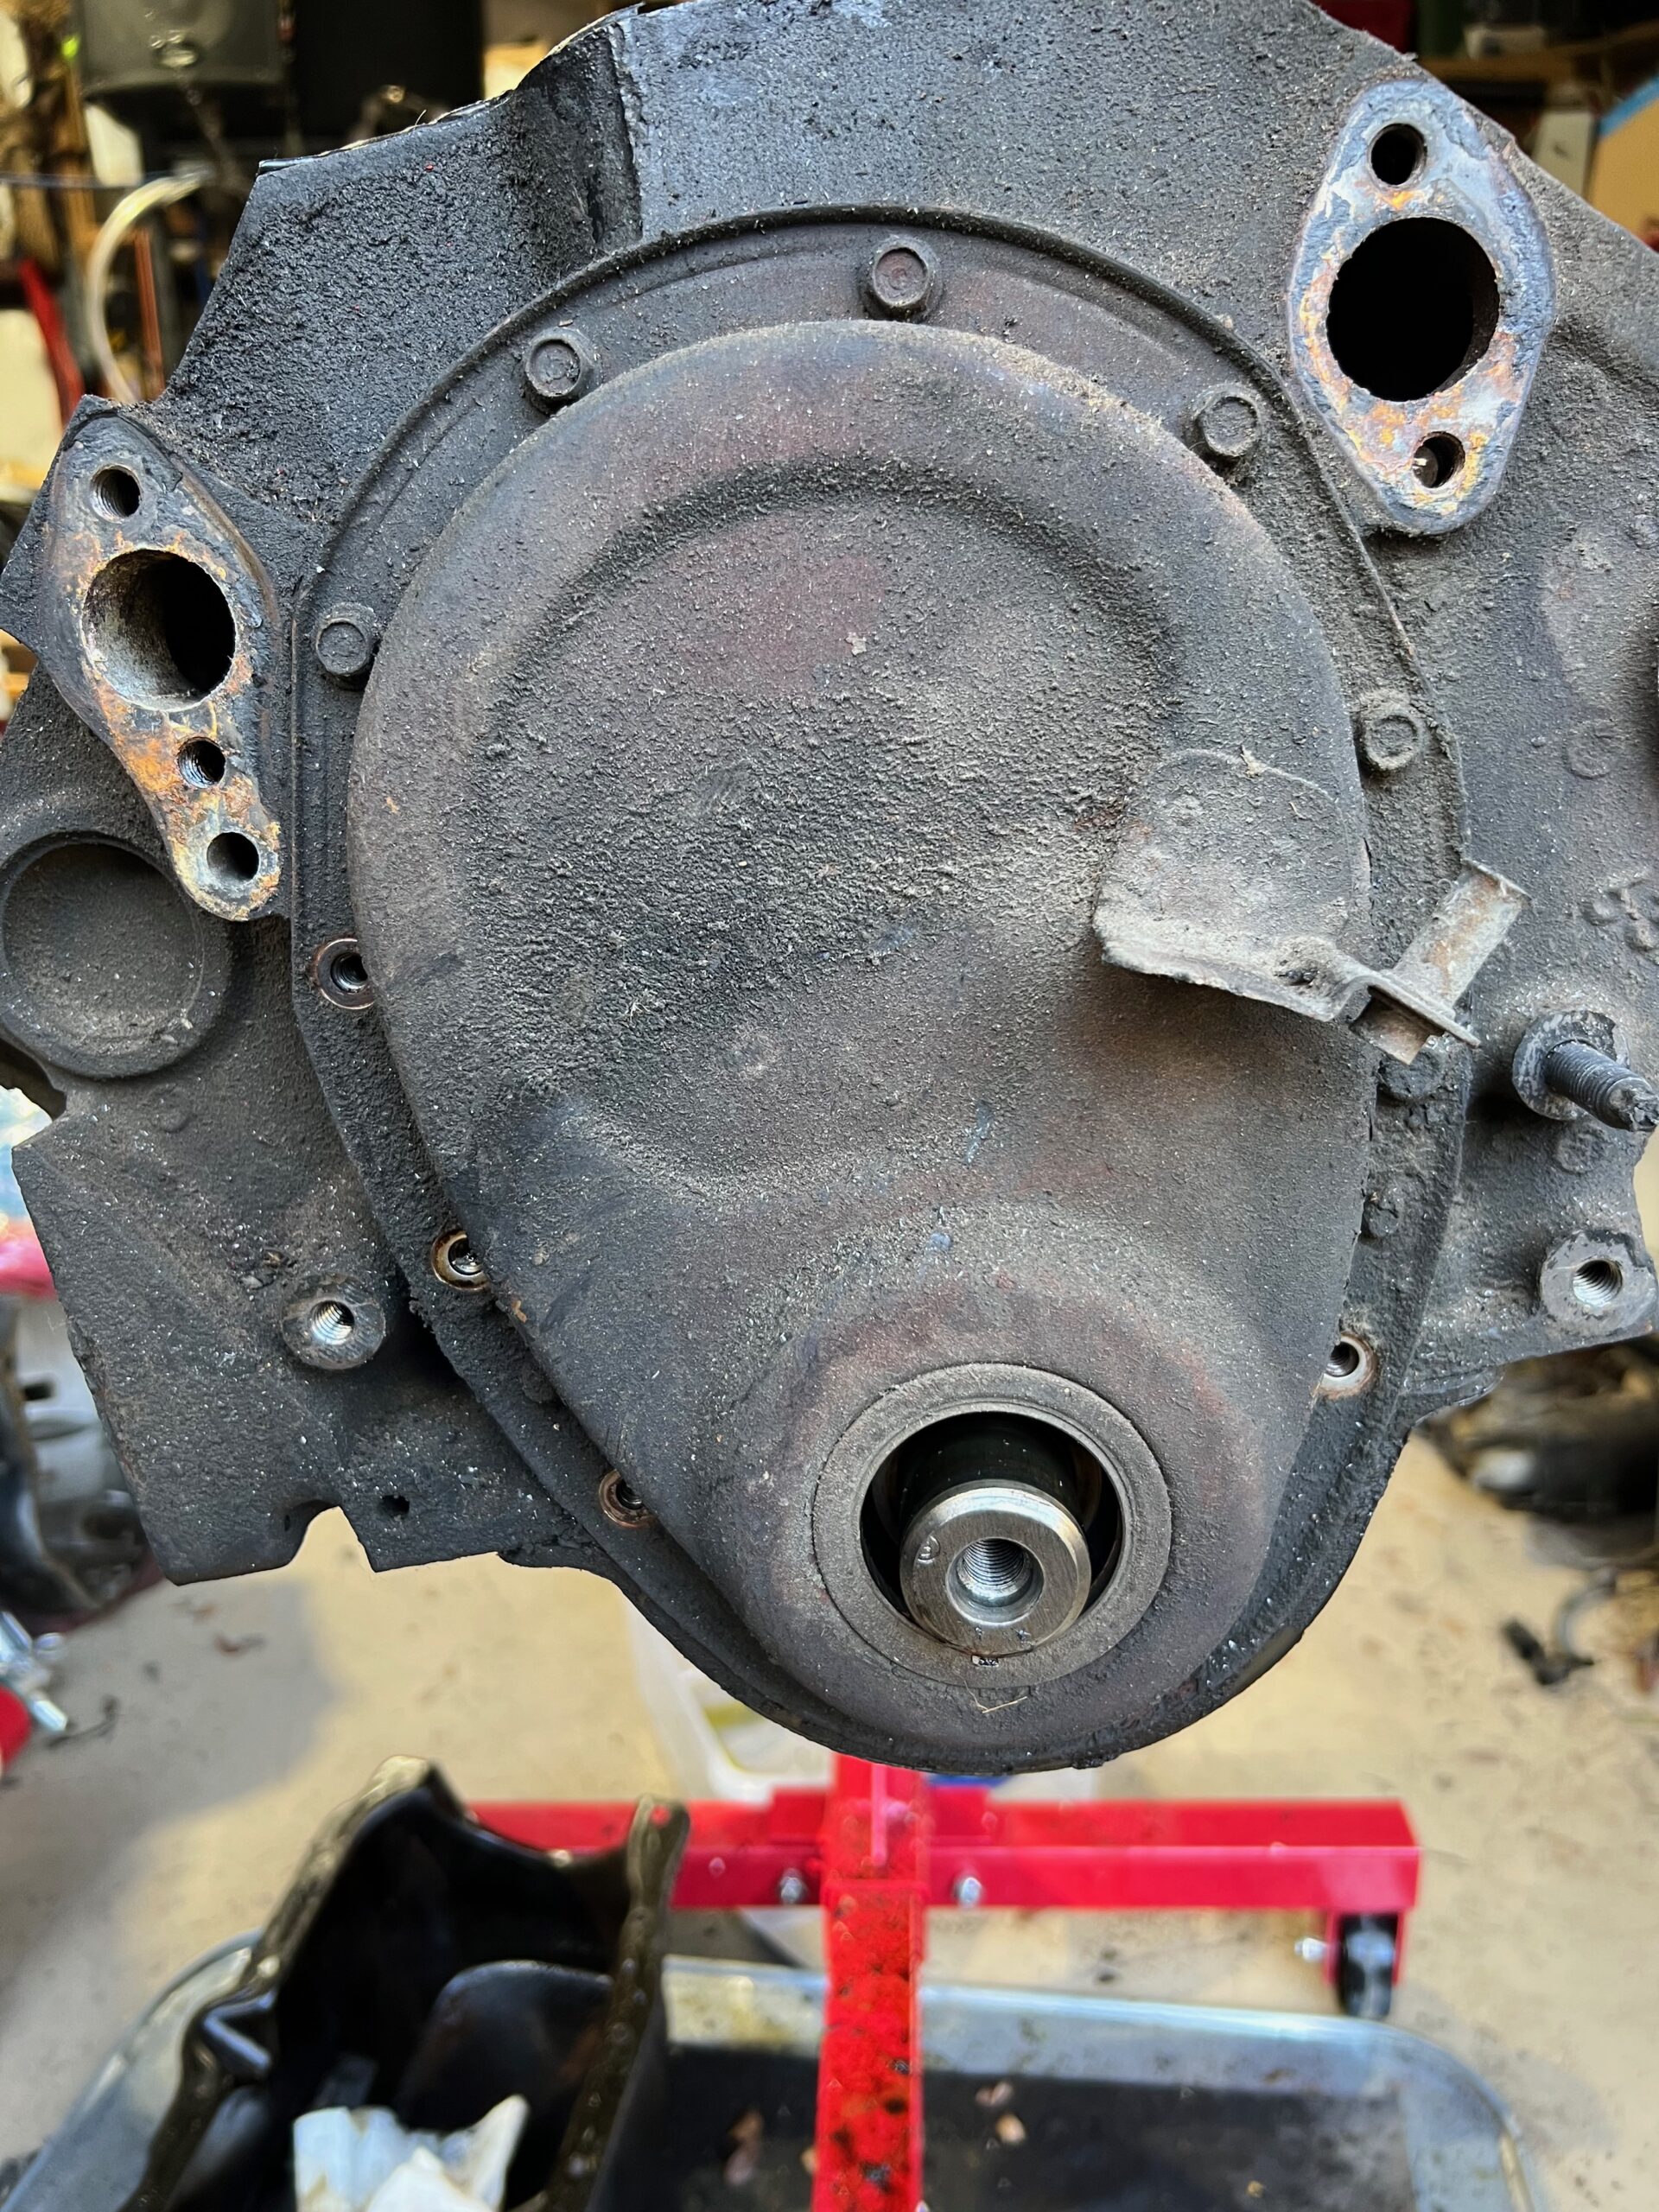
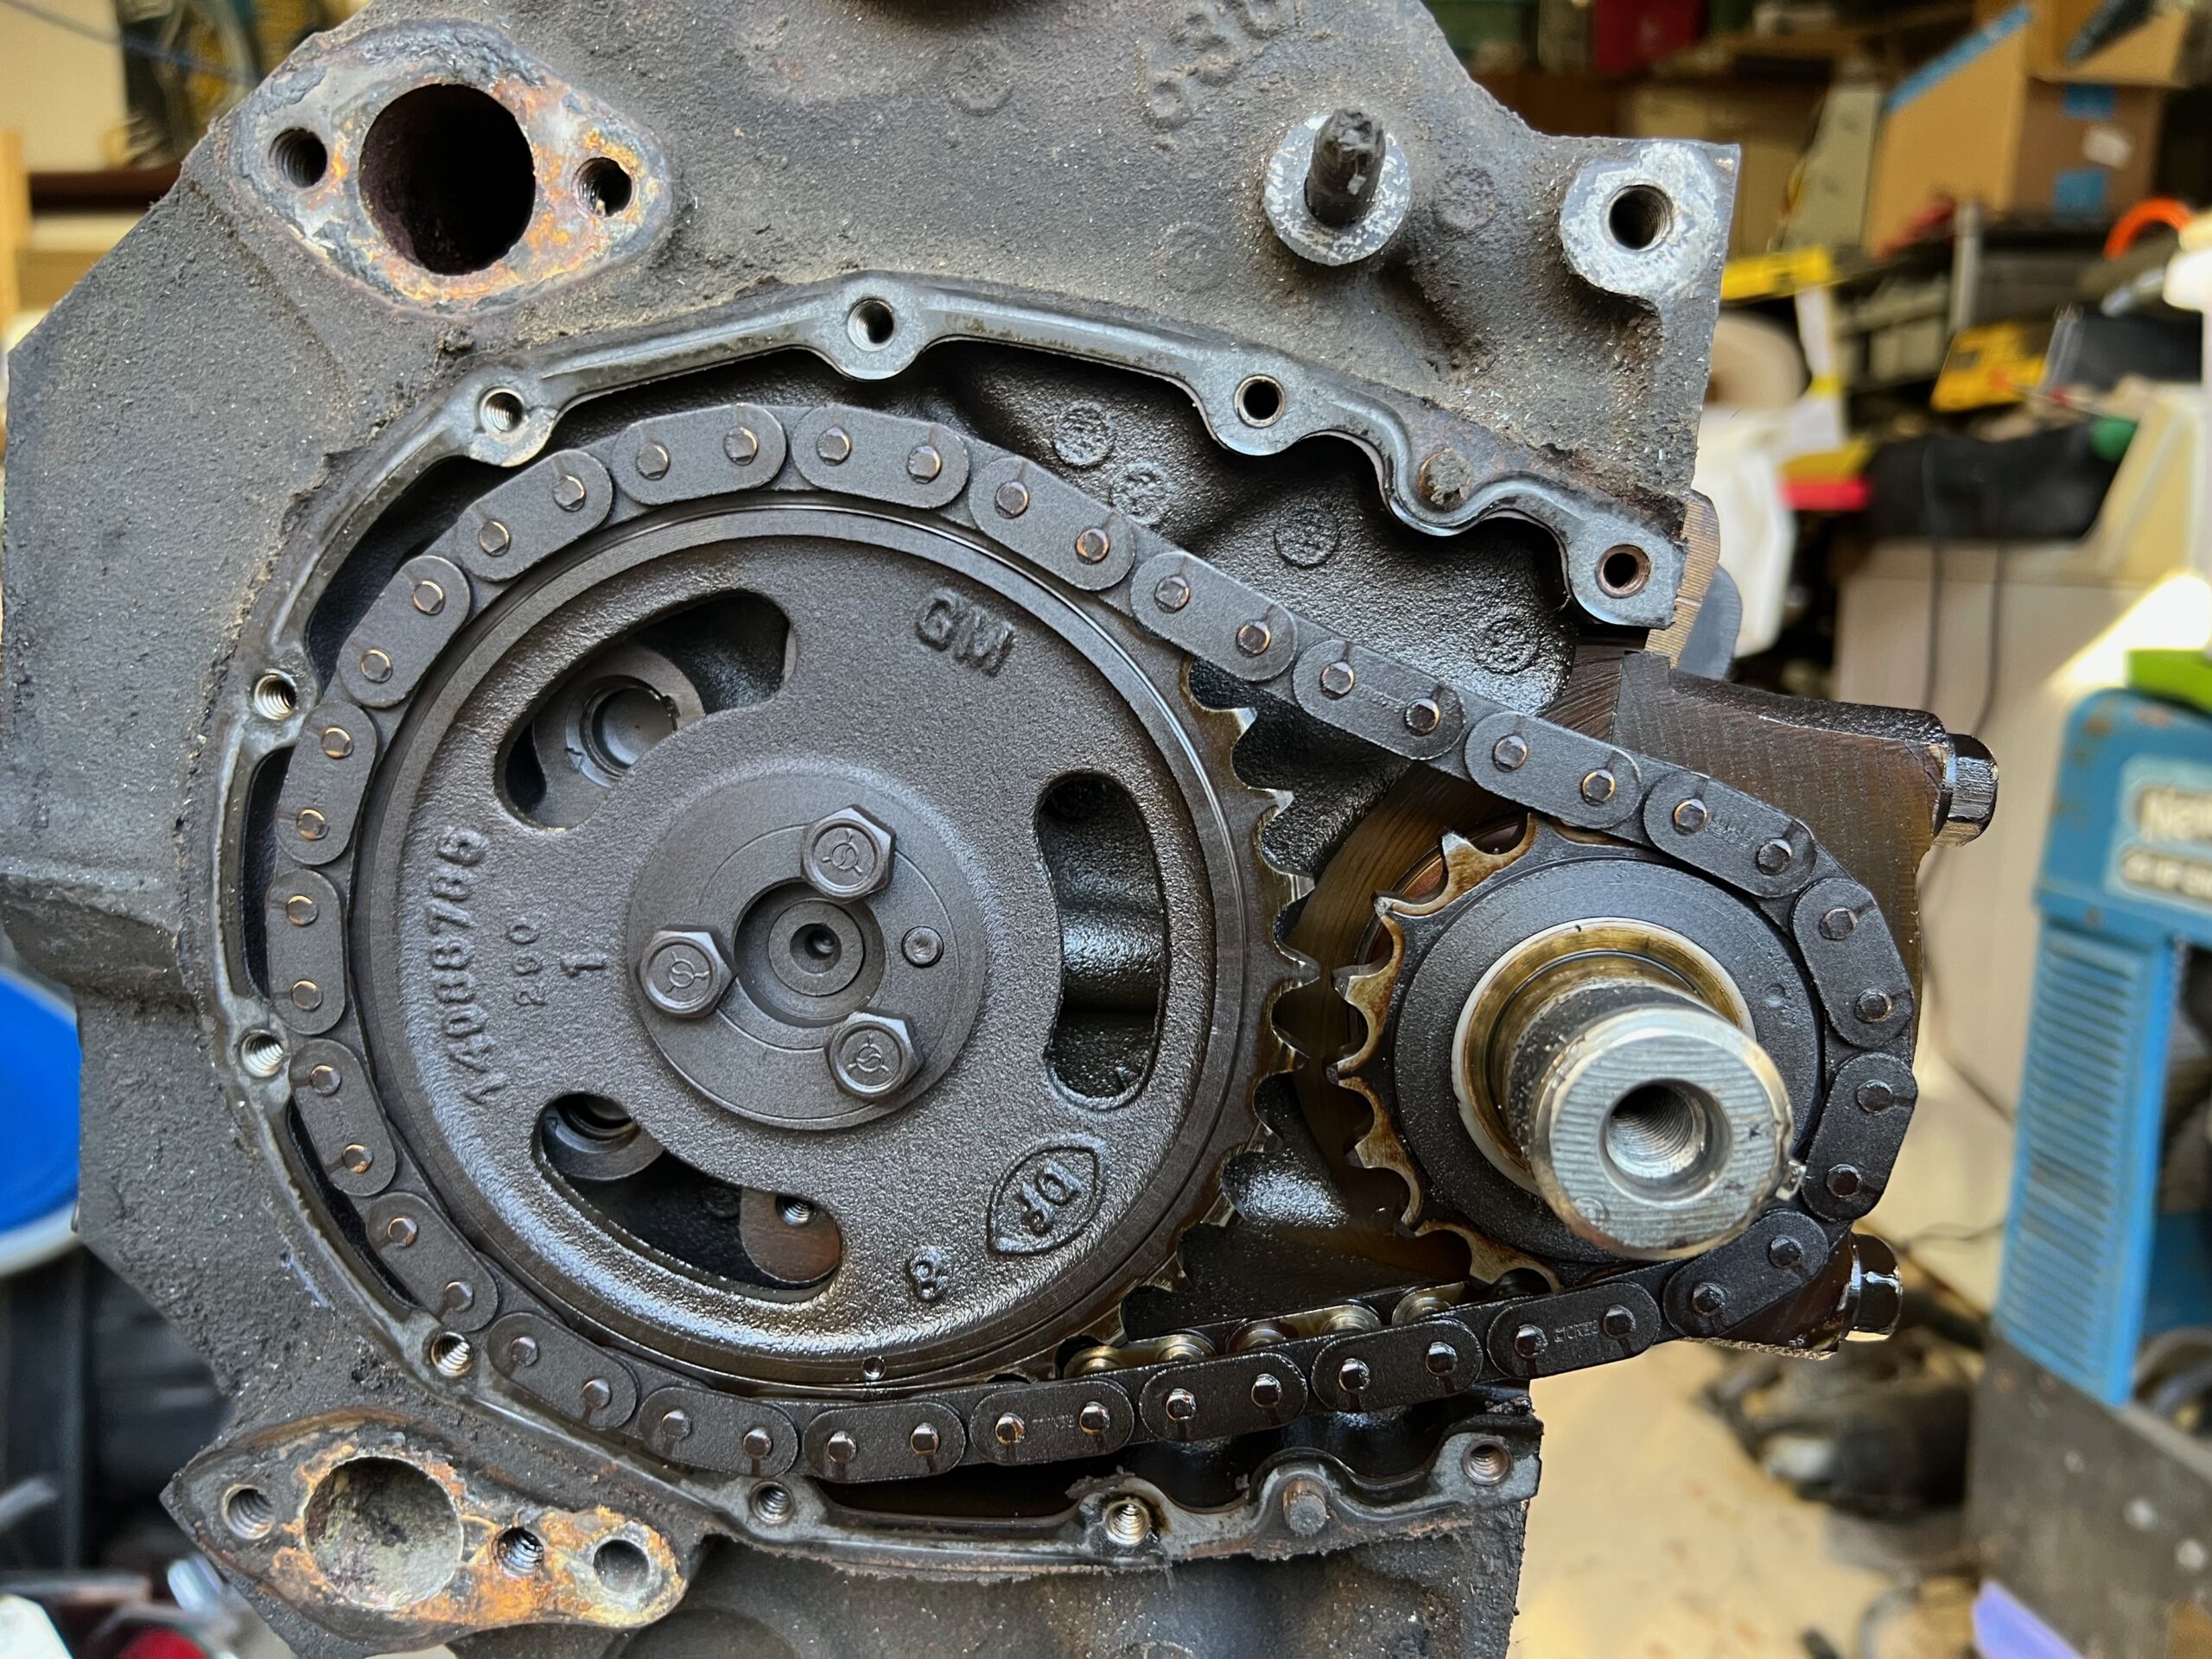
After pulling the heads the rest went relatively quickly. Using my old harmonic balancer removal tool, that part came off easily. The Timing cover, gears, and chain preceded the camshaft, but the cam bearings had to wait for a new tool.
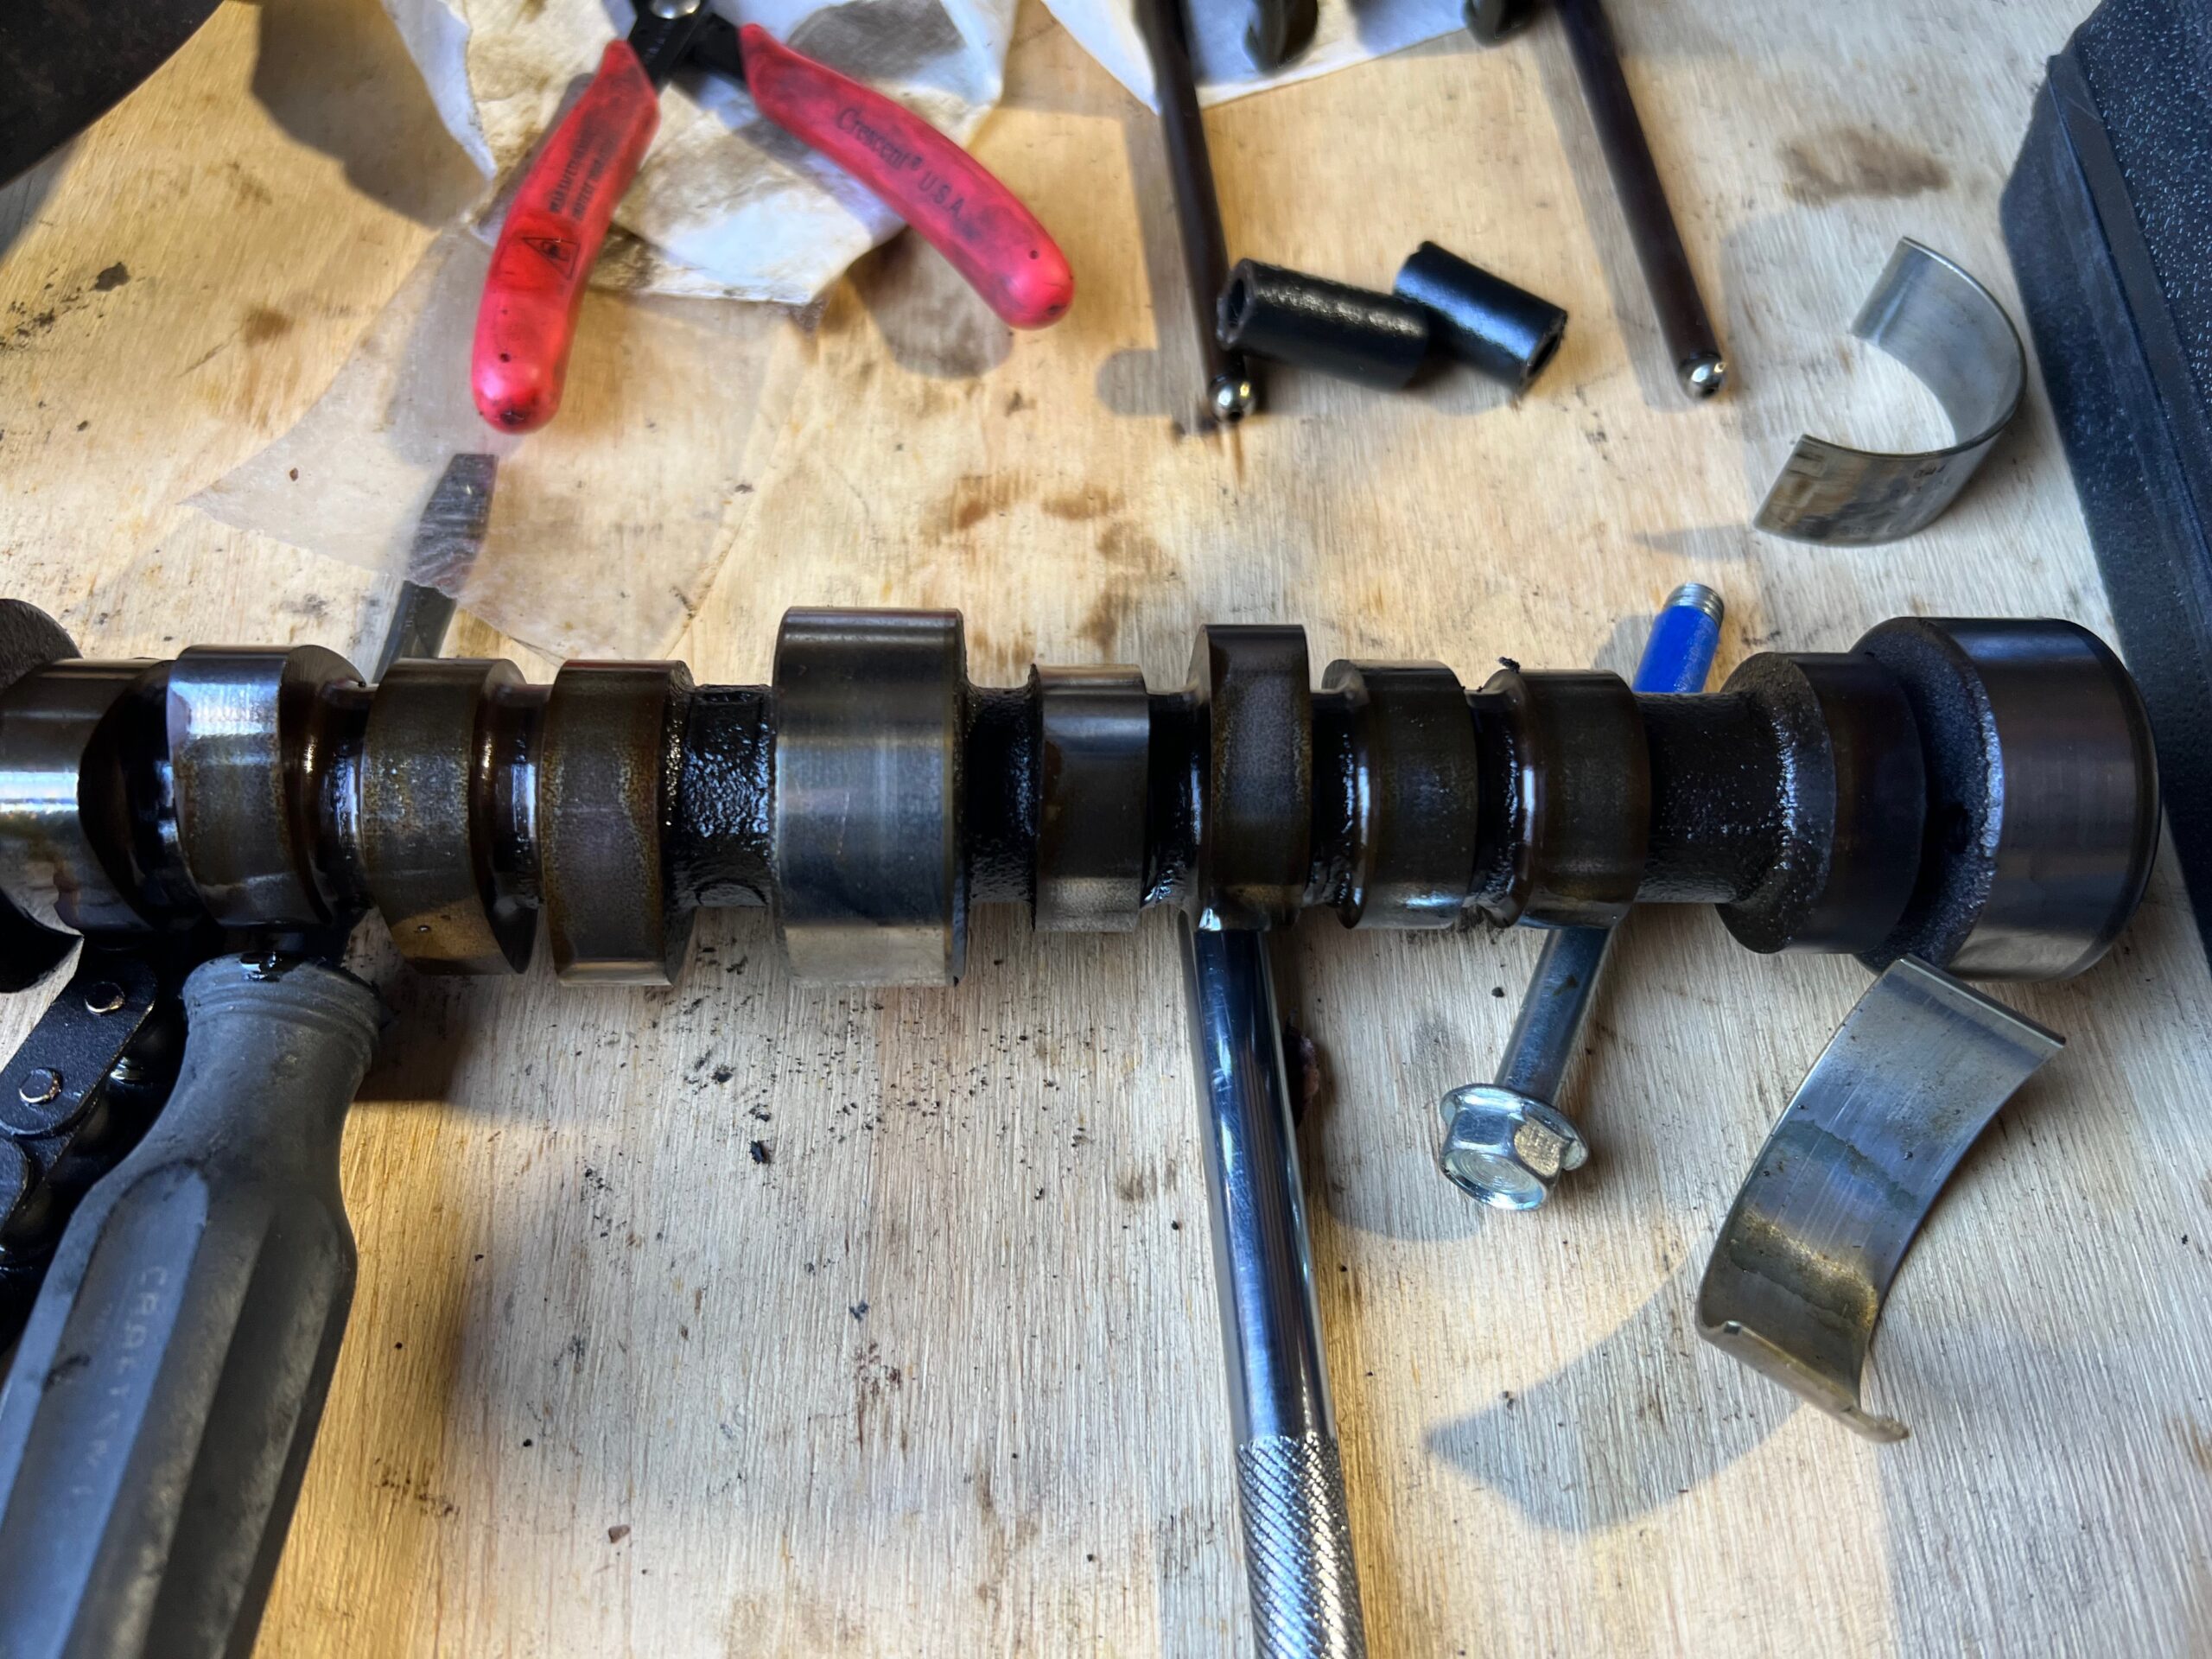
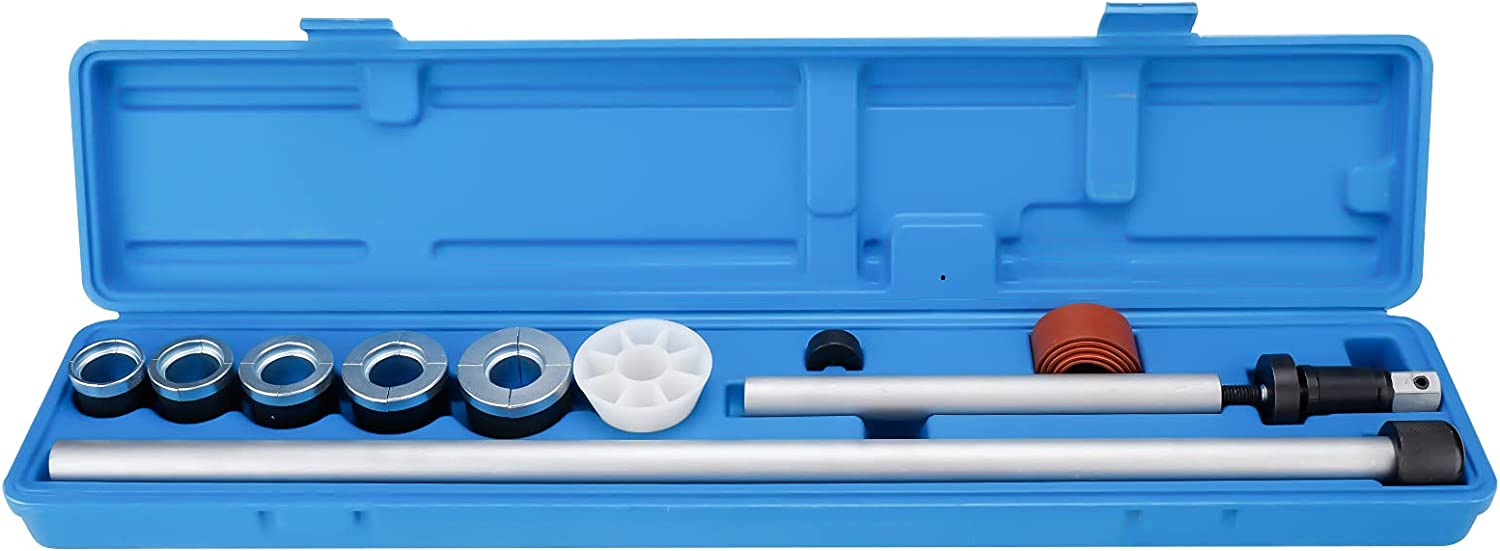
I ordered the cam bearing tool, turns out it is a bar and some variable size plates used to Hammer in bearings. Rather Neanderthal if you ask me.
After carefully bashing out the cam bearings with a 2lb. sledge hammer and this bar tool, I ordered new bearings.
Next using only a massive flathead screw driver and the 2lb. sledge hammer, I punched out the freeze plug. Much to my happy surprise, I found almost no corrosion in the water jacket what so ever!
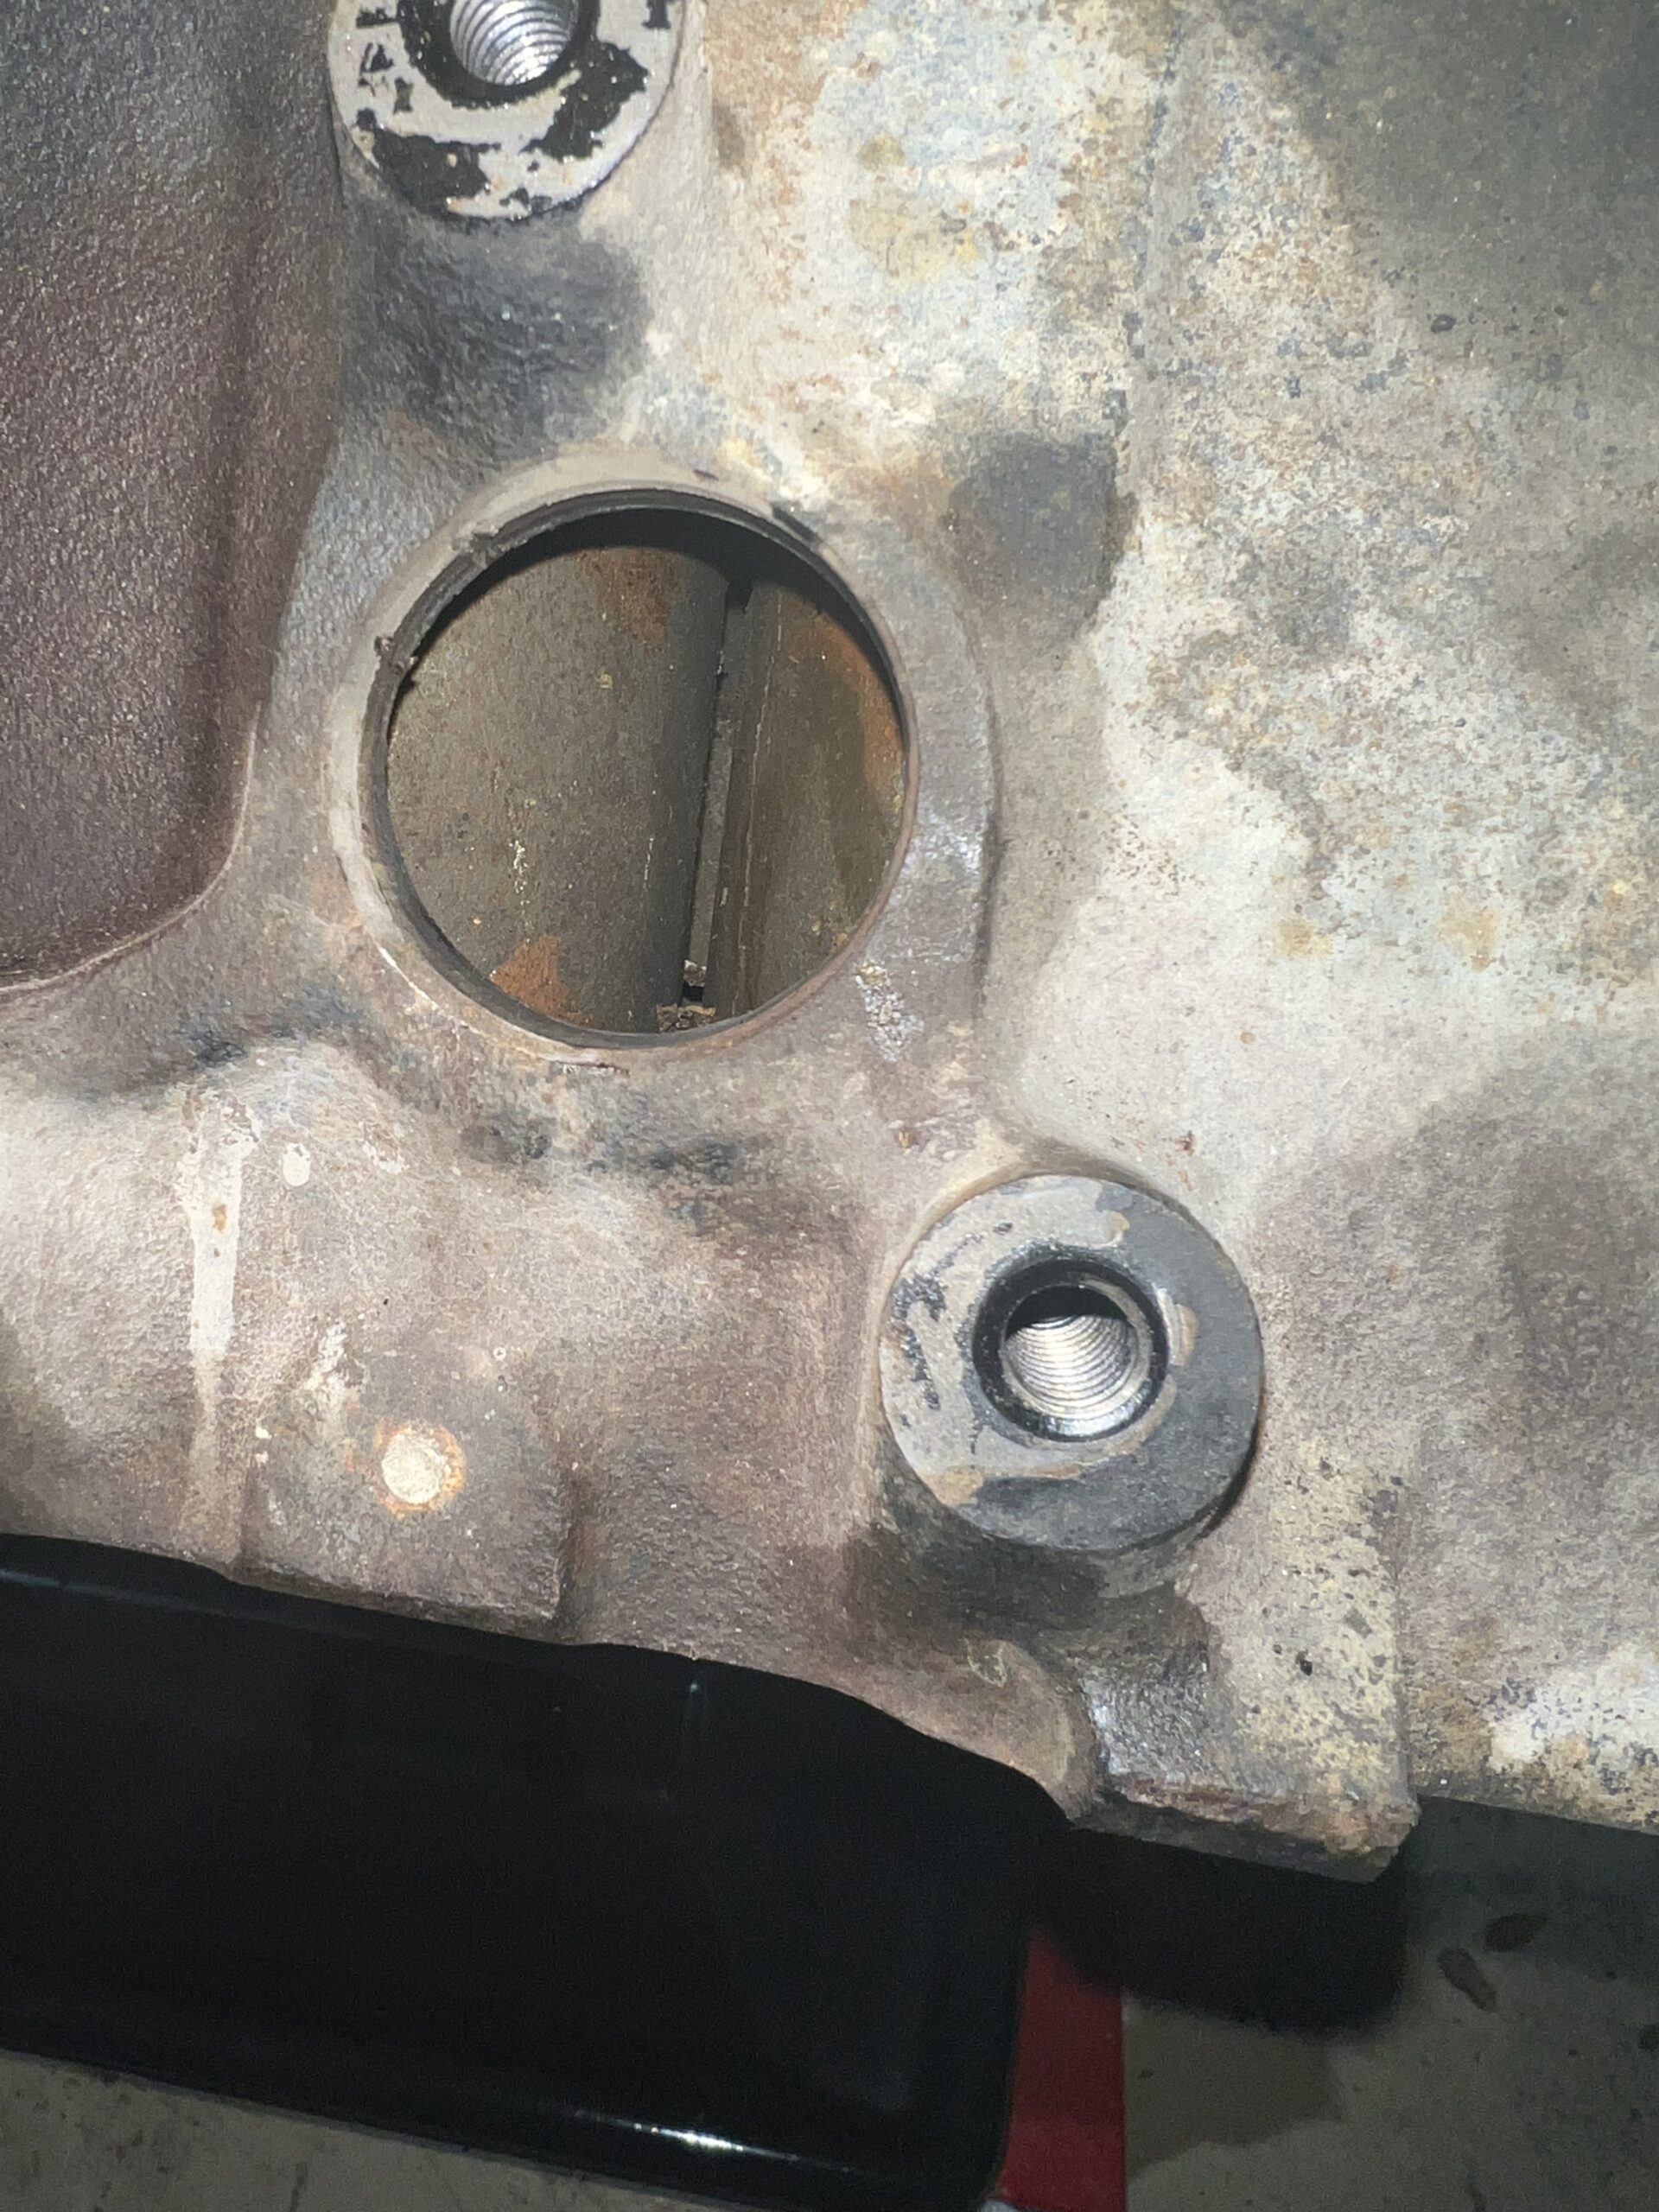
For the record I did not make the two nicks on the left of the hole, but I will be smoothing them out before I put in the new plugs.
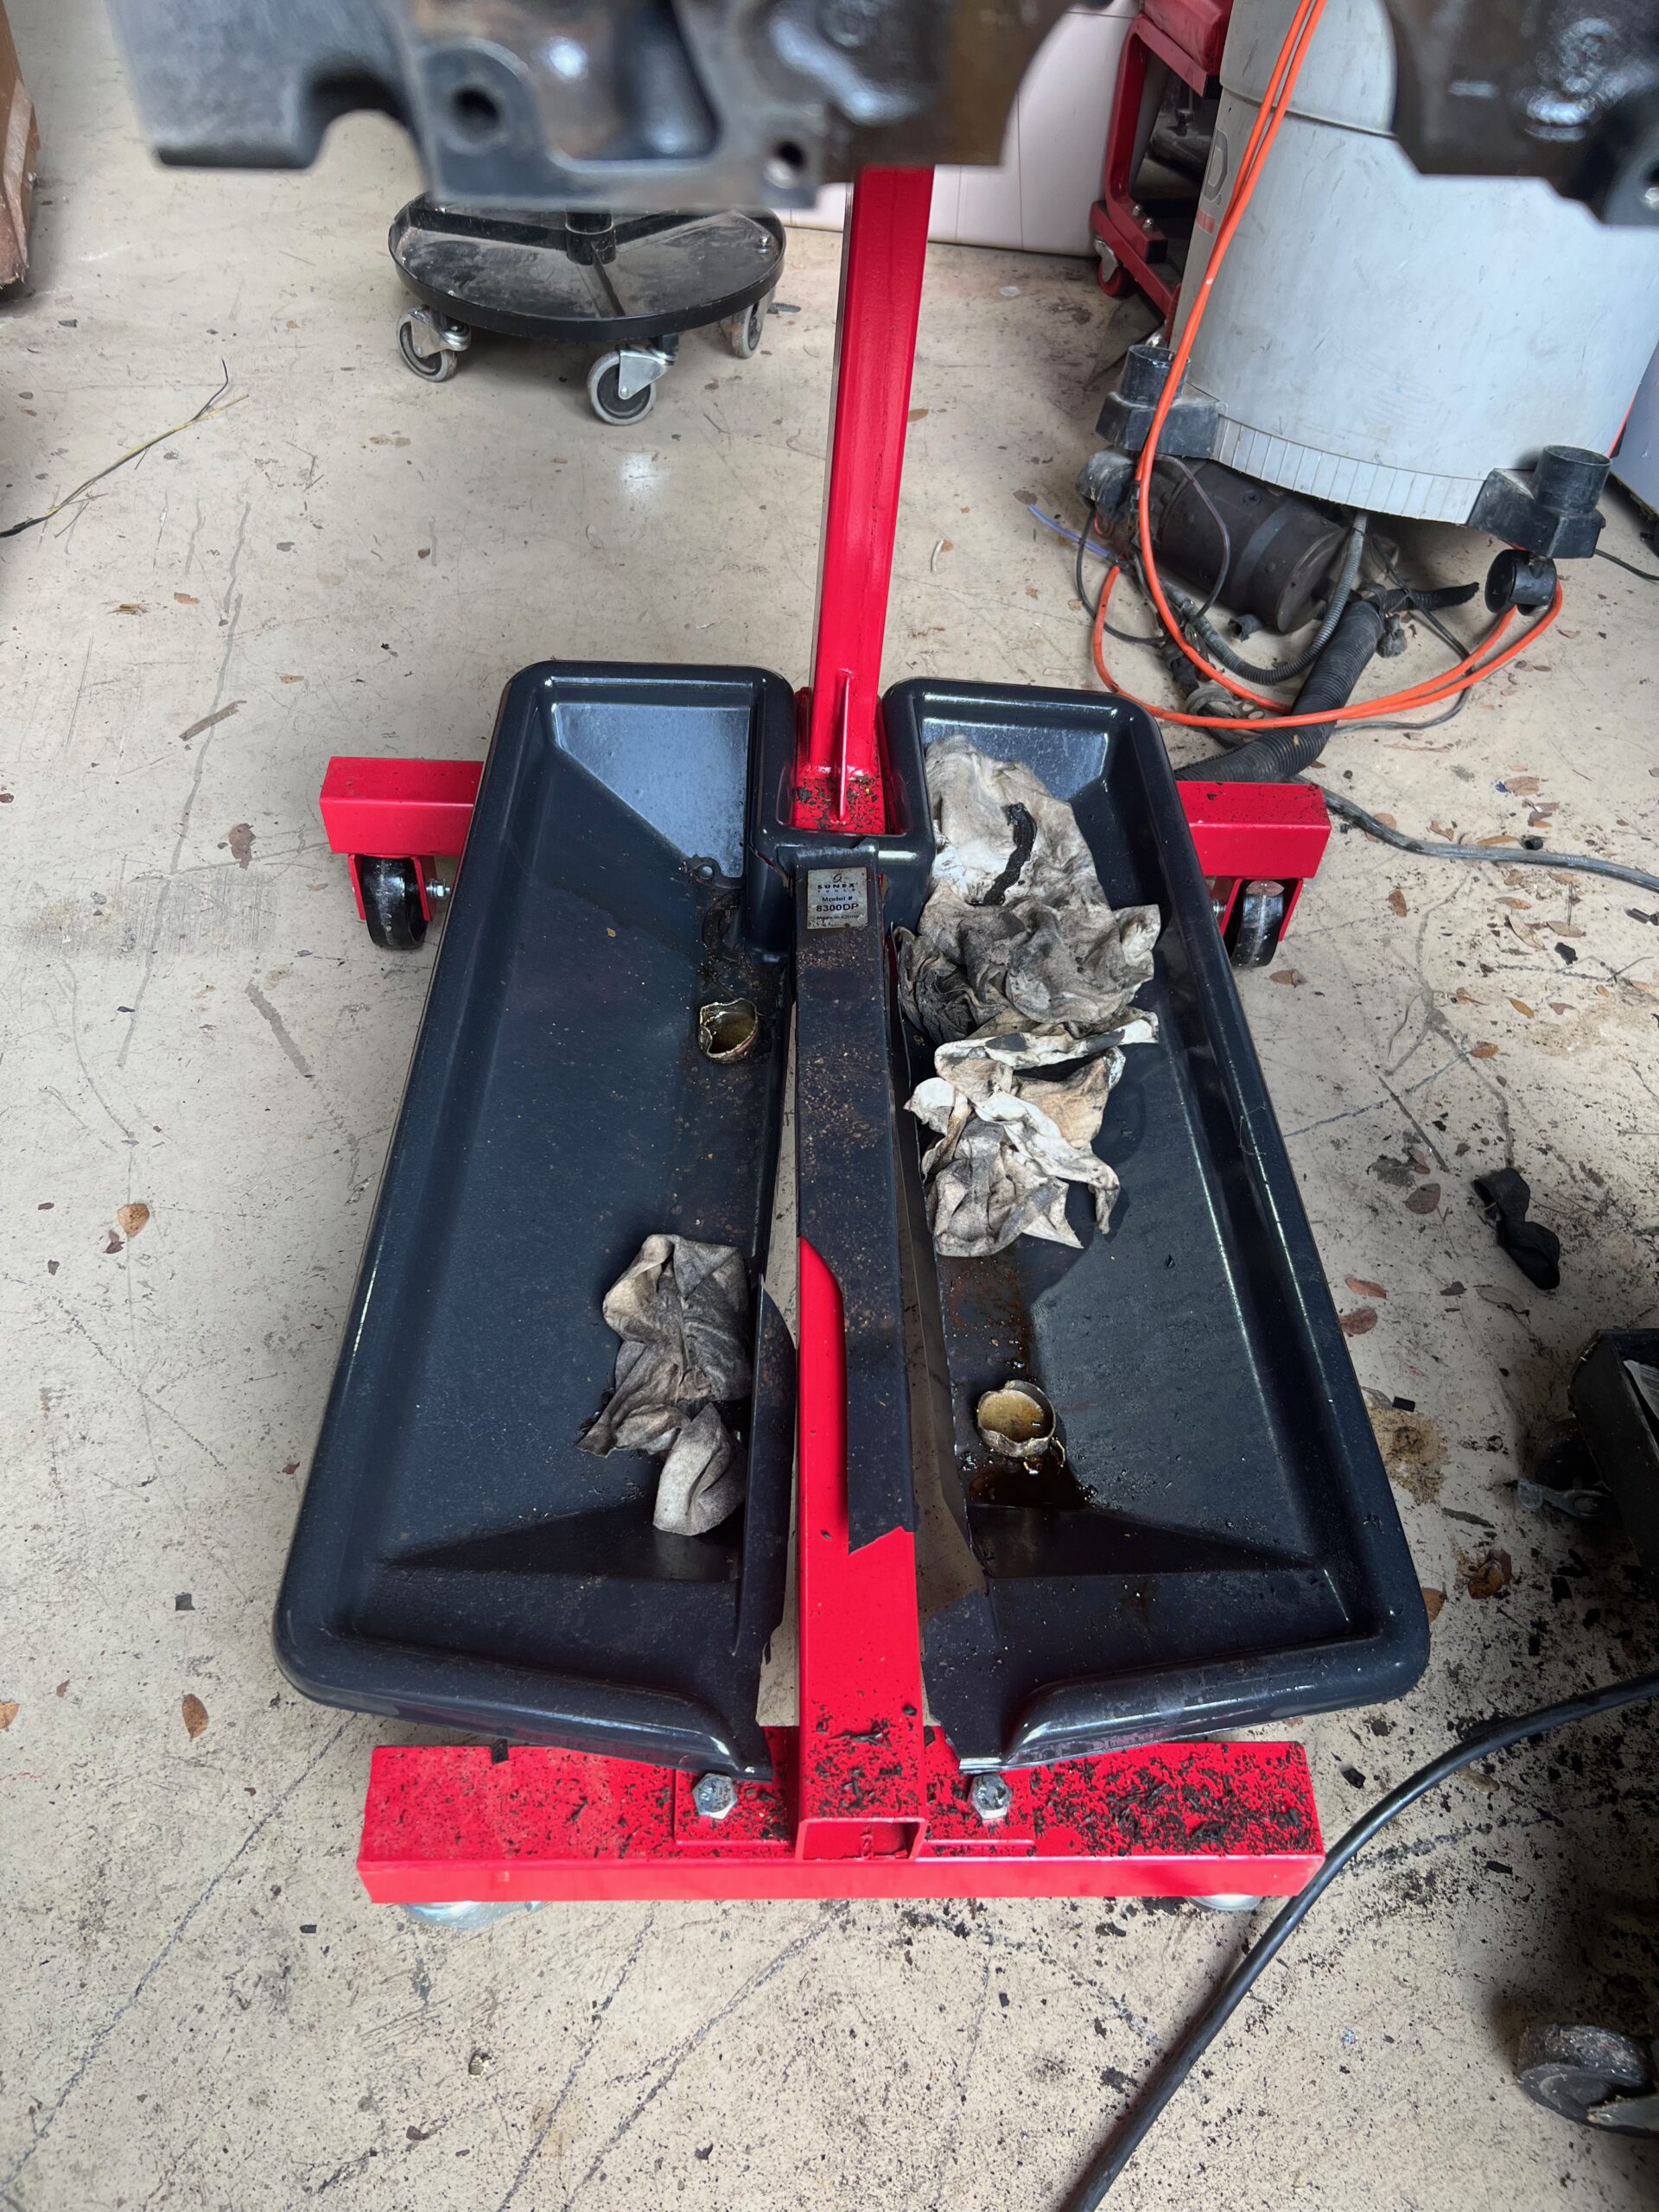
With the water passages so clean I turn my attention to the oily bits. I got a shiny new tray to catch all the junk that falls from the engine as I am cleaning it. This turned out to be an expensive mistake. I use brake cleaner to quickly remove oil. The cleaner destroyed the tray in about 60 seconds. Whoever designed this POS was a complete MORON.
The next parts to be removed would be the pistons. Flipping the engine over on the stand is somewhat easy, but considering the engine mount is two pipes slipped inside each other and all the weight is on one side the friction is pretty significant, I had put grease in the tube but it is a very basic and brute force sort of tool. It could seriously do with a re-design with a wheel bearing and a timing chain for a rotating mechanism. Both of which I have laying around the shop. Now if I could find the magic “time” to work on it, I would have something. But for now I just use my significant muscle mass that usually sits behind a desk and presses on keyboard keys.
With the engine flipped I have full access to the connecting rods and the con rod nuts that hold the pistons to the crank shaft. Now I remember that I have some sleeves to go over the con rod studs after the caps have been removed so they don’t accidentally nick the crank shaft or the sides of the cylinder as they are being removed. The pair I got was with some Clevite rod bearings when I rebuilt my S10 blazer back in college. So they should be in my old grey small toolbox, I can still picture the blue rubber covers with Clevite printed in white on them. After 20 minutes of searching and realizing the pile on top had no place else to go and was not going to be moved. I cut two one inch pieces of 3/8th fuel hose and just use them. I look at the rods and they are not marked individually in any way. I remember I had purchased a set of numbered punches to mark my 6 S10 rods and head off to the big red toolbox to find them. 30 minutes later in disgust, I head back up to the house to go order some more and call it a night.